I love using the chalky paints that I have used in the past to create a beautiful antiqued look. And I will still love those, but I have a new technique that I am super pumped about. It is much more subtle than what I have used in the past.
It all started with a fabulous trip to Amy Howard’s place a few weeks ago to learn many painting techniques including this one. Amy Howard at Home provided the paint for this project.
First I started with a old vintage industrial tray. I had bought quite a few for my Round Top booth and had a few left.
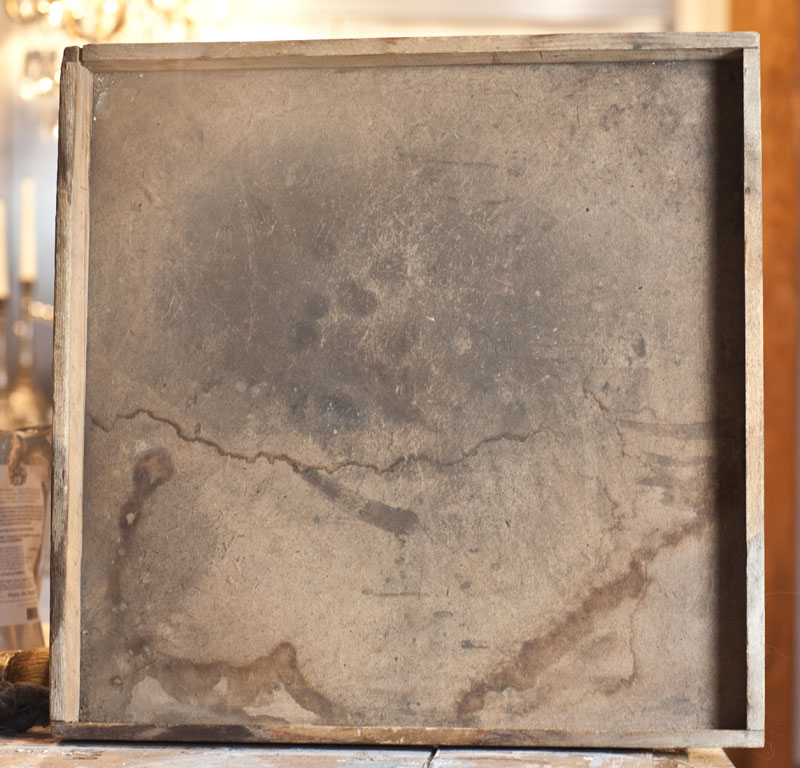
The bottom of the tray is actually a type of particle board, but the sides are wood.
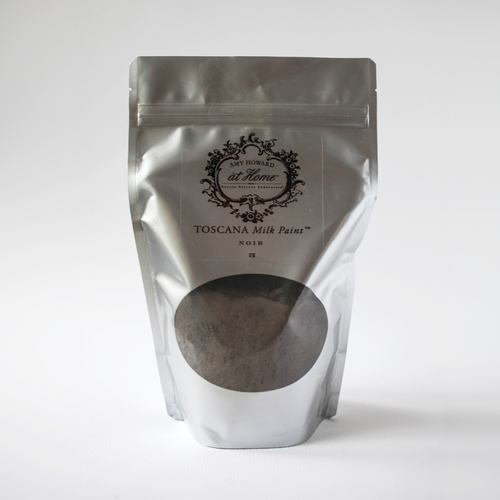
I used one part AMY HOWARD AT HOME TOSCANA PAINT COLOR NOIRE
and
two parts AMY HOWARD AT HOME TOSCANA PAINT COLOR COTE d’AZURE
They come in a powder form. I added them together in a cup and stirred the two powders together BEFORE adding water.
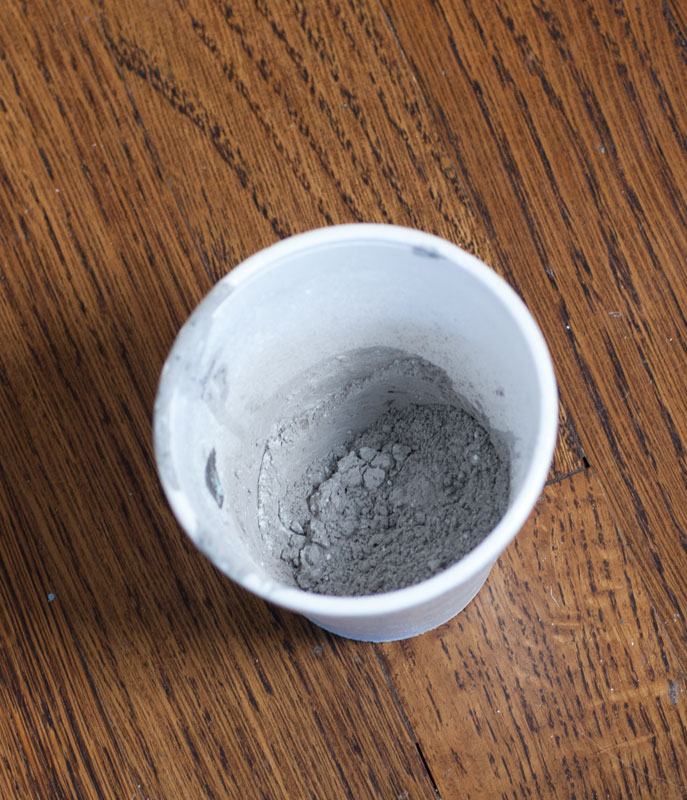
Then I added water a little bit at a time until it reached a pancake batter consistency. I brushed it on like I would any paint. The color goes on much darker than it dries.
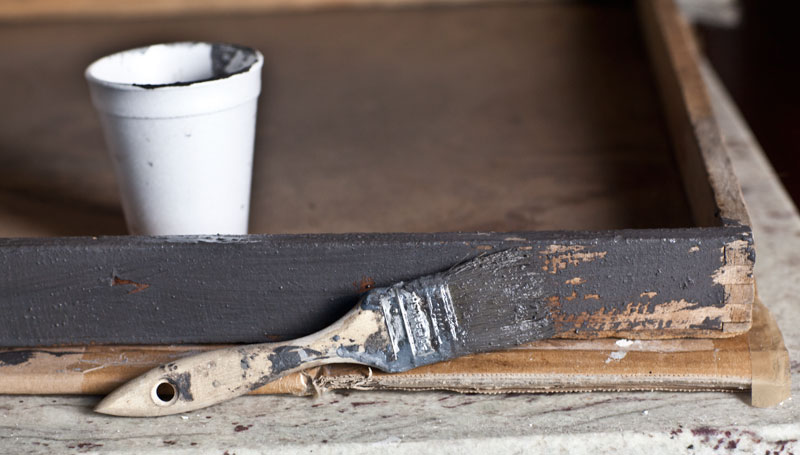
Now normally, I’m not interested in watching paint dry but in this case it was quite entertaining. I used a hair dryer to speed up the process and I could see the color lighten right before my eyes.

See? It does lighten quite a bit.
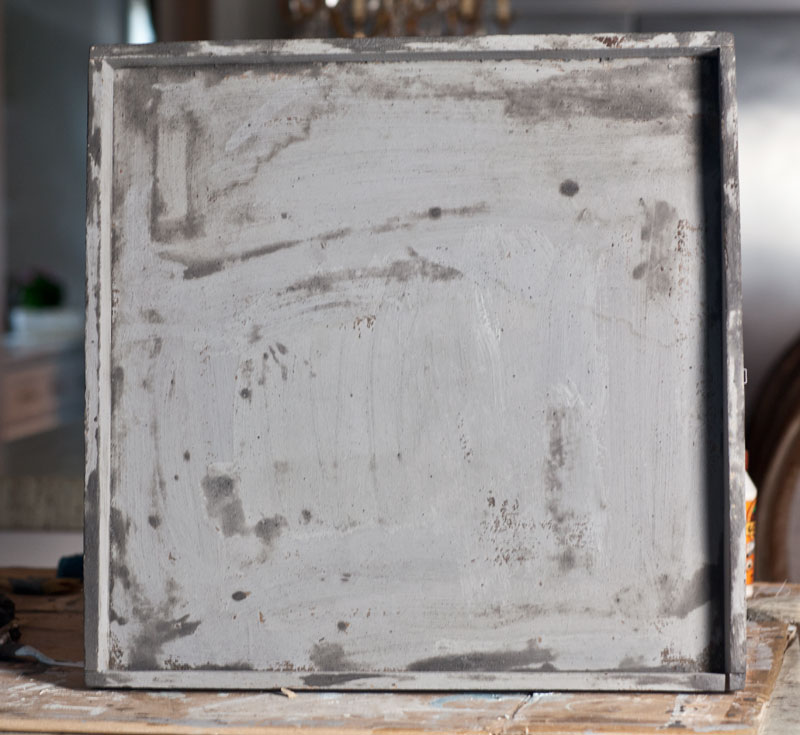
After it dries, I poured up a few tablespoons of the AMY HOWARD AT HOME ANTIQUING GLAZE. Then I dabbed a sponge into the glaze and began to dab it onto the tray. I continued until the tray was completely covered in the glaze.
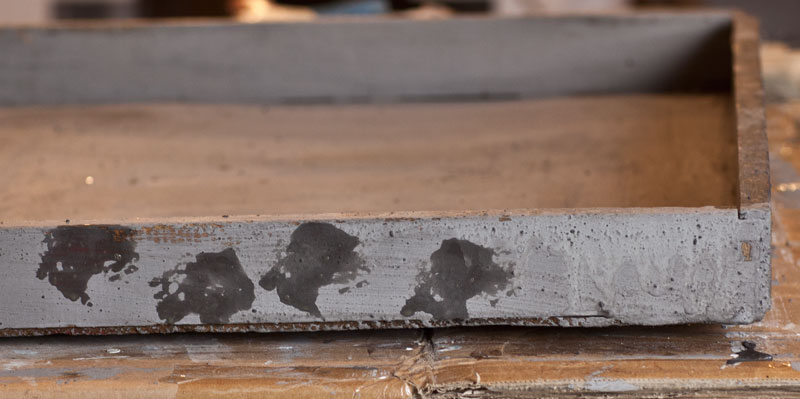
As you can see the antiquing glaze makes the paint wet again and it looks dark once again. Don’t worry, it’s only temporary. You want the paint to wear off in places. So dab some areas more than others. The glaze will remove some of the paint. If it is a big project, you’ll need to rinse out your sponge as you go. The sponge will get loaded up with paint, and at some point you end of adding paint back to your piece instead of removing it.
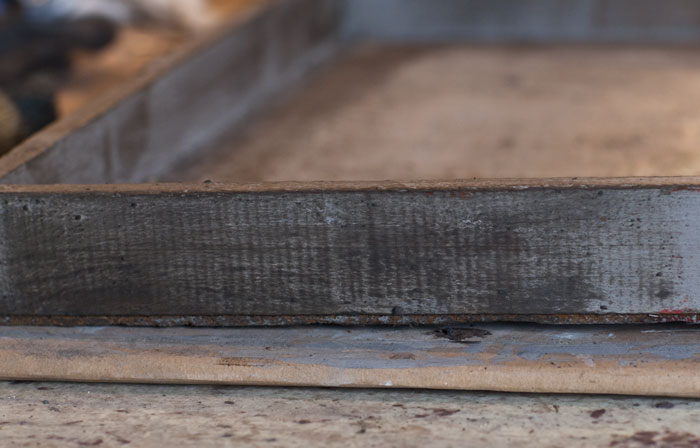
You don’t want the paint removed entirely, you just want to simulate wear and age. Note how the wood begins to slow through in places. Let the piece dry completely.
After using the antiquing wax, you might want to go over the piece with a piece of steel wool OOOO, which is the finest grade. I went over with a pass to remove any rough spots. Then I used a dry paper towel to remove any dust.
Next I got out my AMY HOWARD LIGHT ANTIQUE WAX and applied the wax to the entire piece. This step is VERY IMPORTANT because our paint will come off if it gets wet. The wax coating protects our paint finish. It will look dark once again when you wax it, but again will lighten up.
After the wax dried, I buffed it with a clean, dry cloth.
How cool is that finish?

If you don’t want this much wood showing through, then don’t use much antiquing glaze. I suggest doing a spot to test your technique first like on the back. I love how the wood peaks through.
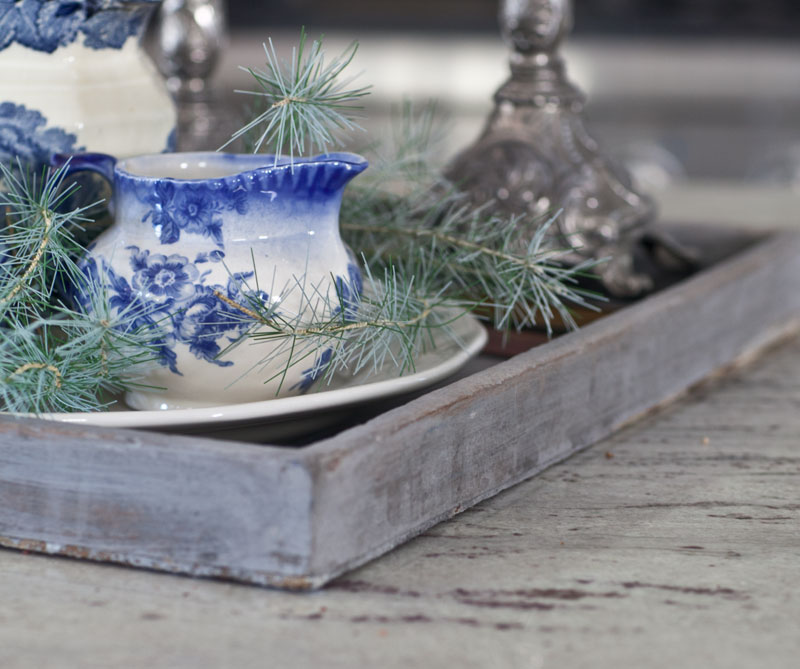
The paint job looks very old, even though it’s just been a few days.
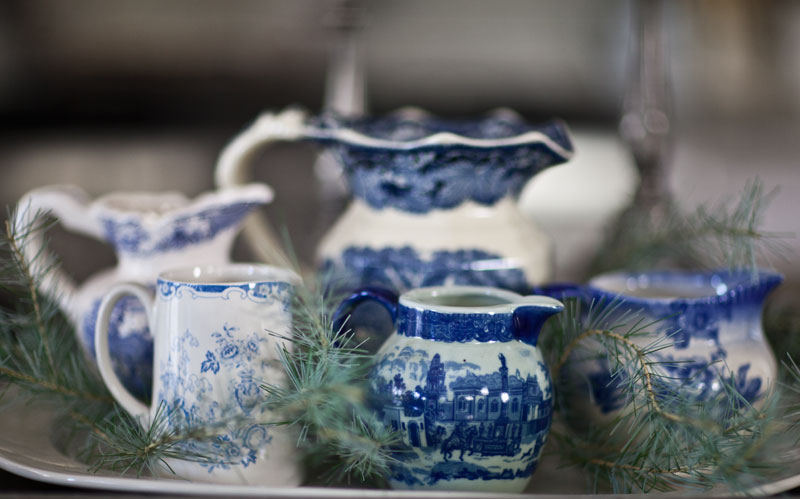
Then to make it pretty, I added a collection of pitchers, mostly very old with one new one that my husband brought back from a recent business trip to London. Can you spot the new one? It’s the little one in the front on the left.
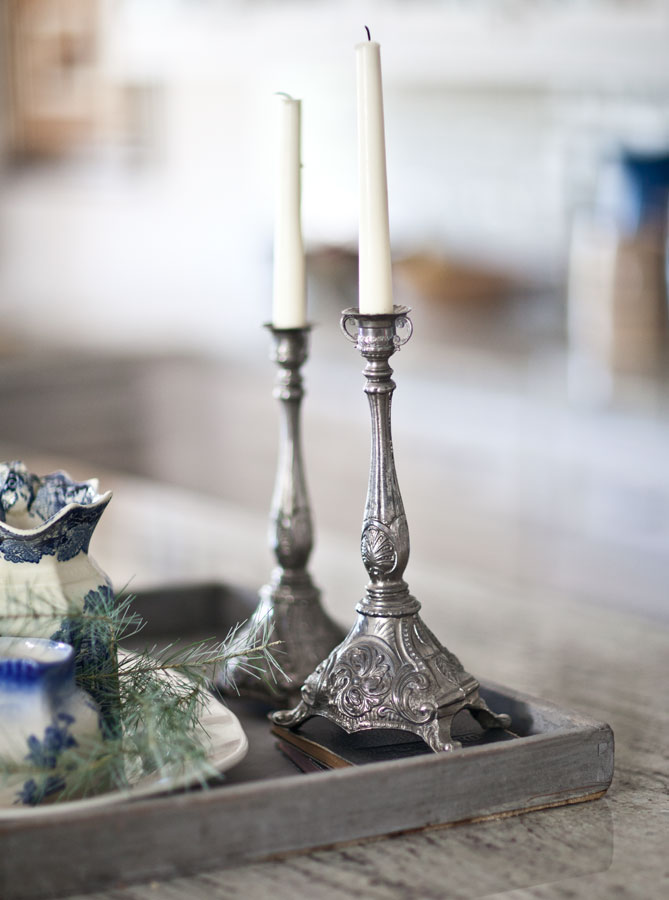
I also added these yummy old silver candlesticks.
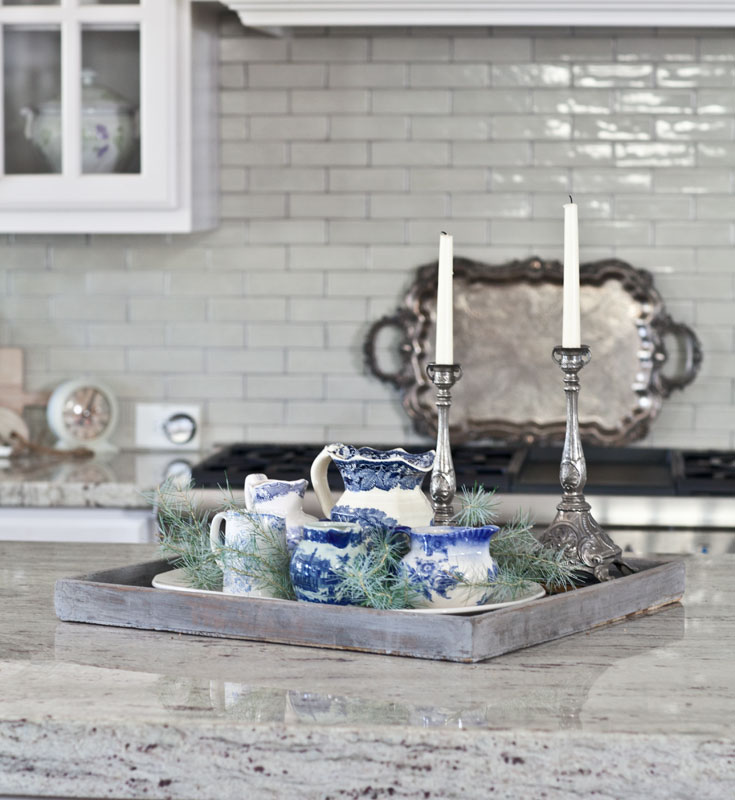
Well I really love the new look. And the gray color looks wonderful in my kitchen.
Looking for tips on entertaining? I’m sharing some of my best tips at the Bali Blinds Blog where I am a contributor
4 TIPS FOR ENTERTAINING WITH STYLE
This is part of our DIY TIPS AND TRICKS SERIES


You mixed the same color in the first & second stage above??? What should the 2nd color have been?
Thank you Sandi. I just fixed it. Noir is the one part.
It’s beautiful! I love that look!
Hi anita, Love the finished product! BTW, I noticed you listed the same paint color twice as you mixed them. Could you please clarify? Or.did I read it wrong? That’s always a possibility!
Thanks! I fixed it. It’s one part Noir.
Just stunning! Nothing makes a more authentic looking finish than Amy Howard. You picked a fabulous piece to transform. Your images make me sigh! Merry Christmas dear wonderful friend!
Very beautiful transformation! Love it!!
Beautiful. Thanks for the how to achieve this look. A random question Anita. Do you polish that silver tray you have on your kitchen wall. Does it rest or is it attached? I love how it looks!v
It is not attached and I do polish it, but not very often. So it’s slightly tarnished.
I’ve never used milk paint but you make it seem so easy! I love your blue and white…stunning!
When you bloggers use all those different steps to do things,this poor person gets lost,but you do make things beautiful. Thank God for pinterest so i can go back and recreate when needed. lol!
I love this technique!…the tray looks so beautiful….How great to have taken Amy Howards classes!…
Lovely result, worth all your hard work. Had you been healthy, no doubt you would have caught this typo, particle board not partical. Have a speedy recovery and best wishes for your mom’s surgery.
PS. please feel free to delete this comment after you correct that typo … that way, it’s just between us.
Really beautiful treatment. The color is so soft and cool. I just love it. Great job!
I can’t wait to try this paint in my home! Great post, Anita!
Thanks Dagmar!!
That techique used can it b used on kitchen cabinets or do u recommend another process to get the same result
I don’t recommend milk paint on cabinets. I think oil-based paint is your best bet.
Oh my how pretty and fascinating
Does the piece need any prep before painting?
Can u get this paint in Houston?
I didn’t do anything to prep it except some simple cleaning. I think some people use a degreaser before using milk paint.
Love the look you achieved. I have 3 shelves that I want to redo. I think this would look fantastic.