Linen Bolster Pillow
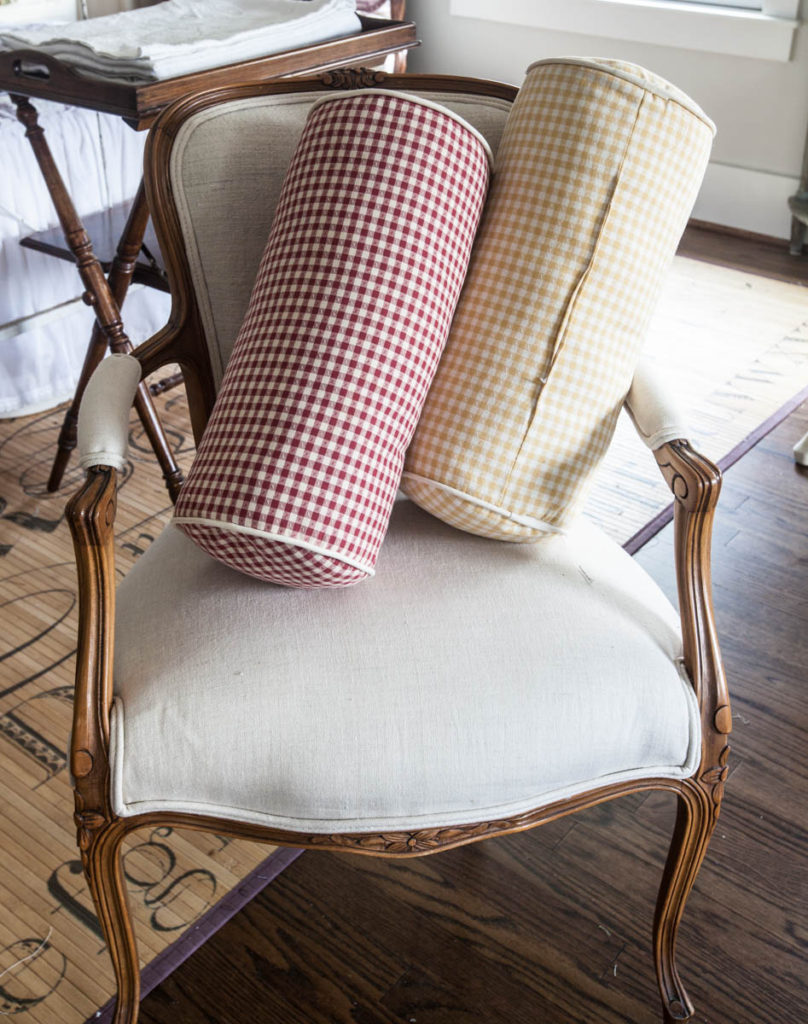
Today I’m revealing how I made this linen bolster pillow. You may by now know that I’m a bit obsessed with bolster pillows. I got a fabulous blue velvet one, CLICK HERE, and I made a lavender velvet one, CLICK HERE.
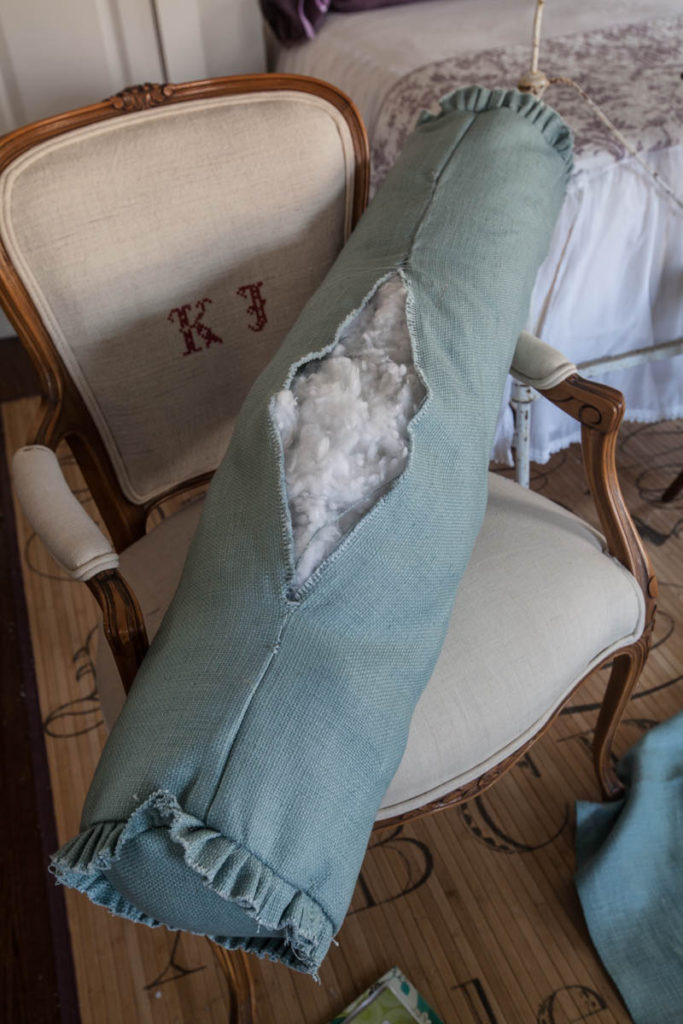
I had these two bolster pillows that I didn’t want any more. I decided I would sew them together to make one long bolster pillow, and make a new cover. Well that was the plan. I couldn’t sew the check covers together because of the piping. It would make them lumpy in the middle, so I decided to sew the pillow forms together, so I would have one long pillow. That plan fell apart when I opened up the covers to find the covers were stuffed with fill and there was no pillow underneath. That meant I would simply be removing the fill and placing it in the new pillow cover. I ripped open both seams.
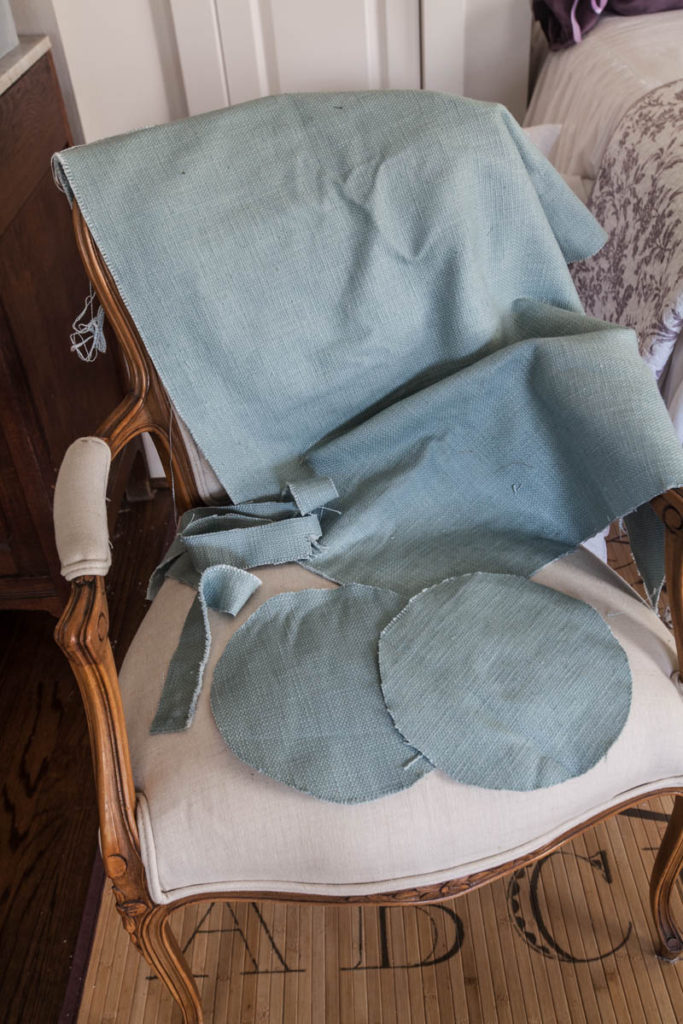
But before I did that, I measured the pillows. I came up with a 34 inch long pillow and 25 inches circumference. I added an inch to both measurements to allow for a 1/2 inch seam allowance.
I cut two circles about 9 inches in diameter for each end. If you want to cut a circle you can use the technique outlined HERE. Then I also measured and cut a piece of fabric 35 inches by 26 inches for the body of the pillow. Lastly I measured and cut two pieces of fabric 1 1/2 inch by 53 inches. for the ruffles.
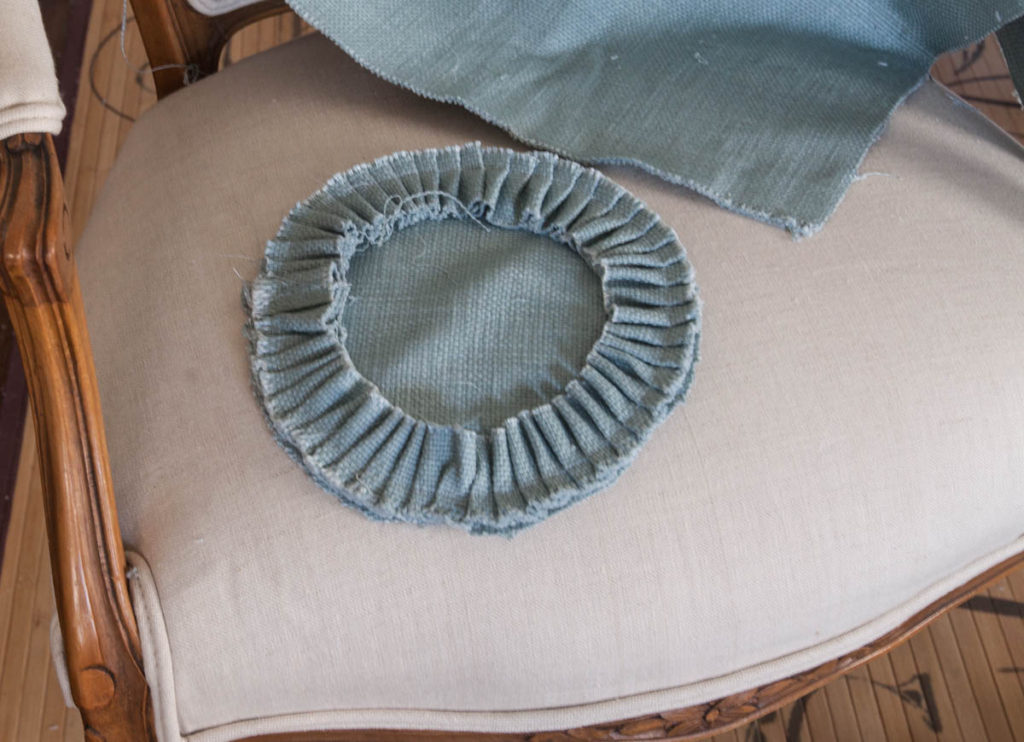
Now for this type of ruffle at the end of a bolster, I would normally fold over the fabric so it was a ruffle with no front or back. This linen was too thick, so I couldn’t fold it over, or do a hem along the edge. Instead, I sewed a stitch along the edge and allowed it to fray, knowing it would only fray about 1/4 inch.
I also used a ruffler to make the ruffle. A ruffler is an attachment for your sewing machine. I sewed the ruffle onto the round ends. See how there is a rough edge on both sides of the ruffle. Below you see the ruffle attached to the end.
Then I sewed the body of the pillow together. I sewed it into a tube along the long end with a 1/2 inch seam allowance, but I left a large opening in the center for stuffing the pillow.
Then I sewed the ends onto the body of the pillow and turned it inside out. I smoothed out the stuffing.
Then stitched up the opening by hand.
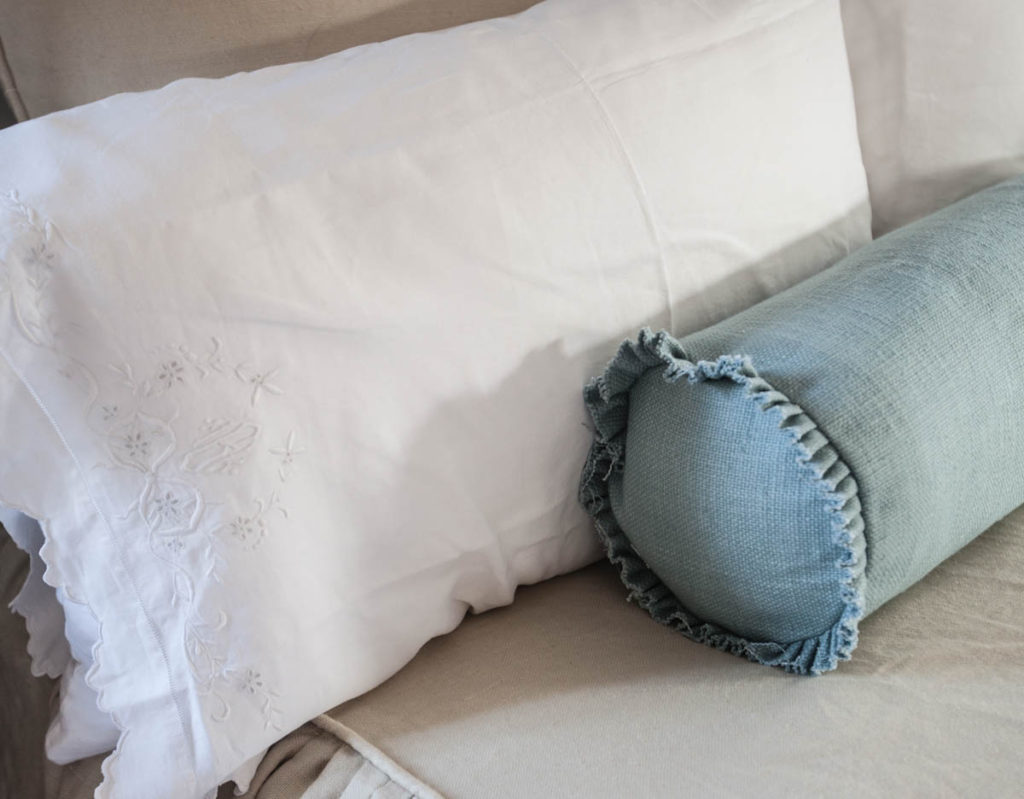
Well the truth is I had to finish this in time to get my photos before the light went away. The pillow was a bit lumpy, but I sewed it together any way so I could get these photos for you. After I took the photos, I ripped open pillow and smoothed the filling. It’s a tedious process, so I watched Netflix while I worked on it. Okay that’s the last bolster pillow for awhile. Just a side note, this is very heavy linen. If you want a softer look, try using a more light-weight linen. I like using a variety of weights when I sew with linen.
Linen fabric is from my sponsor Calico Corners.
EPISODE 99 SELECTING FLOORING FOR YOUR HOME
I love how adding new pillows can change out my room completely! Thanks for another fun project to sew!
Love these pillows and thank you for the directions of how to God bless
This is gorgeous Anita!
I’m trying to picture how you sewed the end pieces into the body of the pillow…how did you put that together?
Another beautifully done tutorial! Thanks!
Thanks, Anita, for the sewing lesson! Great instructions! I’m going to make a bolster pillow for the bed in our Guest Bedroom!
Have a great weekend! Blessings!
For Pete’s sake! Three bolsters, one throw, Five slipcovers including the fur stool, and I’m sure I’m forgetting something! I’m starting to have feelings of inadequacy as a woman! ♥️ You!
Ginger
Very pretty. I might give it a try. Thanks for the tutorial.
Nancy
Is there anything you can’t do? Love the pillow (and you)!
Thank you for showing me how to do this. The only type of bolster I have made never actually had ends like that… it had tassle ties so it was much easier. This is great, I will have to try this! Now I will be searching my box of sewing feet to see if I have a ruffler. Is it a special foot? or a different type of attachment? Thanks I pinned this:)
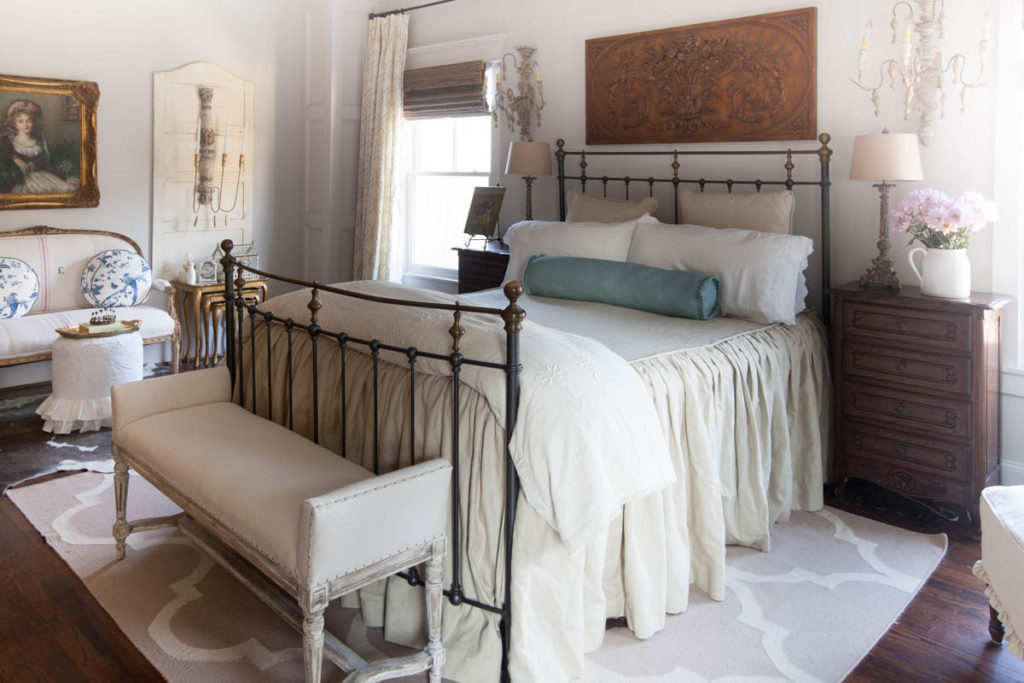
BTW- that bedroom is GORGEOUS!
Thank you Kathleen!!!
Kathleen, it’s not a typical attachment. You would know if you had bought one. It’s rather big, and doesn’t come with a sewing machine. Try this link to see an example of one. (Affiliate link) http://amzn.to/2yeuaF4
Lovely but where did you get the bedspread? Thanks!
Linda, I made it. I have instructions on how to make it in the new edition of my book.