I decided to begin doing more DIY projects because you asked for them. I’m not crafty so I was a little concerned about how much I would like the projects. The thing is, it has to be easy and look amazing. If not, then count me out! This project is both.
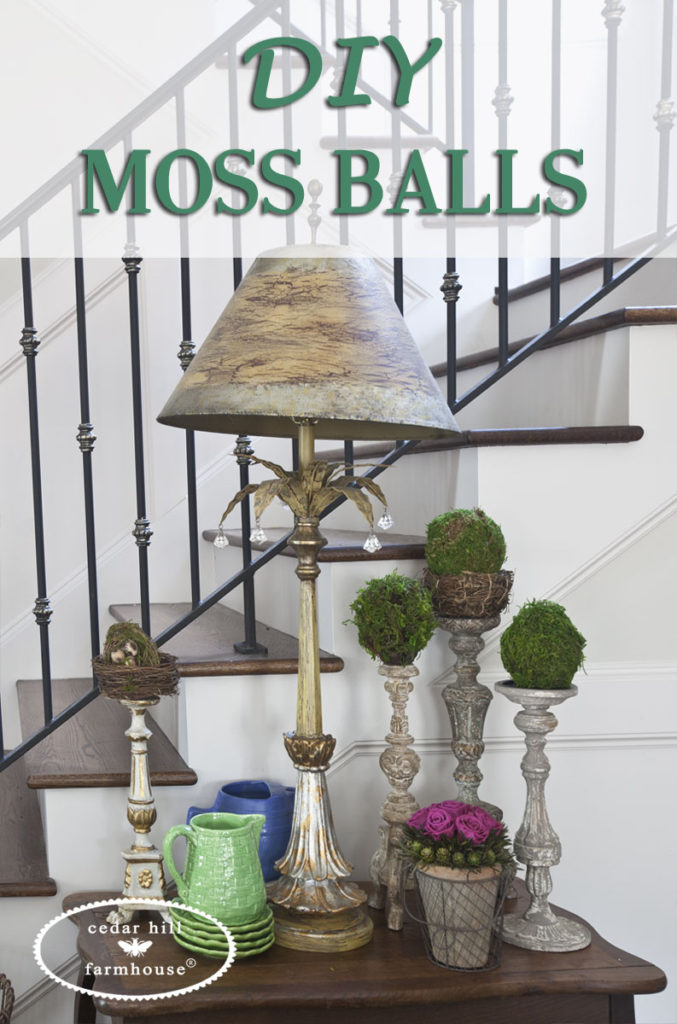
Here’s another thought. Do you love the preserved boxwood balls? I know I do, but I don’t love the price. I sometimes sell them in my shop, and they are pretty expensive wholesale also. So why not make the moss balls instead? They look very similar.
You’ll need moss either loose or sheet moss. The sheet moss is easier to work with, but doesn’t seem to go as far. I used both, but the photos show the loose moss.
Supplies needed:
Green Styrofoam balls (whatever size you want)
Moss (sheet or loose)
Glue (you can use craft glue or a glue gun)
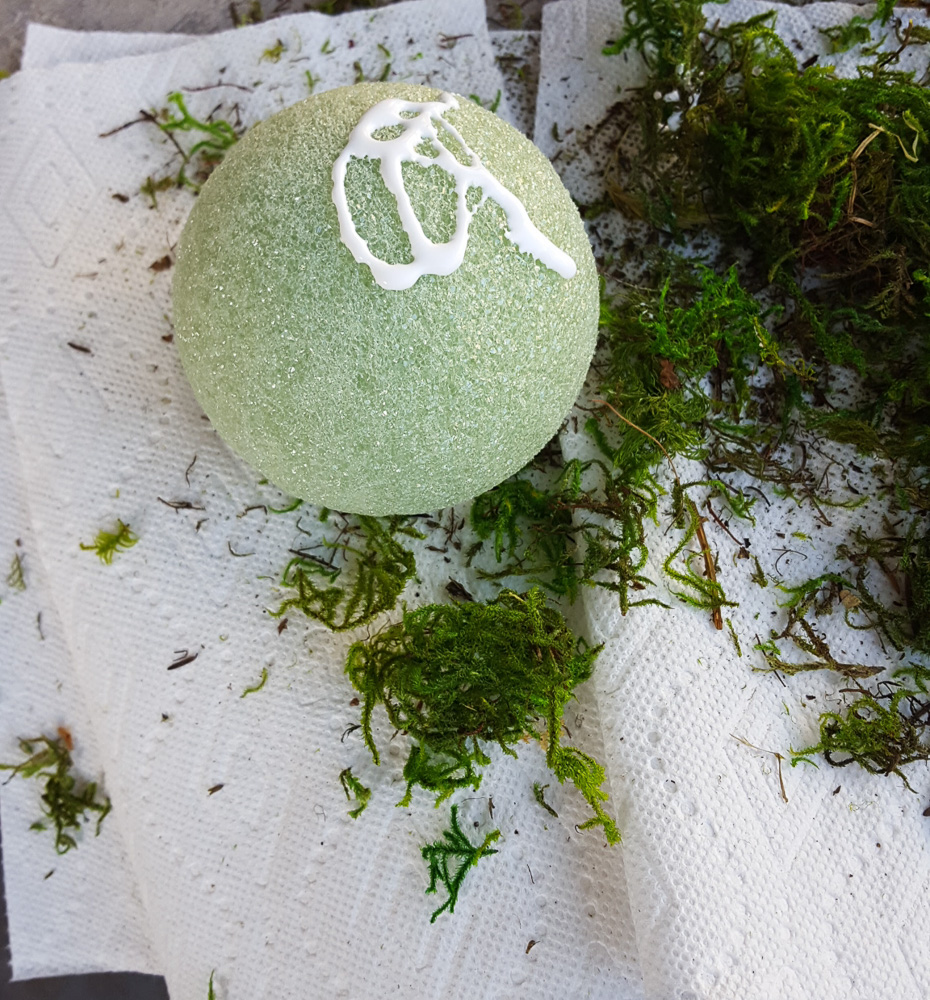
Start by adding the glue to the ball. Then apply the moss. This process is the same no matter which moss you use or glue.
Apply the moss. With craft glue, it takes much longer to dry. Keep going until you have covered the ball. I kept mashing it down. 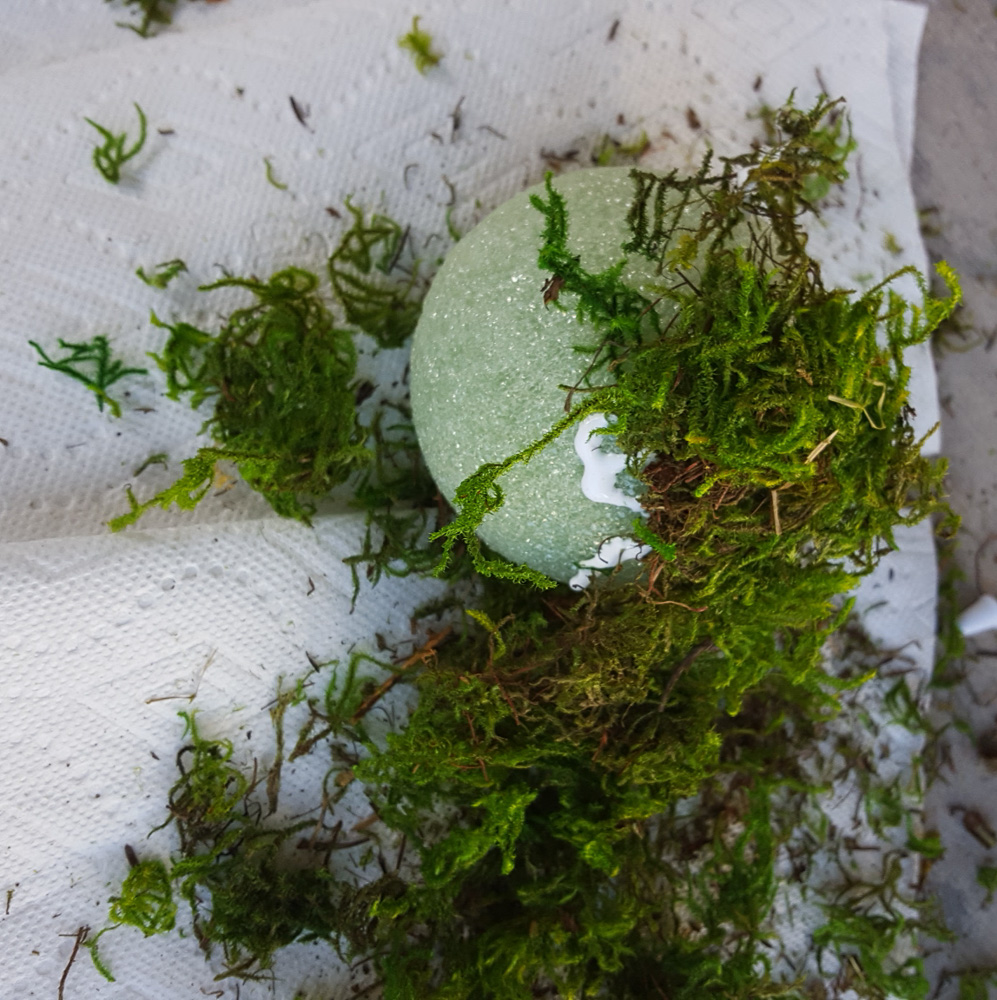
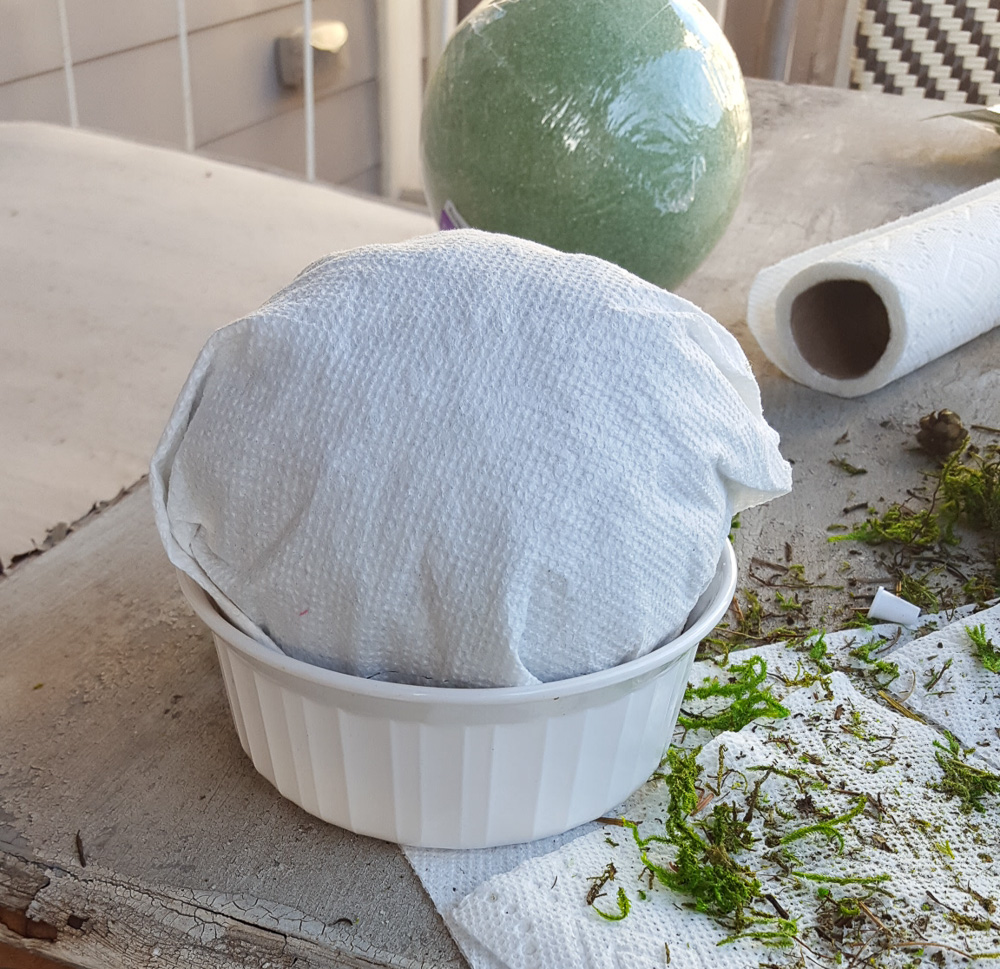
To keep the moss in place while the glue dried, I wrapped it in a paper towel and put it in a dish to dry. If you use a glue gun you can skip this step.
Then they were ready to go. The loose moss sheds some so be careful. I have to say I’m in love with the look.
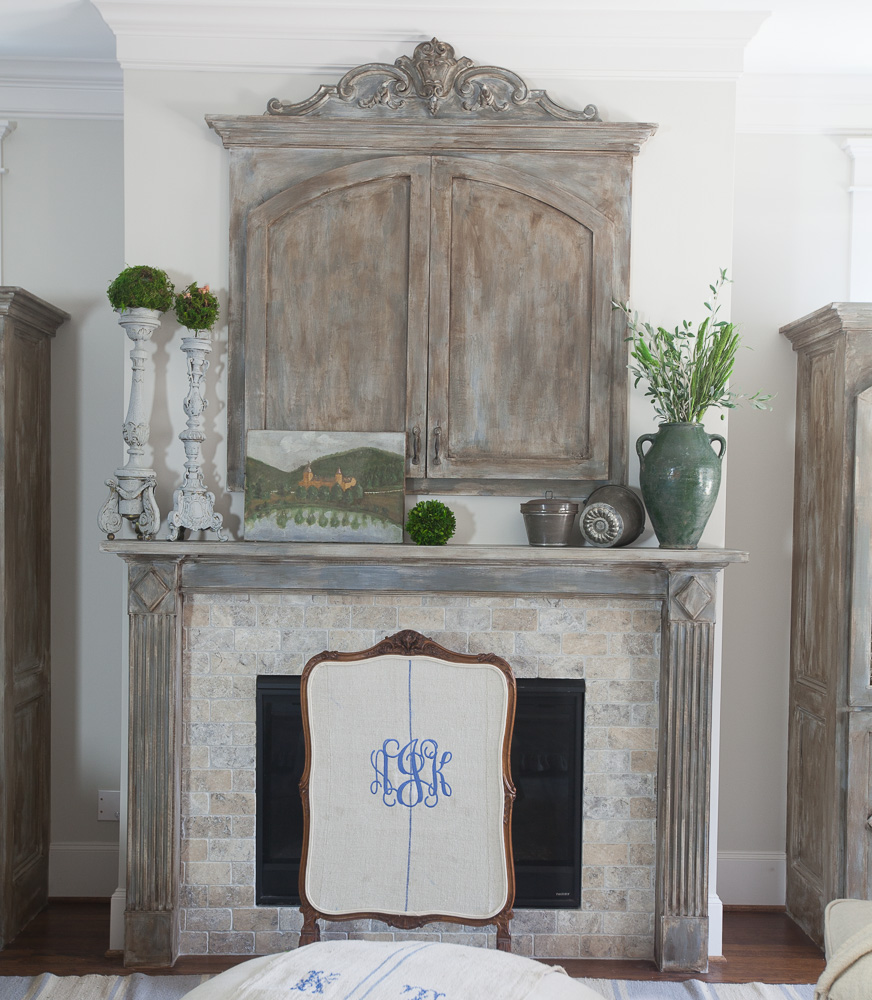
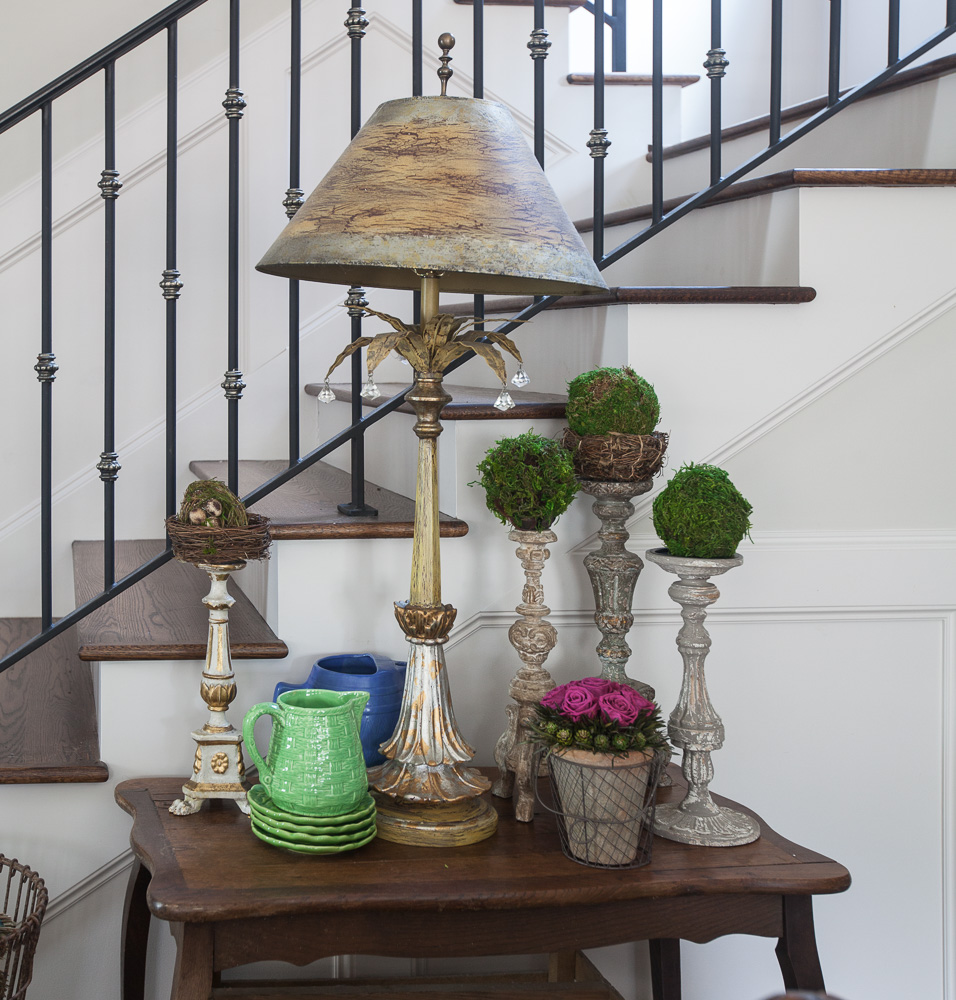
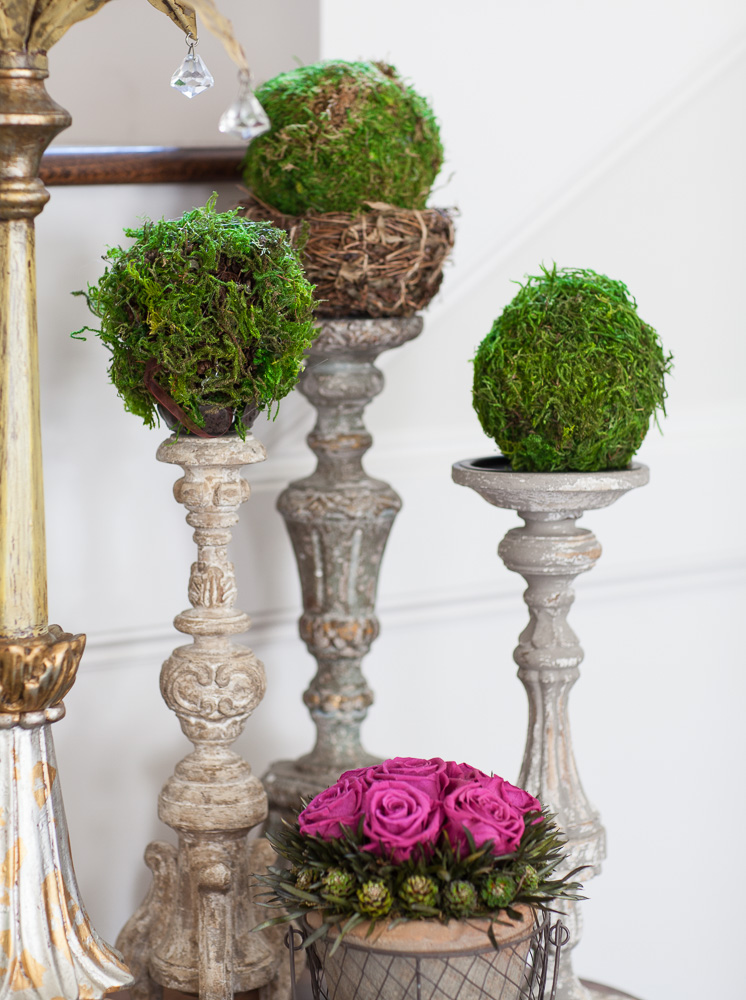
I kept going until I ran out of moss! Here’s three more. I love the look of the moss balls on the candlesticks.
The one on the left is made from loose moss and the one on the right is made from sheet moss. Or do what I did, and make some of both.
And I added this stack of nests to another candlestick to break it up a bit. 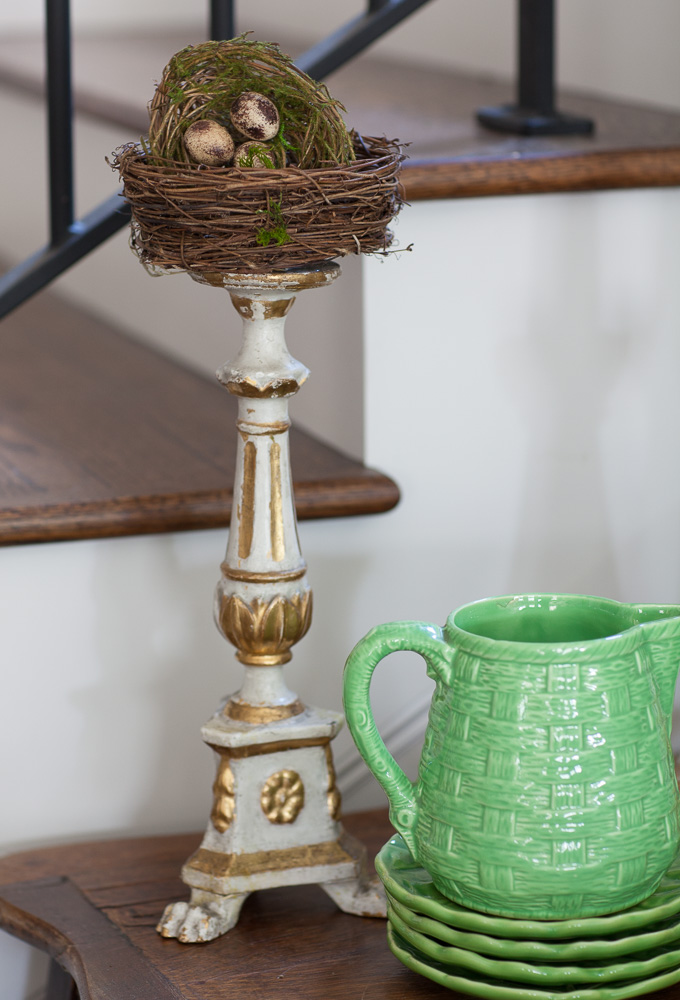
(affiliate links)
You can buy the
loose moss HERE and the
I might actually be able to pull this craft off. I love the color and texture mossy balls add, but the price, not so much.
very cute craft project, love them on the candlesticks, I have to do this today!
Thanks for the tutorial. I love easy projects too.
Love the moss on the candlestick as wrll
I love this craft idea. They add color and life to a room.
They look easy! Thank you
Where did you find that wonderful lamp?
Wonderful look, and several years ago for a change, we used fake spring flowers and ivy inserted into the balls, makes for a beautiful arrangement!
I have made these and did the tops of a topiary y or two. Worst part for me is messy but worth it for sure.
Cindy
If you have a Christmas Tree Shop near you, they sell plastic versions of the preserved boxwood balls – really cheap – like 6 bucks for a huge one and 3 bucks for the size you used. They look pretty good too.
Love this idea !! Thanks
I love everything covered in moss right now. These are so cute and they turned out great!
Nancy
I have used the sheet moss before and it smelled so terrible I had to take it out of my dining room!!! Is there something to do to get the smell out?
Mine didn’t have a smell Toni. I wonder if anyone else had that issue.
Such a fun craft, and well worth the time and “mess”. I have several of these of different sizes that I bought already made up, and I put them in a tall apothecary jar, with tiny pastel eggs layered in. Such a pretty Spring/Easter look, and easy to assemble quickly. I also have used them in my white pottery vases, with a little Spanish moss tucked in to add texture.
Thanks for sharing the how to..
I’m like you, a craft has to be quick, look great and EASY! This hit all three!! I’m also making hypertufa balls, but I’m putting real moss on them…the moss/buttermilk mixture. When they’re finished I’ll send you a picture…takes a little while for the moss to form. ..the hypertufa form is glass light globes. You can also use hollow rubber balls as forms. Look lovely sitting in flower beds. Thanks for all you do to enlighten our lives!
Have been wanting to try my hand at making these! Really like using candlesticks as pedestals, too!
Moss seems to be all the rage, thanks for stepping out of your comfort zone to inspire us make a fashion statement in decor!
I am in love with these moss balls. The craft store can’t open soon enough for me today! Thanks Anita. You have totally inspired me!
Love your technique and the end result, I have some already made from the store, but think I’ll give this a try. Thank you!
I believe I’m addicted to anything moss!
It seem to be able to take a busy room to a quiet place.
Yours is lovely!
Love this idea! I actually have some moss in my crafting box. I think I should try this! Thanks for the tutorial.
I bought the loose moss quite a while back and have been looking for inspiration to use it. You did that for sure – I’ll be making them today. Thanks
What an easy craft project for Spring. Thanks for sharing.
Love how these look, texture galore. Think I’d use hot glue, too Impatient. Maybe try using some hair spray after getting moss on, could help keep balls from shedding so much. Love idea of the color and texture of balls in a room. either on a candlestick or in a bowl. Great post for somebody who says she’s not a crafter.
Love your lamp shade on table with moss balls.
Have wonderful week
Love the moss balls on the candlesticks…I have to make these.
Thanks for the DIY! It’s one I will try. Maybe instead of using the paper towel, I might try plastic wrap as you can control the moss a little better. If you cut a piece large enough to cover the ball you can work right on the plastic and any loose moss can be rolled into the ball when you’re done. Less clean up that way too. Just a thought. Jill
I wanted a couple of these, but they cost to much. Thanks to you, I now can make my own. You rock!
Love your post! I made my first one the other day. At a thrift store I found three styro Christmas ornaments for a quarter, painted them a lime green and then cut up my moss. Then spread tacky glue on and rolled the ornament in the moss. Turned out beautifully!
What a great idea! Those darn moss balls are expensive!