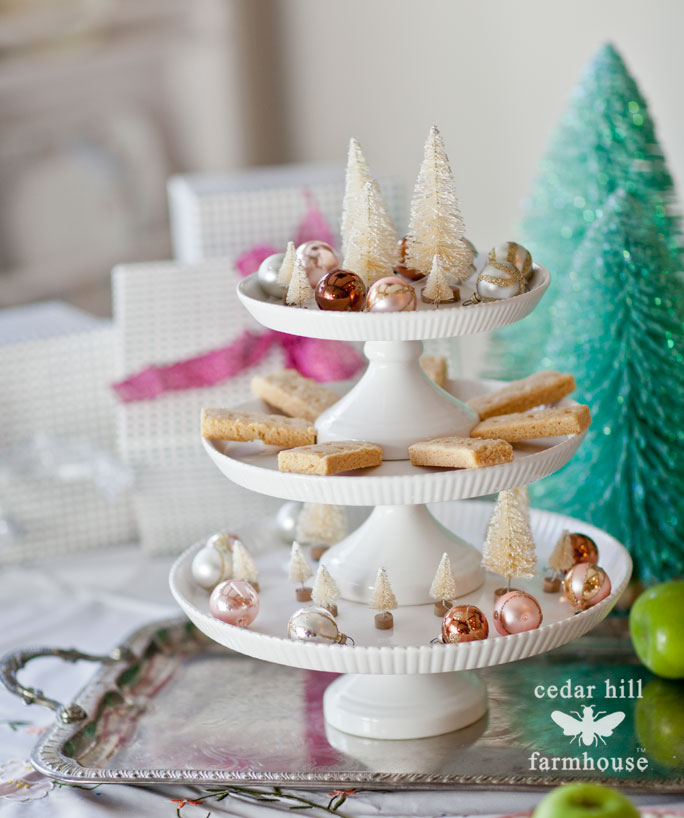
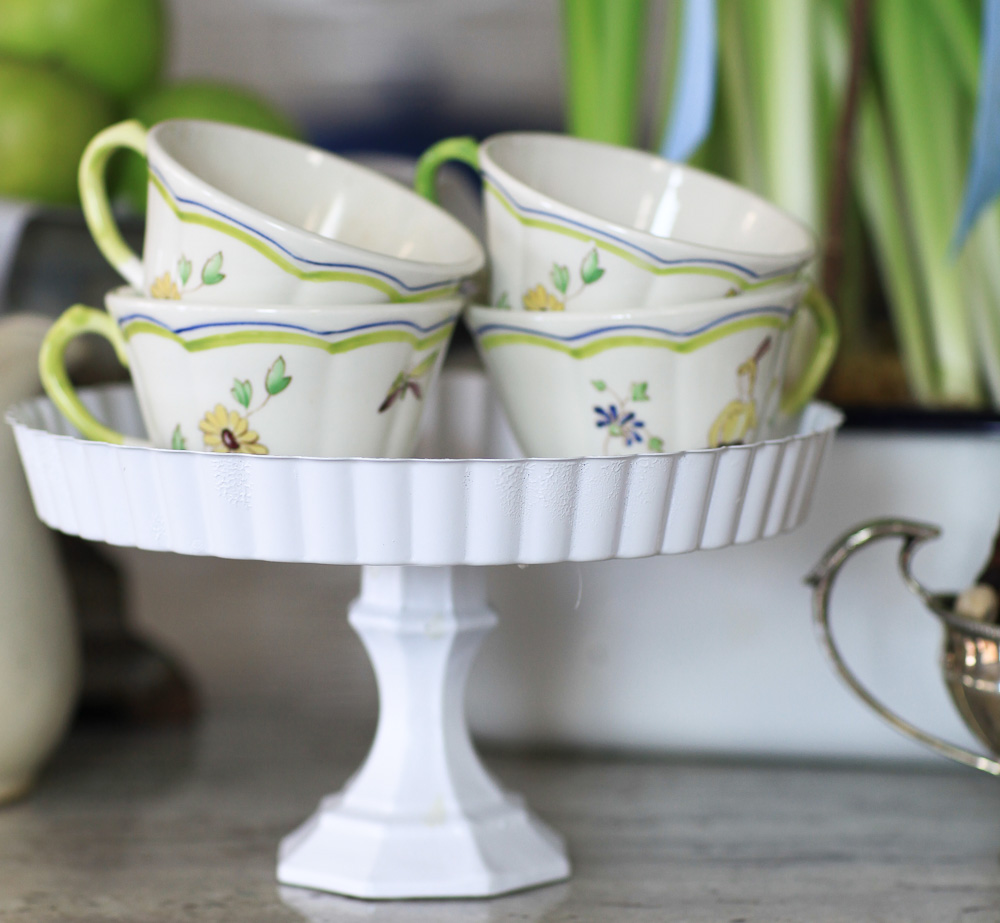
I admit it, I have a thing for cake stands. I love this ruffled one below. Readers have been telling me they want inexpensive alternatives to what I do, so this is an easy and fun DIY cake stand. That’s right, we are going to make our own.
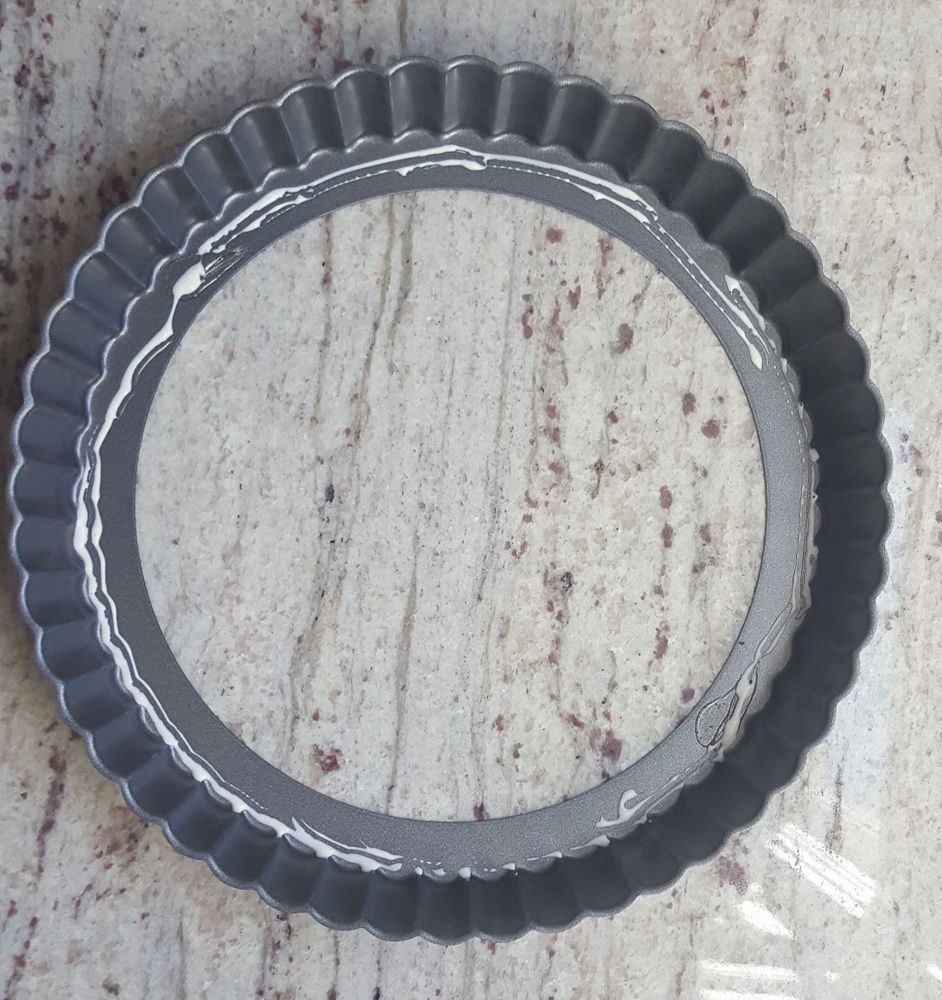
This project is very straight forward and easy. I do want to mention that I would not put food on it after you spray paint it. I doubt the spray paint is food safe. First you need a couple of things before we get started. First a tart pan. Usually they come with a removable bottom, which is fine, but if you can find one without a removable bottom, that’s even better. I have a few resources here where you can buy the supplies directly from Amazon with these affiliate links.
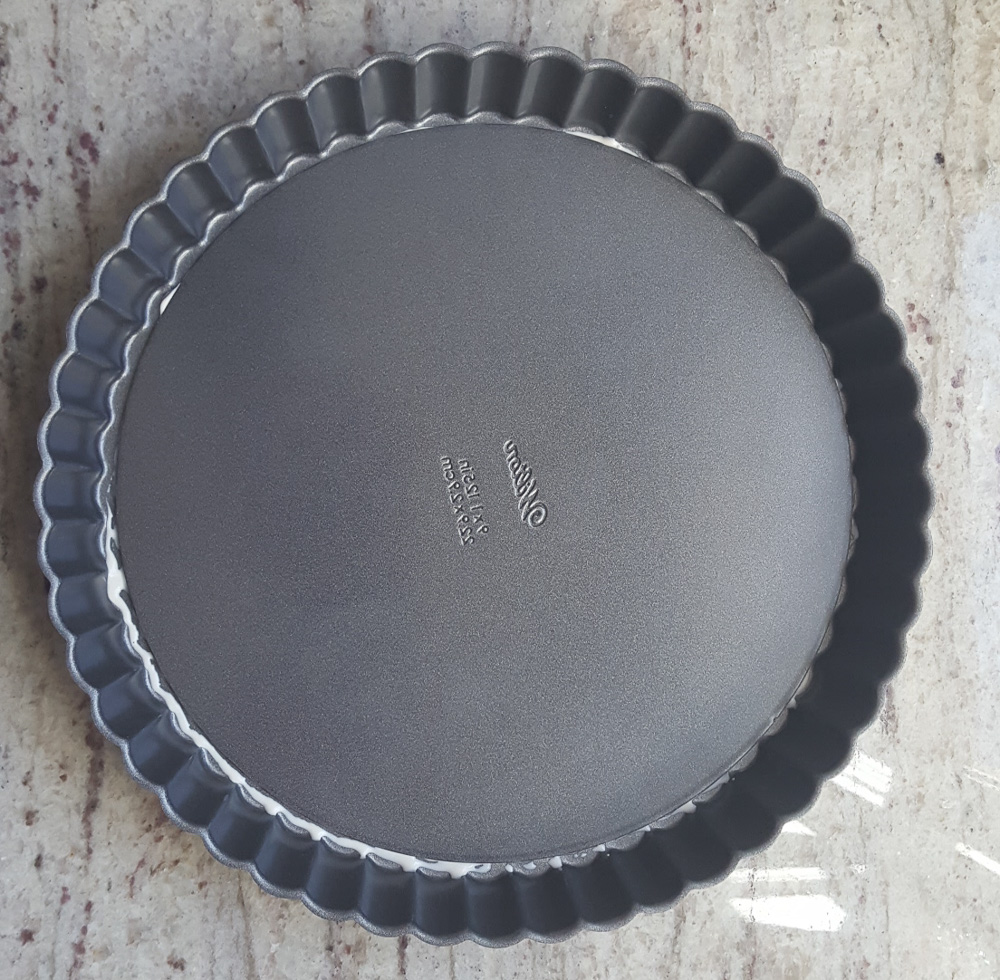
You are also going to need a glass candle holder like the one shown above. Usually these are clear glass. You also need glossy spray paint and glue. I ended up using a glue gun because the craft glue didn’t hold. Gorilla glue might work. Karen (in the comments) mentioned using an epoxy glue. Sounds like a great tip! I applied glue to the top of the tart pan, then placed the bottom back on it. Lastly you’ll need spray paint in primer, and in a glossy white.
Some glue squished out, so I wiped that off.
Then I placed some heavy tiles on the pan while I waited for the glue to dry. 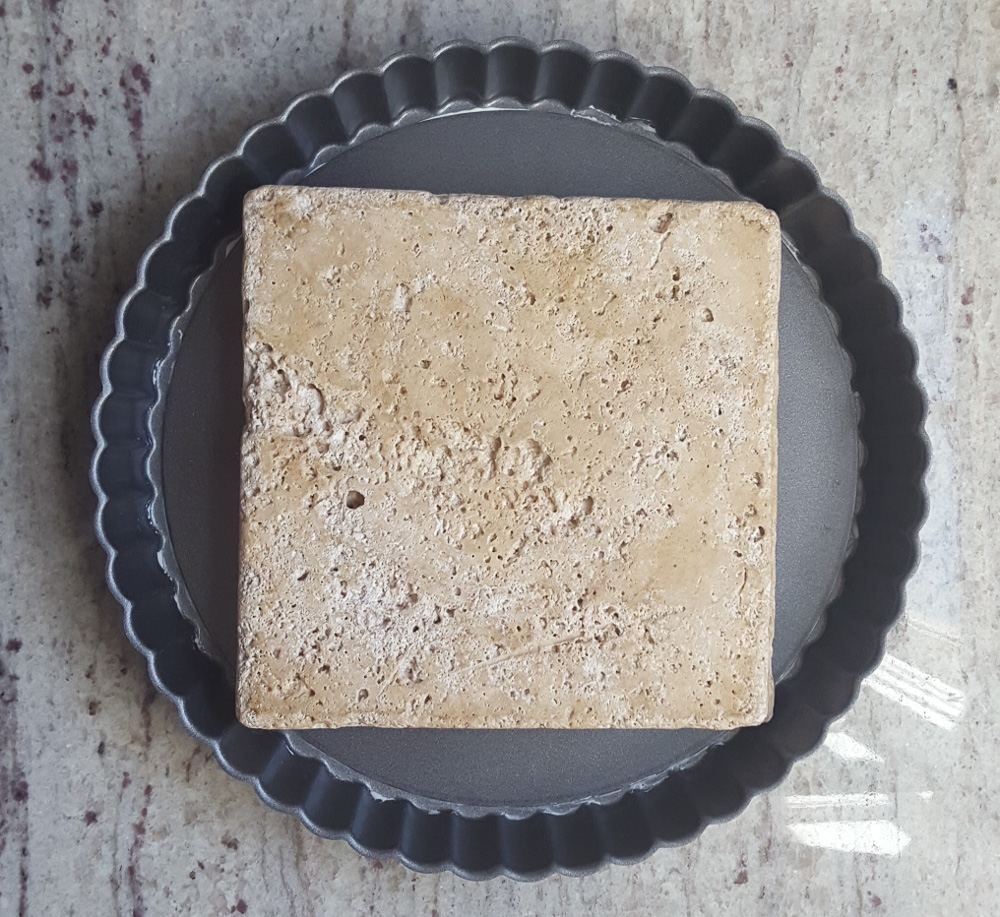
Next I spray painted the glass candlestick holder with glossy spray paint. The paint did not stick well, so be sure to use a coat of primer first!
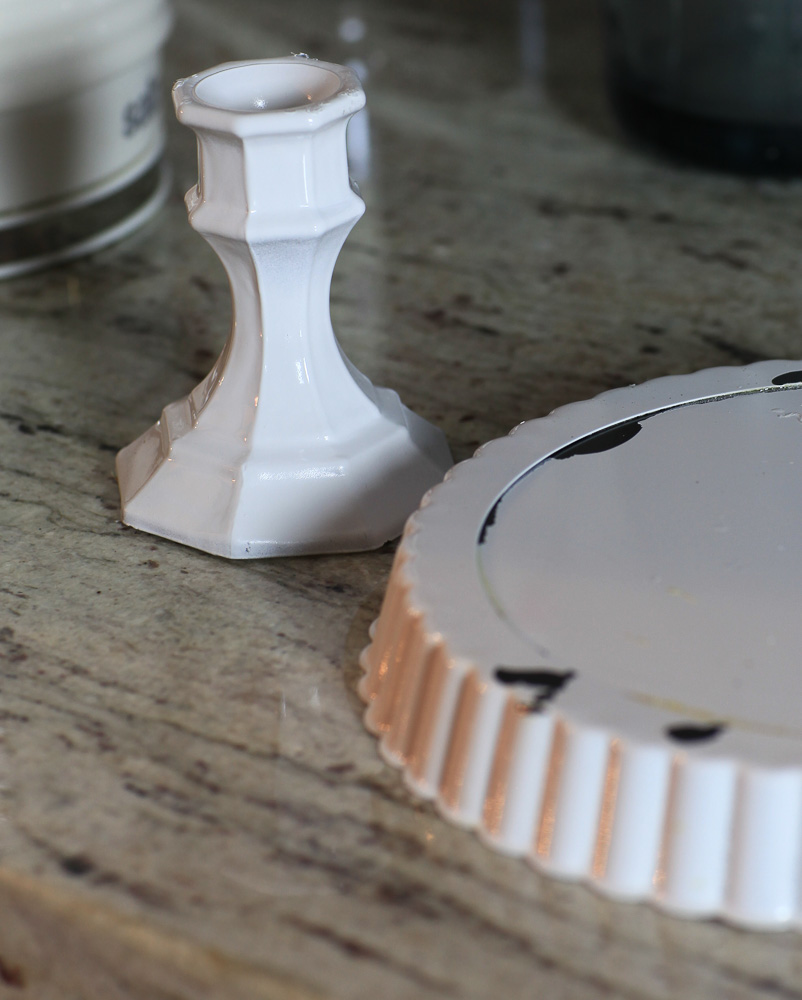
I found my candle holder at the dollar store. After the pan set and the bottom was firmly attached to the sides, I glued the candle holder on the bottom. After that glue dried, I spray painted the entire piece. Ready to see the finished product?
There it is! The tart pan was about $7 and the candlestick holder was $1.
Obviously it used some paint, but there was plenty left over in the can when I was done. So really it was $8 plus some change. I thought it turned out rather well for a non-crafty person if I do say so myself.
Just be sure your glue is holding before you put much on the stand. It’s very satisfying making something yourself too. I’m doing an inexpensive DIY each Thursday (until I run out of ideas!)
This is part of my DIY Tips and Tricks event. Check out what my friends did today.

Great idea and neat e result.
Check out what’s New at Sarah Rose Storm at the wooded trail@ Etsy!
I love the idea! Maybe try it myself but want to add hanging crystals around edge??
Thanks
Deb
Brass candle sticks are easily available in thrift stores…that would be An alternatI’ve to the glass. Thanks for the ideas.
Brass candle sticks are easily available in thrift stores…that would be An alternatI’ve to the glass. Thanks for the ideas. It makes a great display piece.
I have to try this! Thanks so much
I also have a thing for cake plates. Fond memories of mom making out birthday cake and on her beautiful Fostoria cake plate 70 years later it’s in my china hutch and now used for my grandchildrens birthdays
Where were you yesterday when I spent $30 on a very similar stand??? You’re so clever!
Ginger
Cute idea!
So cute! What a great idea to use a tart pan!
I’ve made cake stands with vintage plates and the same candle sticks. I found that epoxy glue works best and you never have to worry about the glue sticking.
Thanks for the tip Karen! Excellent!
How fun! Thanks for sharing this creative diy!
So very clever are you!
This turned out so much better than some of these I’ve seen. Well done!
Such a cute idea. Turned out great. (just an FYI, I think you meant inexpensive 😉
Yes, did I say ‘expensive’ somewhere? I just looked but didn’t see it! I don’t doubt you, I just couldn’t find it to fix it.
Great idea, thanks for sharing!
That’s awesome, this looks easy and so cute!
Thank you for inspiring me everyday!
Gorgeous! Amazing that gloss paint can look that good on glass–must try this cause I always want more cake stands….
So cute!!!!!! Such a great idea!!!!! ❤
Roxann
I like the look of paint on the glass candlestick – on the metal/tin – not so much. I would hope to find a glass tart pan, then I would be happy with the all over painted result. From a distance, for decorative display purposes, it’s great – up close, and for actual use, I would want both parts to be the same material. But that’s just me .
I do appreciate the crafting lesson though – it’s an inexpensive way to get a look.
I would not use this for food, so yes from a distance is best.
But if you wanted to use it for food, all you would need to do is place parchment paper or wax paper on it to keep the food separated from the paint, right?
I wouldn’t. Paper isn’t impervious. It might be safe; I just don’t know.
Great idea! You can also go to Goodwill or local thrift stores and buy large platters and dinner plates for $1 or less and glass or brass candlesticks for $1 or less. Then with the price of your epoxy and paints your whole project is very reasonable because the epoxy and paints go further than one craft project. With the plates from the thrifts you may not want to paint them, just the candlesticks, depending on the theme.
Excellent idea Sandra!!!
Thanks so much for the thrifty tip. I look forward to many more, love your style and DIY!
To say I LOVE this idea is an understatement. This
This is why you are you and why I’m me, LOL. I think the hubby has liquid nails in the garage that I can use
Cindy
You’ve given me an idea! I have candlesticks I’m not using. I have a tart pan somewhere too so I wouldn’t have to buy anything. I think I will look through my plates/platters to see if there is one I want to turn into a cake stand. I’ve been looking for a tray or platter to put three glass jars in/on and this might just be perfect!
Very cute idea. Thanks for tips about using primer paint. I was the lucky winner from a dirty Santa party of a huge ginger jar with Victorian looking flowers painted on it. It has a great shape but the large floral doesn’t go with my home decor. I was thinking about trying my hand at spraying it. If I only could paint some chinoiserie on it!
I have some cake stands that I don’t want to put food directly on, so I buy the celophane gift type wrap at Christmas time or easter that has pretty designs and cut out circles of it to place food on when I use the stand! It works great, adds another layer of pretty to the design!
That cake holder turned out so cute. Thank you for sharing.
Love it! Thanks for the idea!
Love everything in all your pictures!
I make these a lot. I like using the glue E600. It’s great with all materials especially glass. I like using a coffee cup of mug turned upside down, then flying a pretty matching plate on the top!
Love the cake stand!
Nicely done, Anita!
Looks GREAT!
That was such a cute idea! Cake plate looks great!!. I love listing to the Pod cast.
Such a pretty DIY cake stand. Thank you for sharing with us at the Merry Monday party! We always look forward to your shares.
Anita, I love your cake stands and wanted to thank you for sharing these at Share Your Style!
Such a great idea and lovely result. Thank you for sharing.
Ingenious! I never would have guessed. It’s a great décor item for tablescapes and coffee tables to add loads of interesting little items. Even better that the little décor items can all be removed at one time for cleaning.
I love how your cake stand turned out. Extremely fabulous.
Love your cake stand and love the beautiful tea cups on the cake stand! May I ask, “where did you buy them?” TIA
Irma, I bought those at a resale shop. They are from France. They would be very hard to find I think.