Can you paint metal with chalky paint?
Can you paint brass, aluminum, iron or stainless steel with a chalky paint?
That is the question. And the answer is… YES.
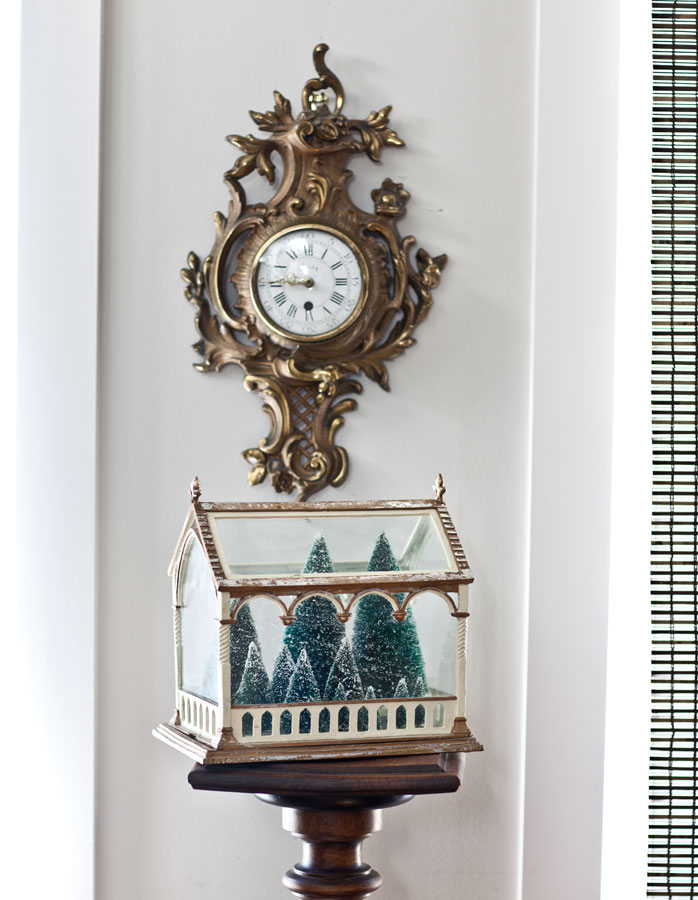
So here is what the clock looked liked before. And honestly it’s gorgeous just like it is. I don’t think you need to paint a clock that looks like this. I just wanted to. And if I or someone else wanted to remove the paint later, I believe it would be easier to remove it from brass than wood.
I found it at a thrift store for not a lot of money. The original clock workings had been removed and replaced with a clock run with a AA battery, which is obviously NOT original. So this was not a museum quality clock.
If you are concerned about painting something old, you can always google it or look for it on eBay to assess it’s value. If this clock had it original internal workings, it would be work a lot more money, but it doesn’t.
I wanted to see if I could make the clock looked like it was carved wood rather than brass. That is why I painted it.
The paints and products used for this project were graciously provided by
I made sure the surface was clean, but otherwise did no prep.
So I painted it with AMY HOWARD ONE STEP Good Man PAINT first.
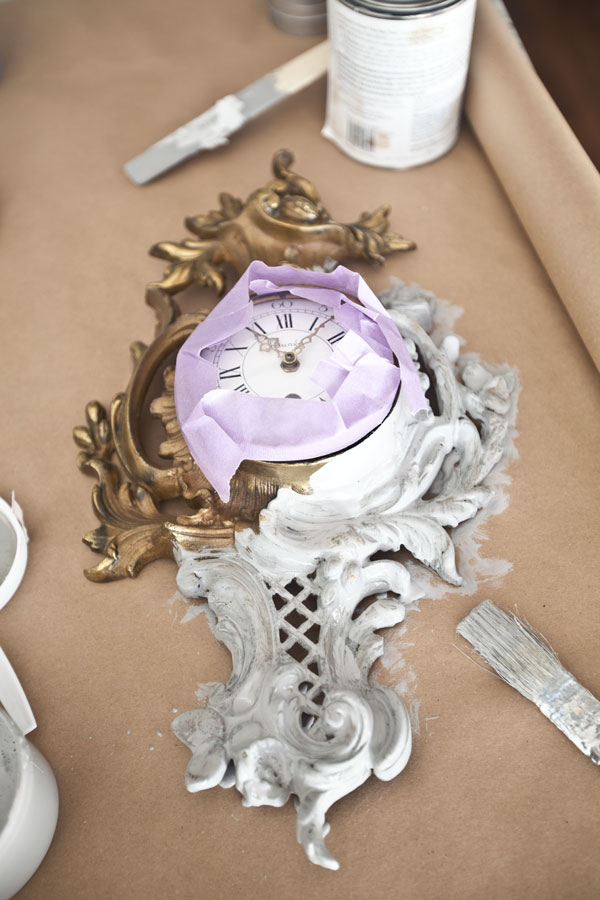
I protected the face of the clock with painter’s tape.
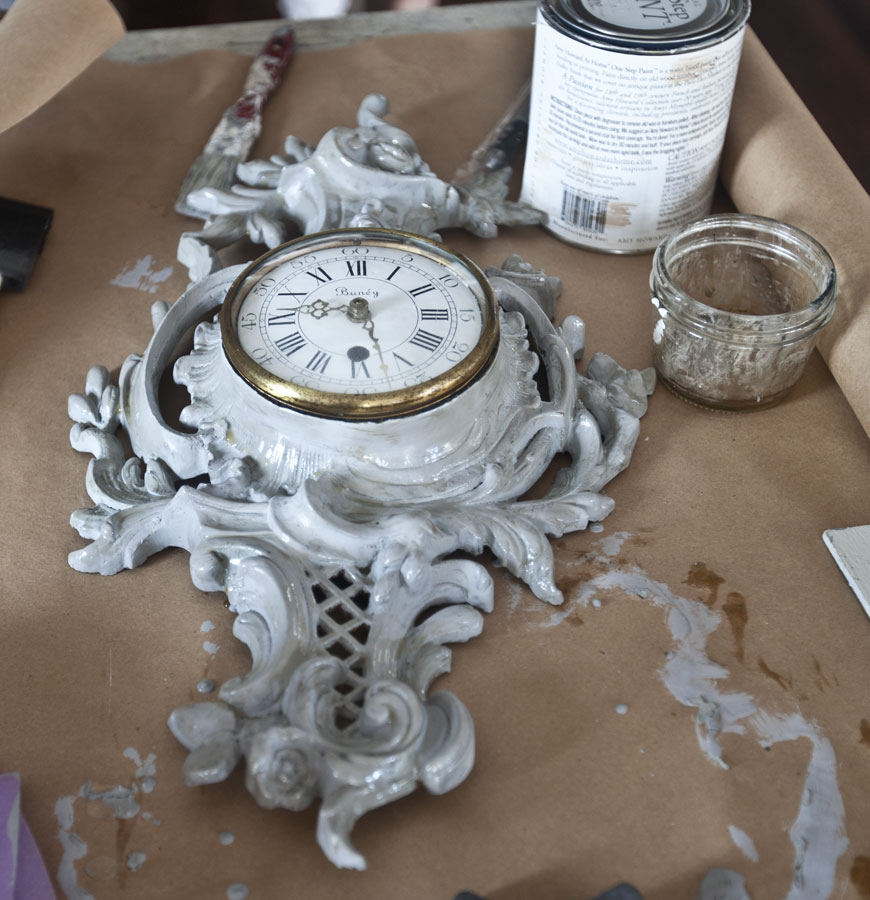
After it dried completely, I added a coat of AMY HOWARD TOSCANA PAINT.
As usual, first I mixed one part Noir with two parts Cote d’Azure to get the color I wanted.
Then I painted the Toscana paint on top of the one step paint.
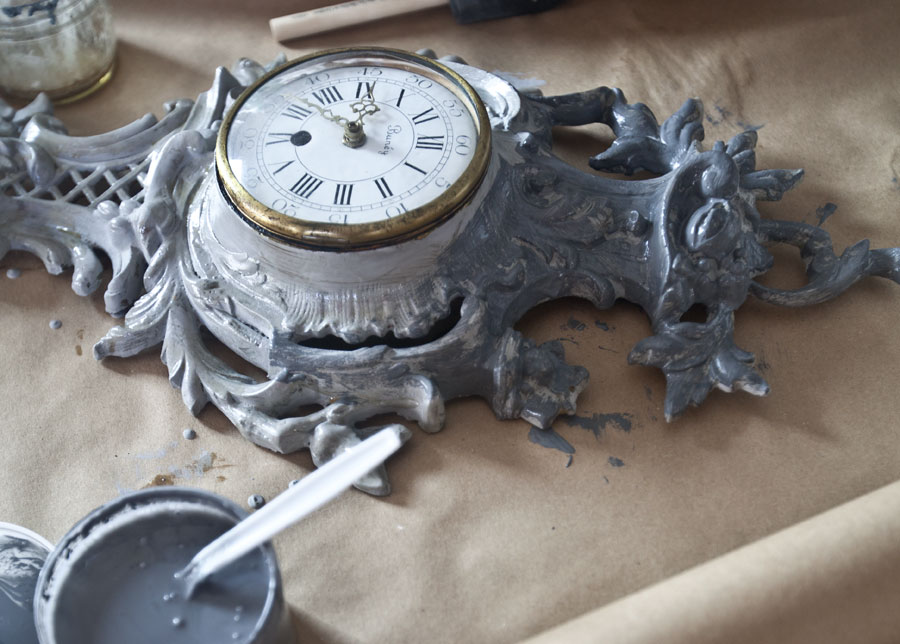
The Toscana paint goes on very dark, but dries lighter. Then I went over the paint AFTER it dried with the AMY HOWARD Antiquing Glaze. I dabbed it on with a sponge and it removed some of the paint.
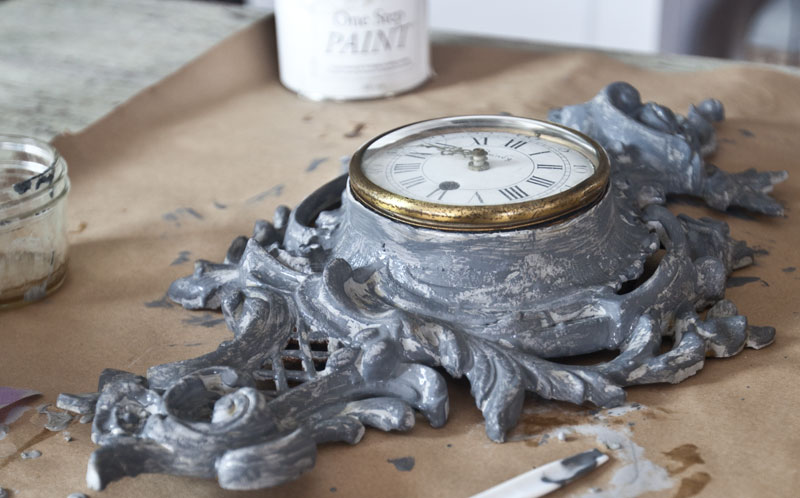
I kept removing paint until some of the brass shown through the paint. I wanted it to look like gilded wood, where some of the gold was left, but not much.
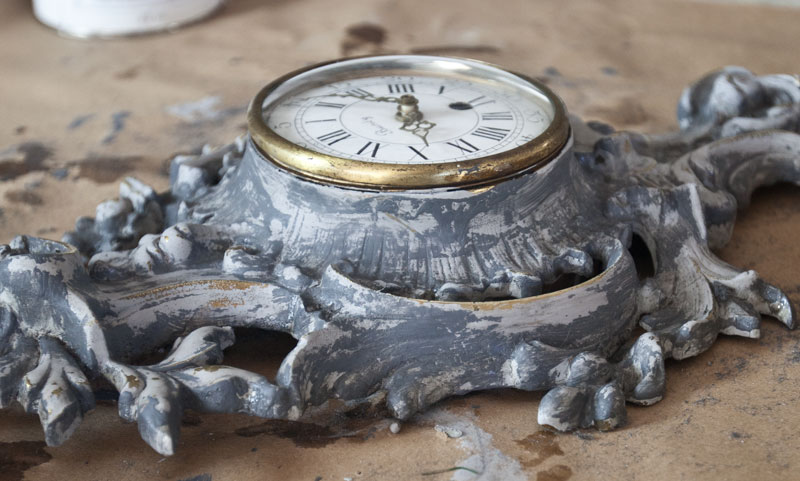
I rubbed hard in places to reveal the brass underneath.

After the antiquing glaze dried, I added a coat of AMY HOWARD light antiquing wax.
Here is the beautiful detail.
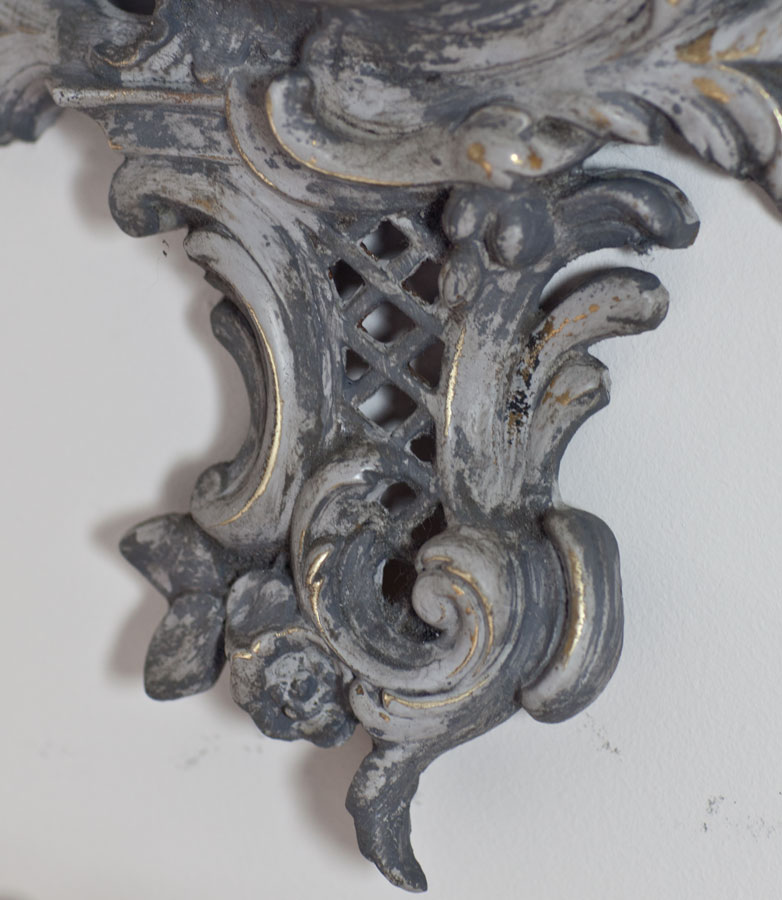
Below are more of the details.
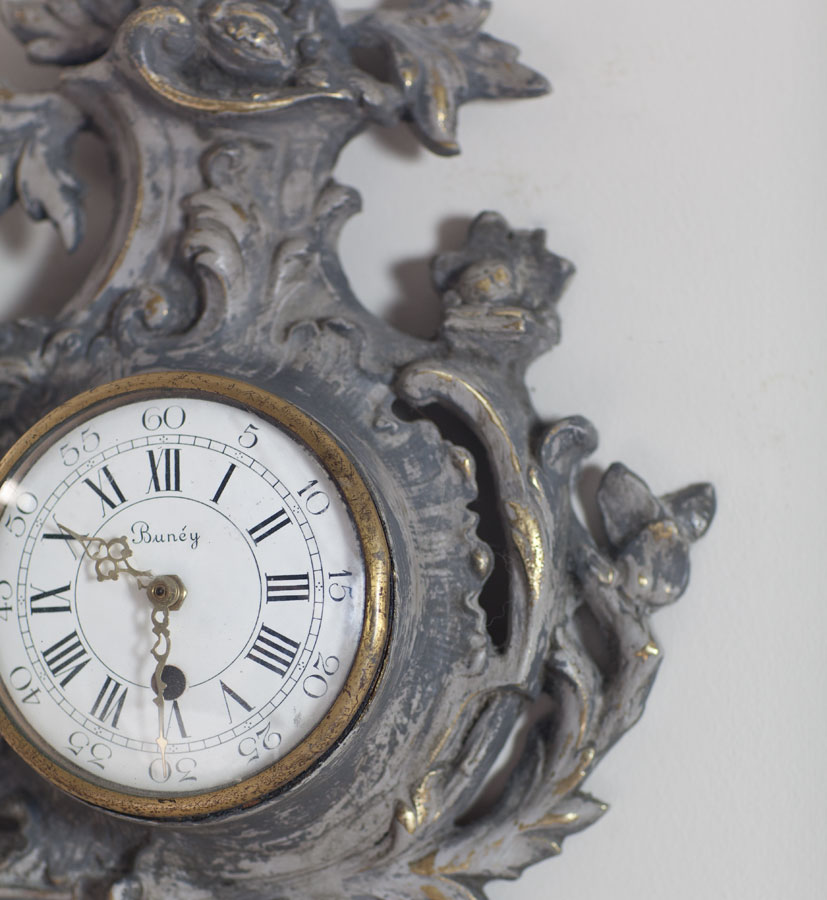
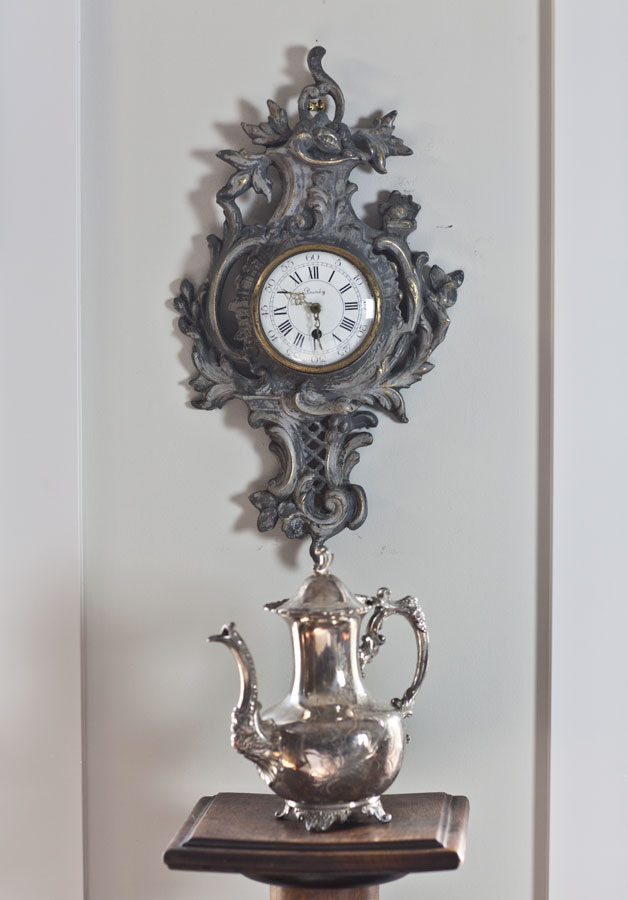
Well there it is. Now I know some of you will prefer the brass BEFORE. Honestly I love both looks. So before you paint your item, think about it, because although the paint can be removed, it is a bit of a process. Don’t those brass details just pop through the gray? It still has bling, but it’s toned down now.
It’s a stunning clock I think.
This technique works particularly well on something with lots of detail. Without the curved and raised areas, the darker and lighter spots wouldn’t make as much sense.
Thanks again to AMY HOWARD AT HOME for providing this scrumptious paint.
You can see the other AMY HOWARD projects HERE.
Anita, I think this is my most favorite thing you have ever painted…spectacular. But in all honestly, I’m a sucker for gray next to gold.
One little hint for your peeps… (In my business I’m constantly painting metal)
Paint really struggles to stick to well to galvanized metal. I had something fabricated out of galvanized metal. I tried numerous primers, including self etching primer…no bueno unless the object will be just sitting there, or if chipping is ok for that look. Research after the fact confirmed my mistake. Speaking of Amy Howard products, . they have a rub on product that gives a zinc finish to metal including galvanized steel. Very French. Once again, this clock is to die for!
It turned out absolutely beautifully, I love it! Some golds are not a pretty color, too brassy and this was the perfect solution. Great tutorial ! Thanks
Just gorgeous Anita!….I painted many a metal piece using the “other chalk paint” I truly cannot wait to work with Amy Howard products….
LOVE THIS!!! I have a black & gold metal clock that I love but was struggling with what to do with it. This is perfect for it! Thanks!!
Anita,
I adore the Amy Howard Painting Technique, dear friend!!!
This clock looks marvelous!!!
Fondly,
Pat
This piece is gorgeous! I’ve always liked metals, but now I’m rethinking my tastes.
I think nearly everything looks better painted and this clock is no exception, it really is beautiful with paint!
I love this fabulous clock! So swirly and Frenchy! Gorgeous!!!
Oh my thank you for the info on painting metal great tips
I am so pleased not only to know that these things can be painted, but the type of paint to use. Thank you.
This is absolutely “magnifique” !! You are so clever Anita! And what a fab find at the thrift store!!!
Thanks Narelle!!
The result was stunning I absolutely love it! Certain golds aren’t an attractive color, they are too brassy , and this is the ideal solution. Excellent tutorial! Thanks for sharing!