I do love to sew, but find that I don’t have loads of time to do a lot of complicated projects these days. I make all of my own slipcovers which tend to be very complicated, but I wanted a super easy project this week. I’ve had the fabric for awhile, but just didn’t have the time to do something with it earlier.
But I wanted pretty pillows for my closet that were super comfy. And this is one of the easiest ways to make a pillow cover, no piping, no button holes, no zippers.
Here we go.
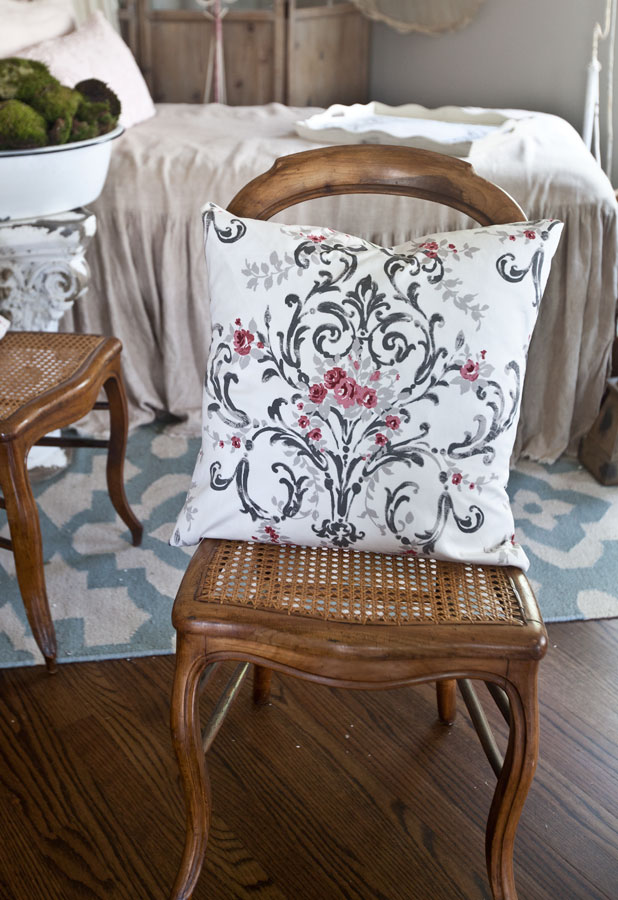
I used 20″x20″ pillow inserts.
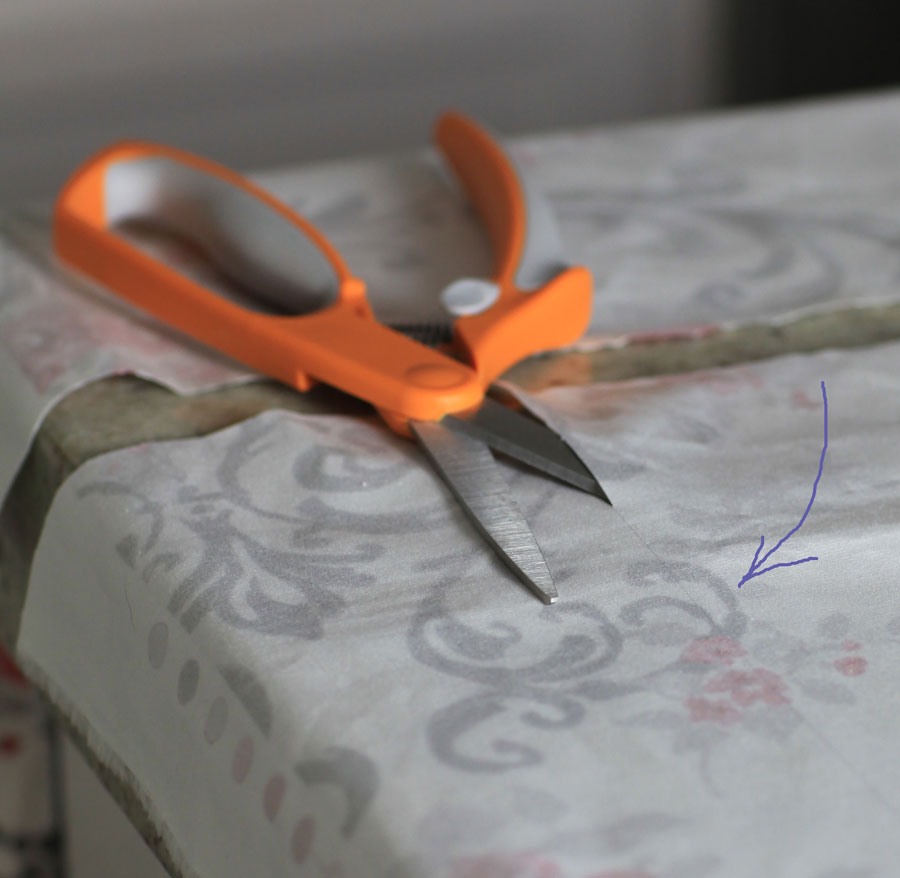
The first thing I did was to cut the front piece for the pillow. I use this formula. I use the size of the pillow and cut a piece of fabric that exact size, so for these pillows I cut the front 20×20. That means the pillow cover will be about an inch smaller each way than the pillow. This is what you want. You don’t want your pillow cover to be loose.
Because it is a pattern, I had to make sure that I cut the fabric so the pattern was centered for the front.
True confessions – I don’t use patterns when I sew and I don’t measure ingredients when I cook. There I said it.
I do however mark my fabric on the backside with pencil where I will be cutting, see below.
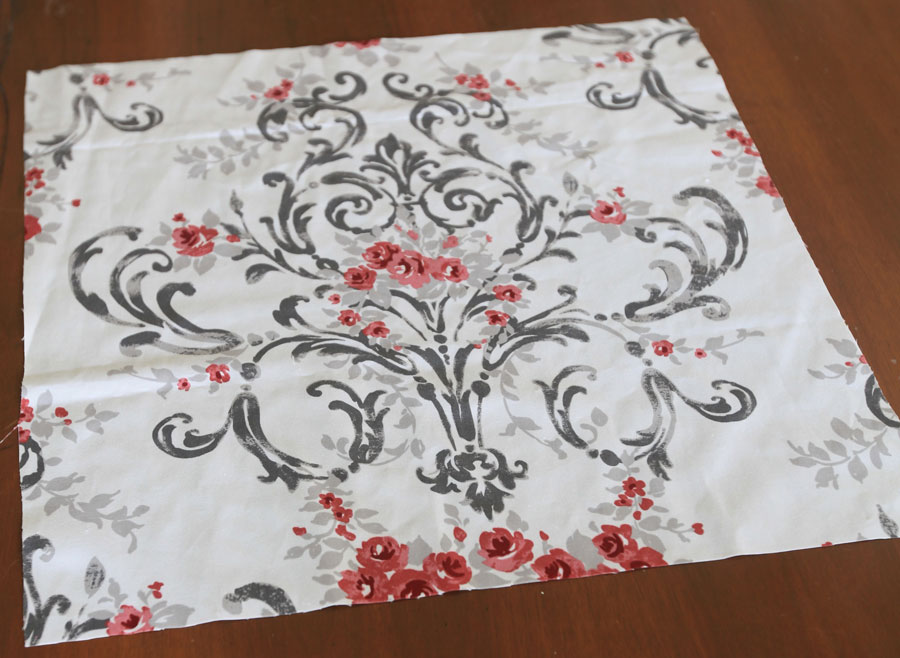
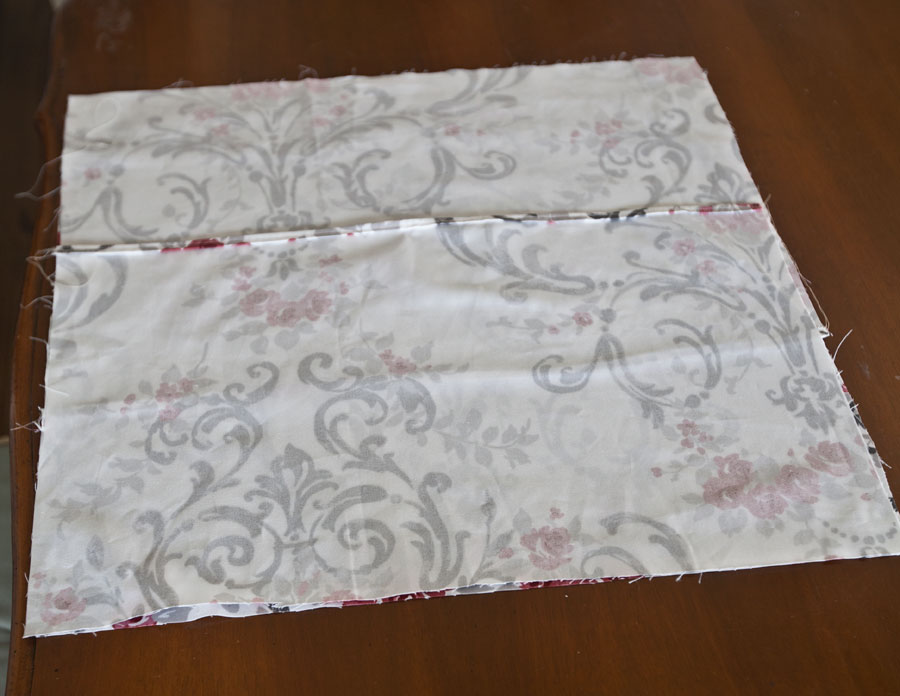
Here is the front piece of the pillow after I cut it. Notice the pattern is centered.
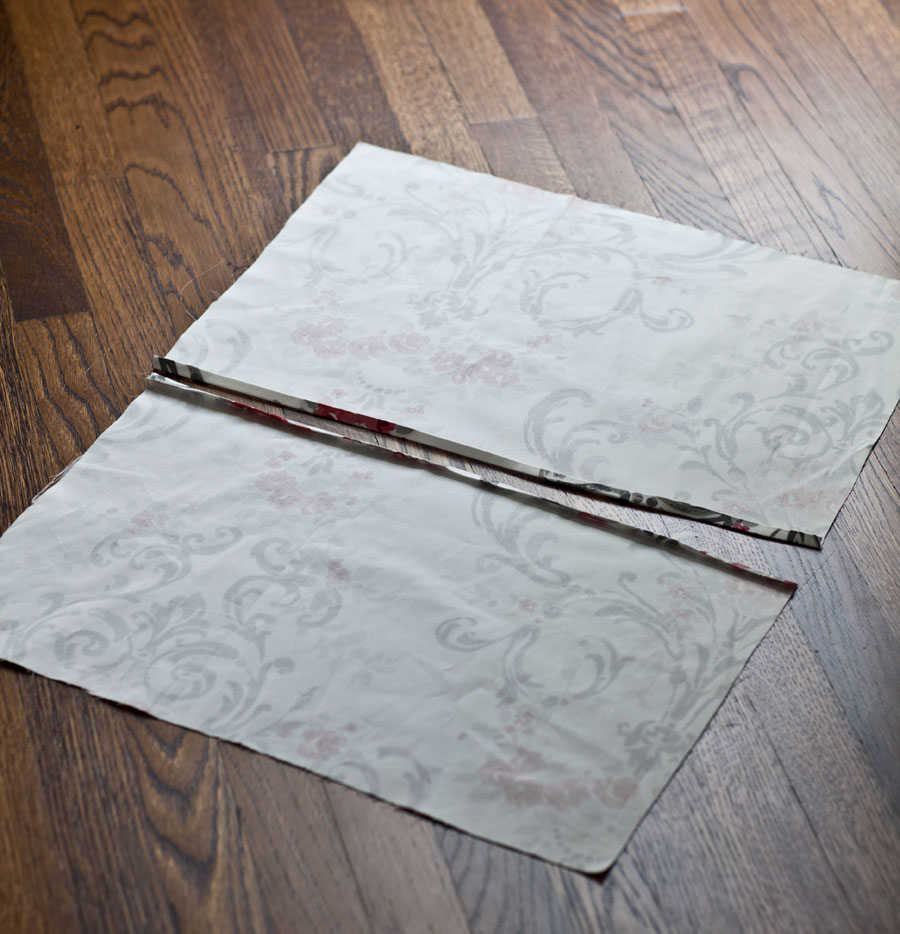
Then I cut two pieces for the back since we are going to use an envelope closure.
The back pieces are 20 wide and 13 tall. We need these pieces to overlap and I needed to make allowances for the seam and hem. These are going on the back so you can center the pattern or not. It’s up to you. For two 13 inch pieces once we consider the seam allowances I figure the pieces will overlap 4 inches on the back. That is a good amount.
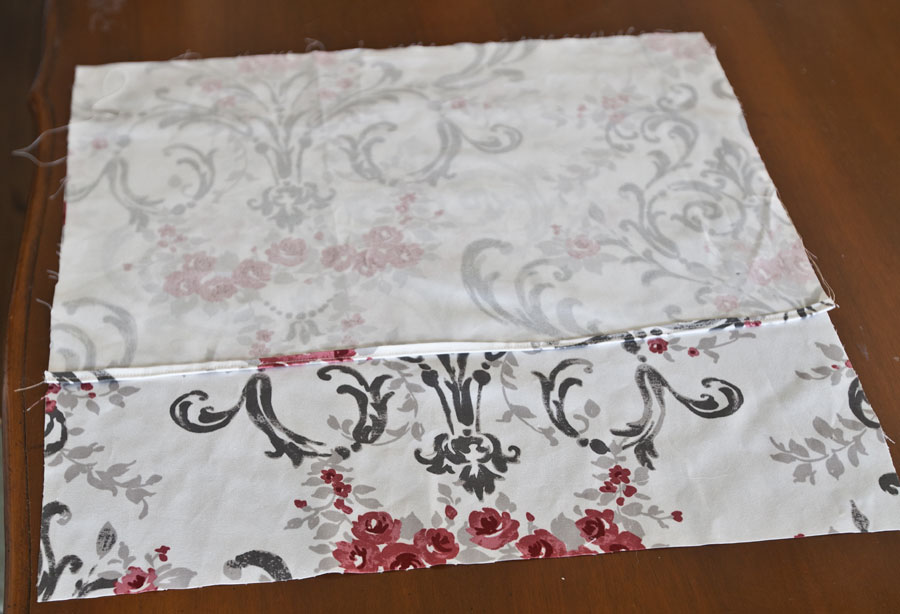
After the two back pieces were cut, I pressed the top end of the bottom 1/4 inch, then folded it over again 1/4 inch and pressed it again. No I did not measure it.
I pressed the bottom edge of the top piece.
Next I sewed the hem on both pieces.
Then I placed the front piece right side up on the table, and placed the top back piece right side down on top of it.
The bottom back goes on last, right side down.
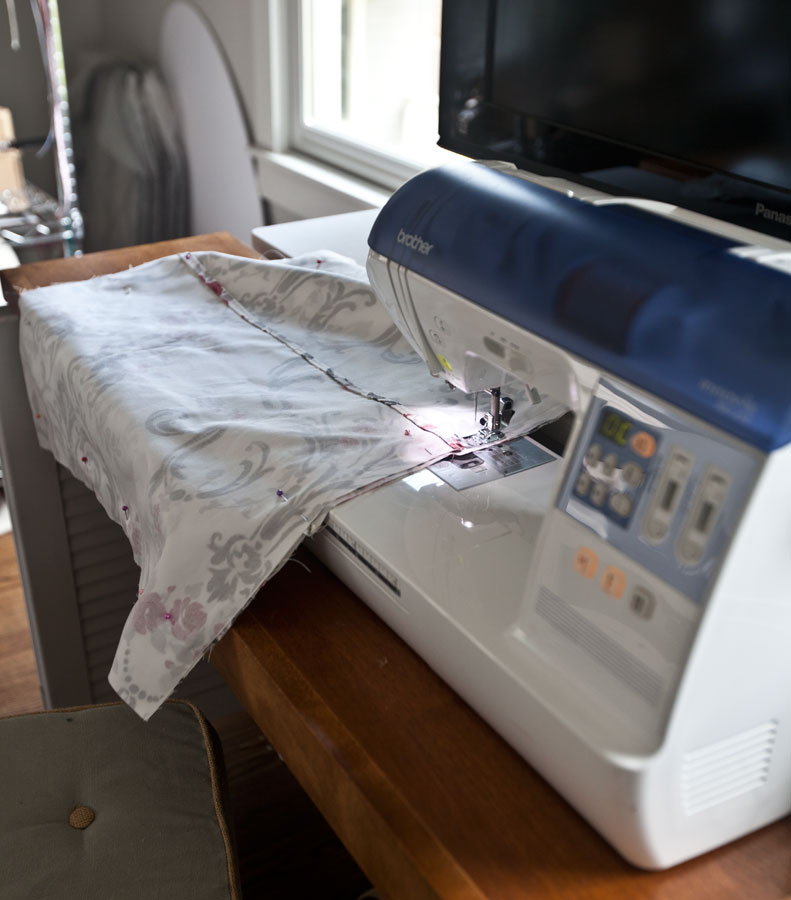
I pinned the pieces together and sewed them together with a 1/2 inch seam allowance. I know, I know the standard is 5/8″, but I always use 1/2″.
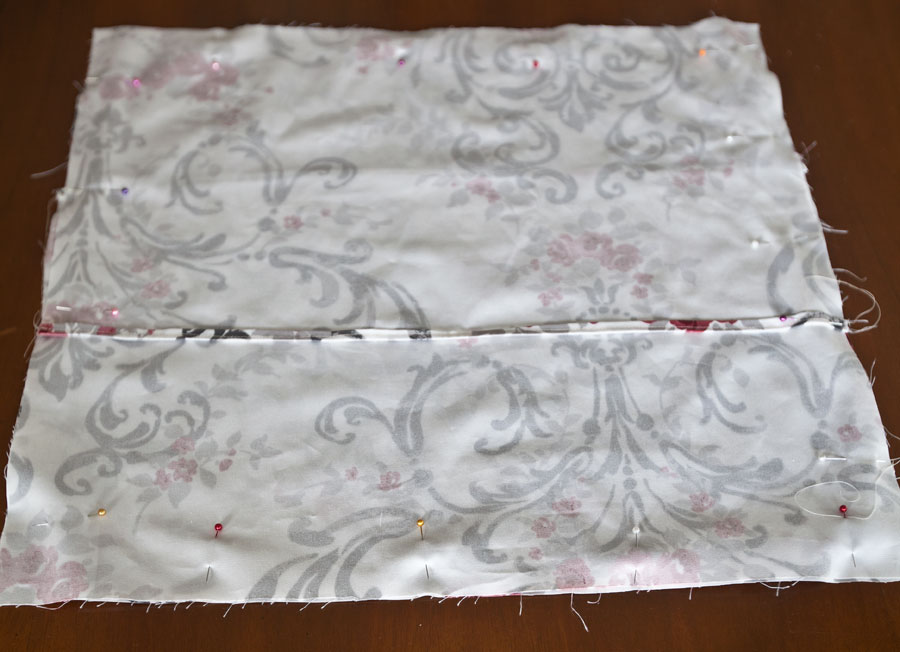
The sewing part went pretty fast.
Now after I sew something, I usually press the seams open, but for pillows, I don’t. So this project is done. I trimmed the thread and turned the pillow cover right side out.
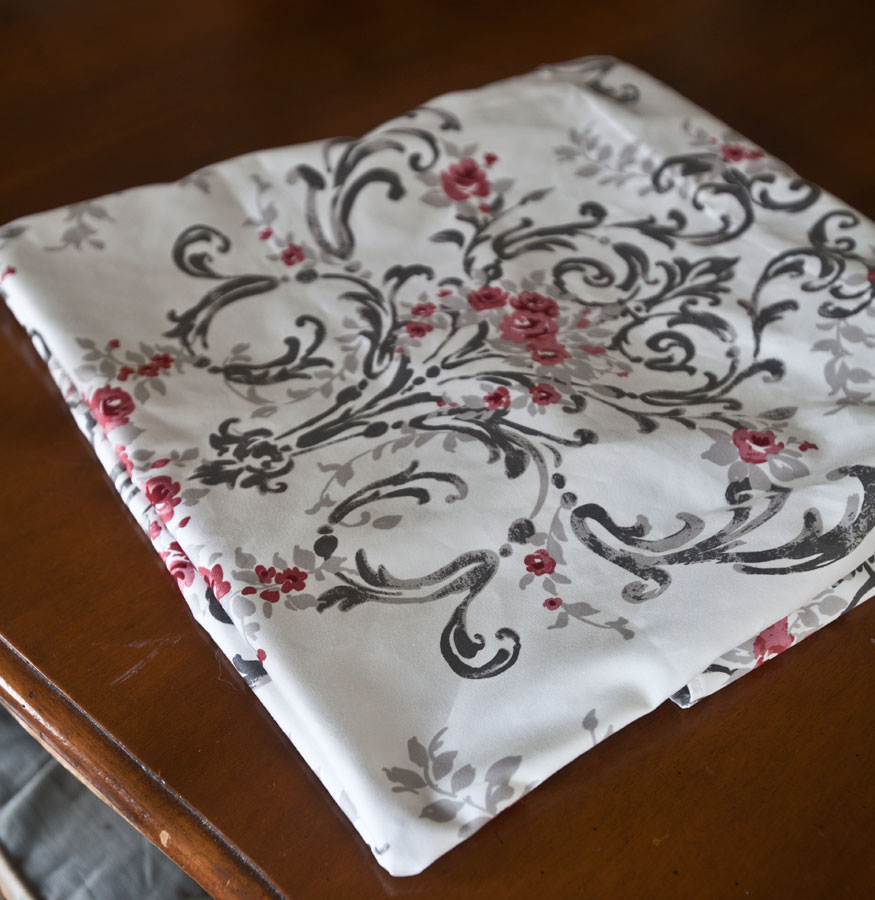
I stuffed the cover with a pillow insert, and I am finished.
Now here is what the back looks like.
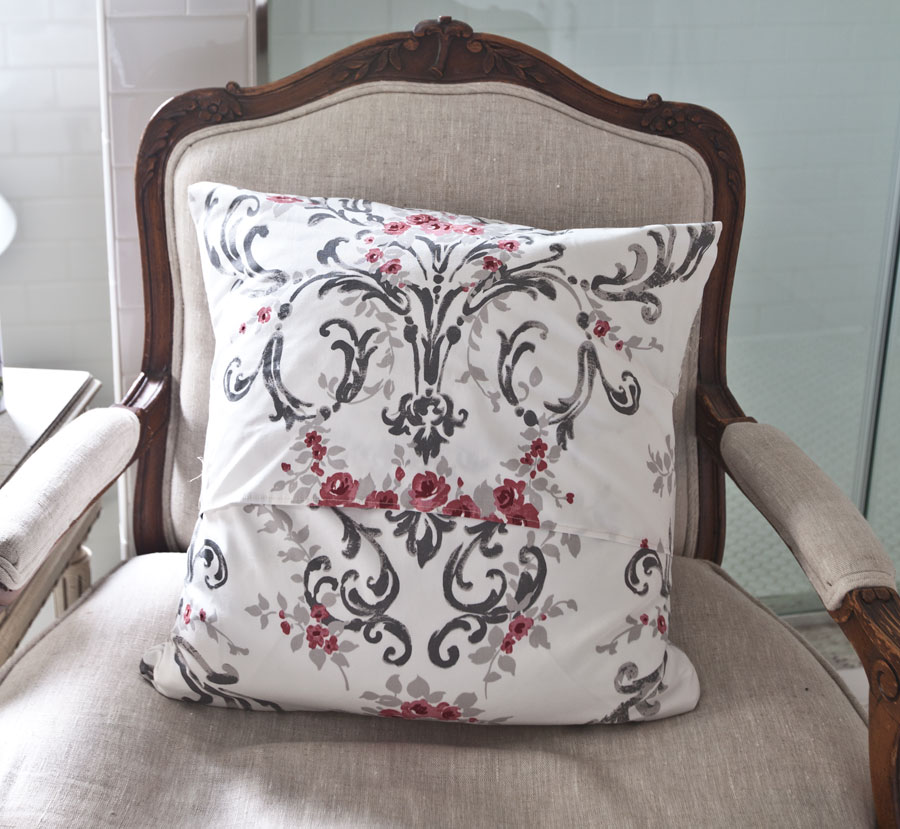
Okay this is obviously the back of the pillow. I used to make sure the front looked as good as the back, but the reality is that is not necessary. I don’t think I’ve ever had a pillow get damaged so that I needed to turn it around and show the back of the pillow. If you buy pillows from me, the front is usually going to look as professional as the back, but this pillow is for me, and I wanted you to see an easy pillow cover.
So now I’m done. Oh wait, I needed two, so I repeated the process.
We are a participant in the Amazon Services LLC Associates Program, an affiliate advertising program designed to provide a means for us to earn fees by linking to Amazon.com and affiliated sites. affiliate links
Remember if you are looking for Country French decor for your home, check out my AMAZON PAGE Amazon.com/shop/cedarhillfarmhouse
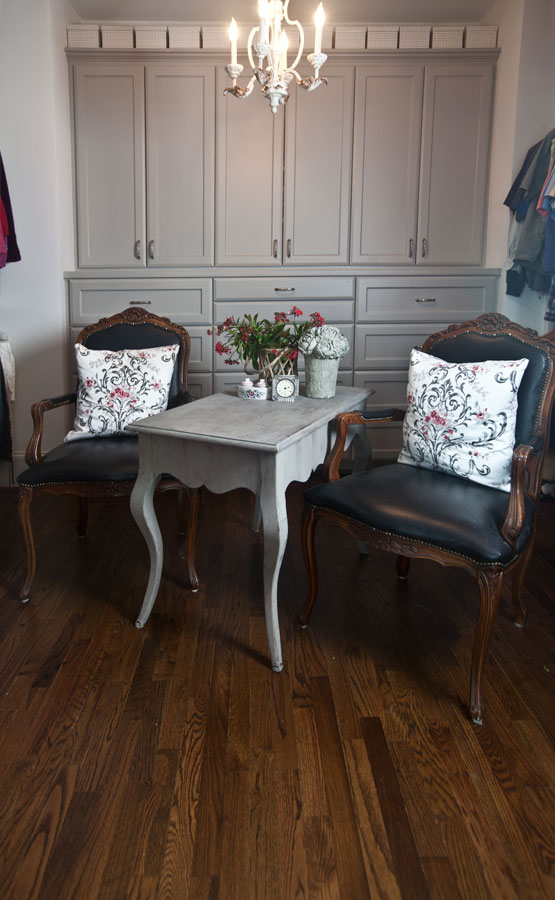
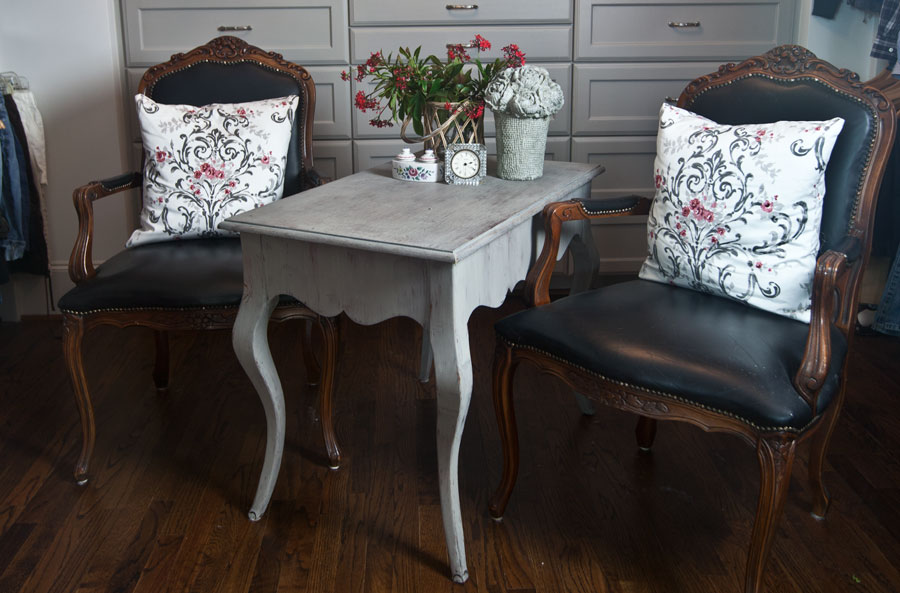
I think they look great in my closet. They do cover the chair backs some, but they are very comfortable, so I don’t care. You will notice I used a pattern with dark grey that works well with the black leather and the gray in here.
Now if you will excuse me, I’m going to go sit in my chair. It’s the one shown on the left.
thanks for the great instructions – they look great.
Mary
Very nice perfect for the change of seasons. Thank you for the pattern!
They turned out gorgeous…love the fabric….
Beautiful fabric! Well done.
You have inspired me!
Thanks awesome Janet!
I am a little confused about the back pieces. When you say you sewed the hem, do you mean the edges that you had folded down a quarter inch? Thanks!
Great pillows. LOVE, LOVE, LOVE your closet!
Now these are pillows I can deal with! I no longer even own a sewing machine so thank you for the step by step visual instructions. Love them and you!
I made my own sofa slip covers by watching your blog and a video by Miss Mustard Seed. It toook a looooong time. They turned out great. Thank you for all the great ideas and inspiration.
Love the pillows, look great on the chairs
Very nice! Thanks Anita!
Love the pillows. Really softened look on chairs.
These are so pretty, and I appreciate that the instructions are so easy. I really wish I loved sewing, like you do. Perhaps if I started making fun things for my home, I would like it better. I guess I should check out the nearest Calico–I don’t seem to see many fabrics in the local fabric stores that I like, or that fit my needs. That fabric is gorgeous!