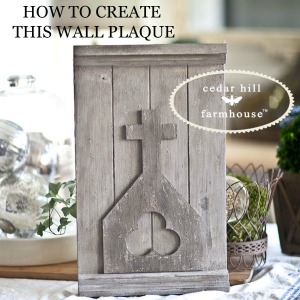
This is such a fun project. I know many of my DIY friends love to make everything themselves. I admire them. I too like to make things, but for a variety of reasons I rarely do. What I like is to find talented people who can do some of the work for me, like these plaques. I found a small company in Texas that makes awesome stuff. I asked them if they could make these for me, and they did!!
The instructions are on the finishing not how to make the plaque. If you like the plaque you can buy one unfinished that you can paint yourself.
Do you have a hard time finding beautiful artwork? I know I do. So I have begun to design some art pieces you can paint yourself. I had these made in Texas specifically for Cedar Hill Farmhouse.
I did not use sand paper or steel wool to distress for this project. The distressing is very subtle.
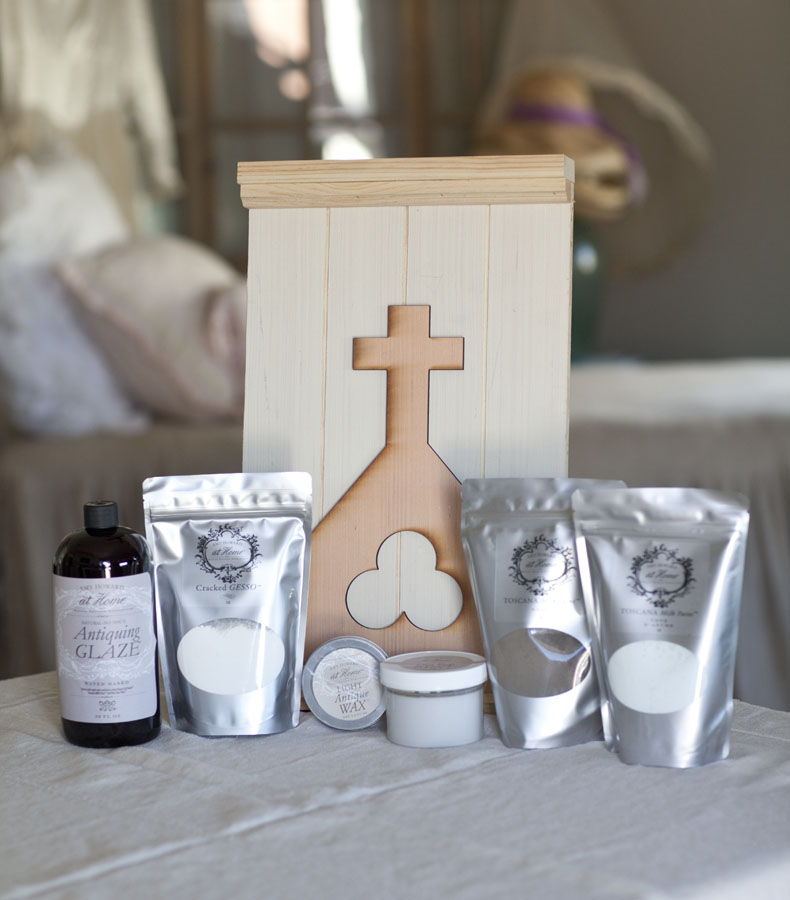
The materials I used for this project are
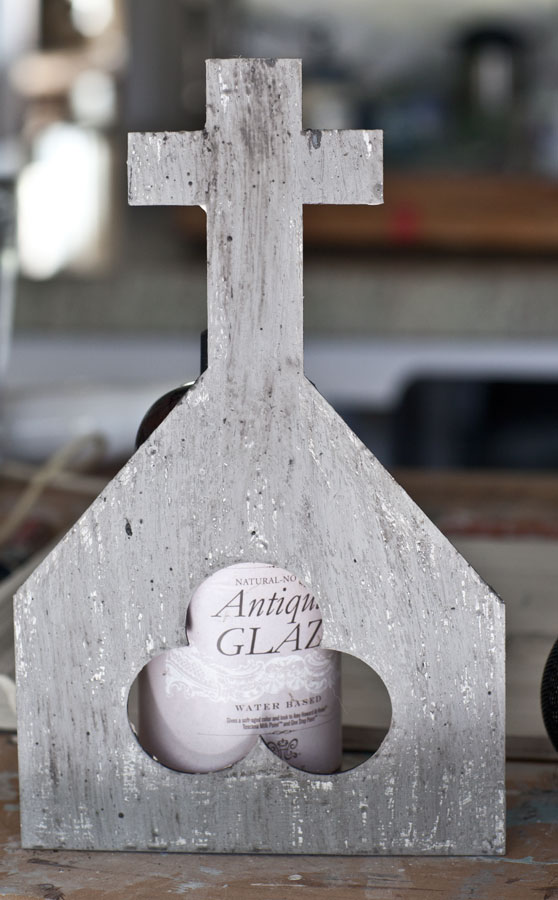
- Cedar Hill Farmhouse cross plaque
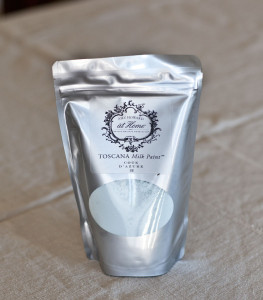
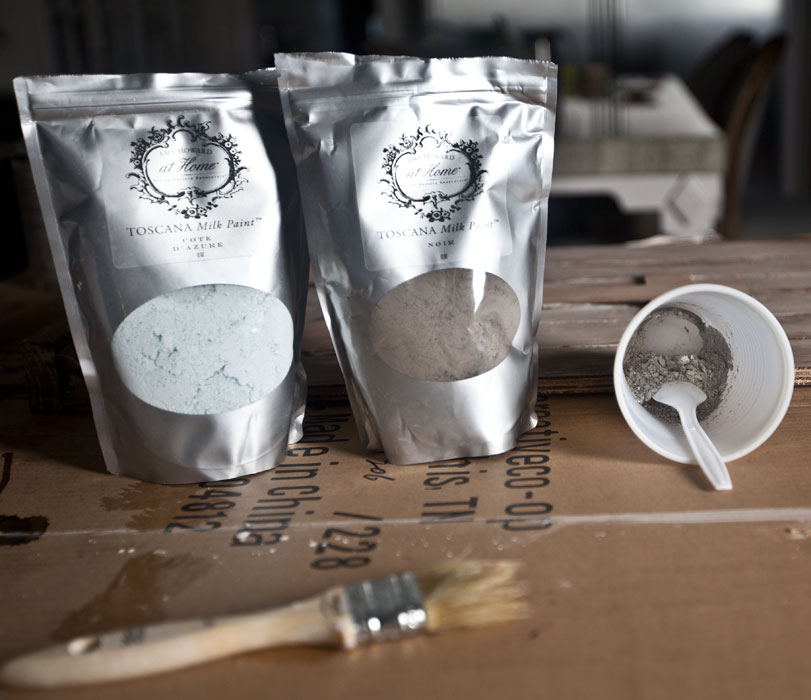
- Toscana paint in Noir, Amy Howard at Home
- Toscana paint in Cote d’Azure, Amy Howard at Home
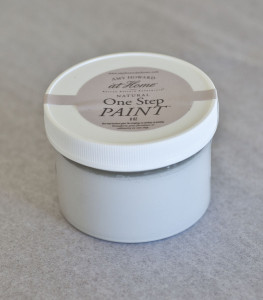
- One Step paint in Luxe Gray, Amy Howard at Home
- Cracked Gesso, Amy Howard at Home
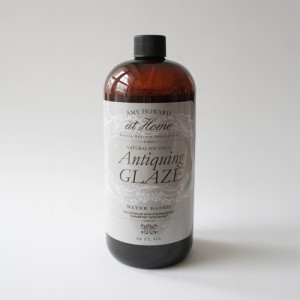
- Antiquing Glaze, Amy Howard at Home
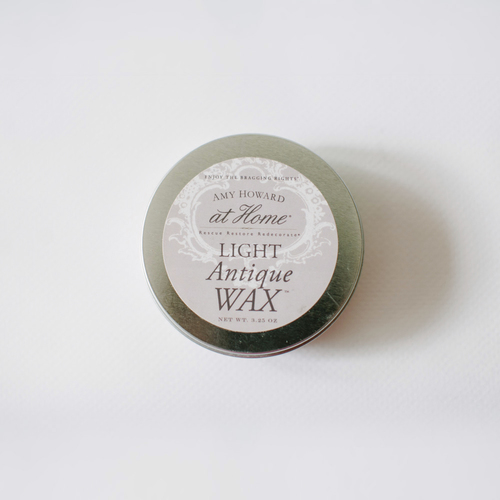
- Light Antiquing Wax, Amy Howard at Home
Other items needed
- Caulk
- Plastic cups for paint, glaze and gesso
- Paint brushes
- Sponge
- Glue
- Hanging hardware
STEP 1 FILL IN HOLES
The first thing I did was to fill in the nail holes with kitchen and bath caulk. This is optional.
STEP 2 PAINT WITH ONE STEP PAINT
Stir up the One Step paint (Luxe Grey). Paint the cross and the plaque with one coat of paint.
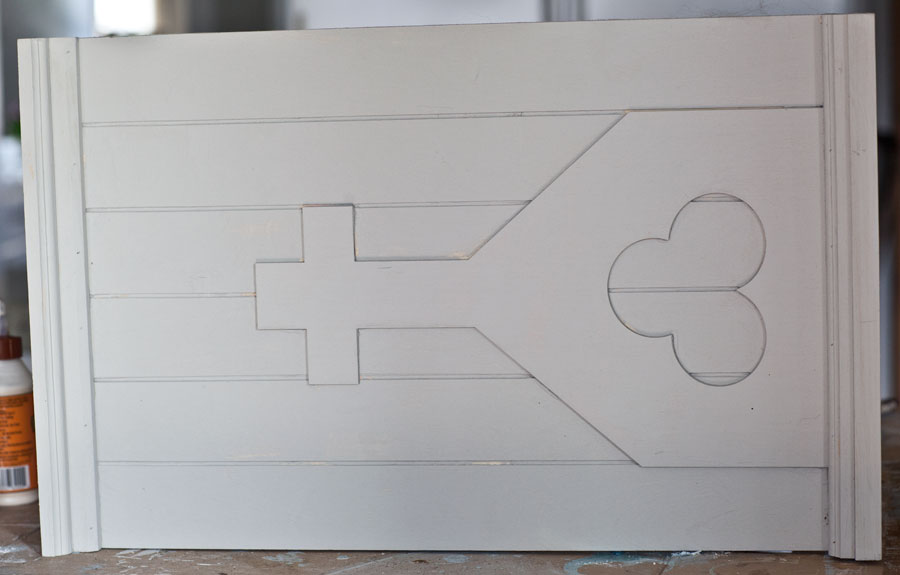
Let the paint dry. It takes a couple of hours, or you can speed things up with a hair dryer.
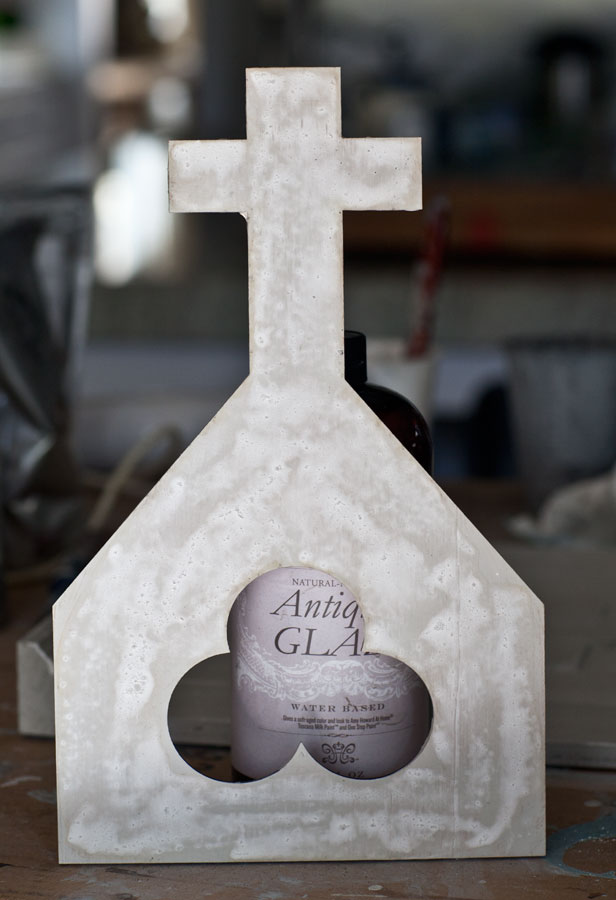
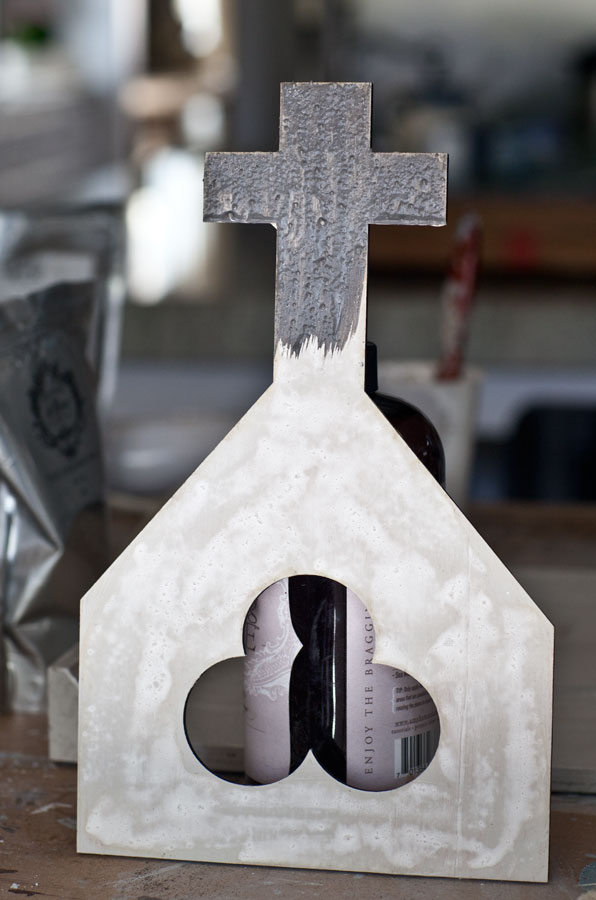
STEP 3 APPLY LAYER OF CRACKED GESSO
Mix up about a tablespoon of Cracked Gesso with a tablespoon of water. I use a plastic drinking cup. The mixture needs to be thick like pancake batter. Add the water slowly, and stop when you get to the right consistency. For this project bubbles are great. Normally Cracked Gesso is used to add a crackle finish to something. Here we are using it to give the illusion of a layers of paint. So bubbles give the illusion of a finish that has bubbled up when left in the attic over decades. Be sure to apply the cracked gesso very heavily. You want an uneven finish.
You can see how the Cracked Gesso was applied in a sloppy manner on both of these. This layer takes about an hour or so to dry or you can speed things up with a hair dryer.
STEP 4 PAINT CROSS WITH TOSCANA PAINT
Mix up the paint for the cross. For the cross mix up one part Amy Howard at Home Toscana paint Noir and one part Amy Howard at Home Toscana paint Cote d’Azure.
Stir them together while still dry. Then add about the same amount of water. Stir with your brush each time before you apply paint to the piece.
As the paint goes on, it will appear much darker. Because of the Cracked Gesso there will be places where the paint doesn’t want to sit. That is what you want. Do a sloppy job of painting and leave those spots as is.
The paint dries much lighter than when it is first applied.
Don’t panic if it looks way too dark! Below it is almost completely dry. See how there are some places that didn’t take the paint? One of my dad’s first jobs was as a paint inspector. He would flip out if he could see this. Yes we look it looks ‘rough’ and that is what we are going for.
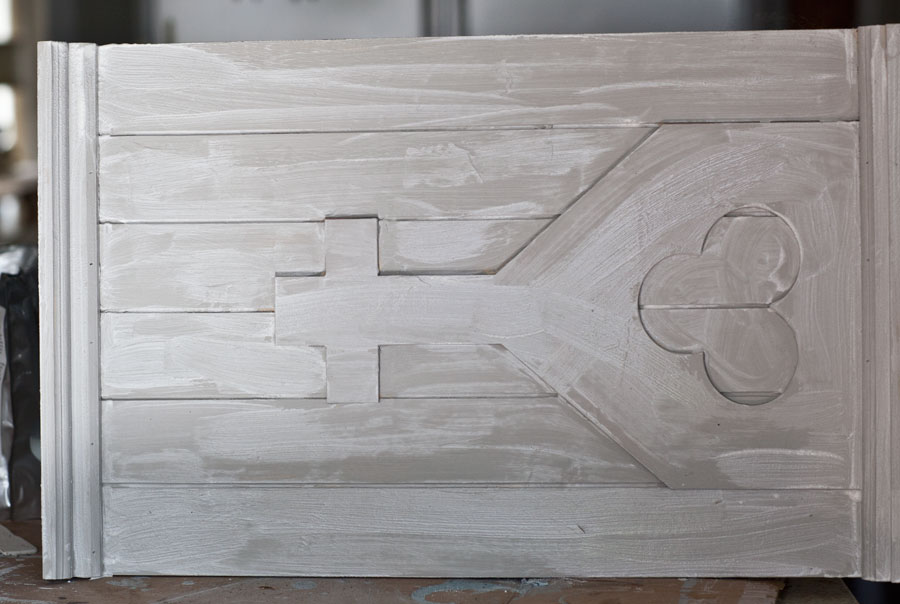
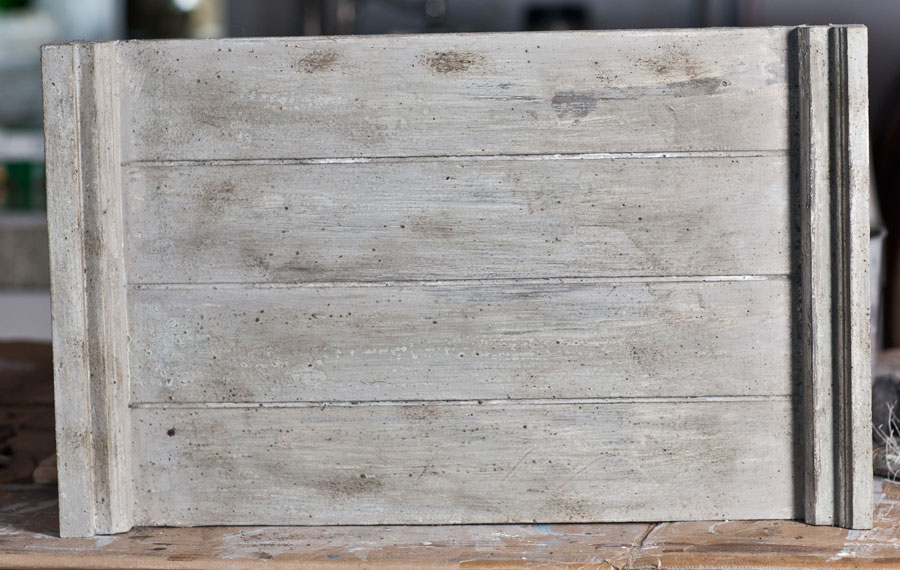
STEP 5 PAINT BOARD WITH TOSCANA PAINT
While that is drying you can work on the board.
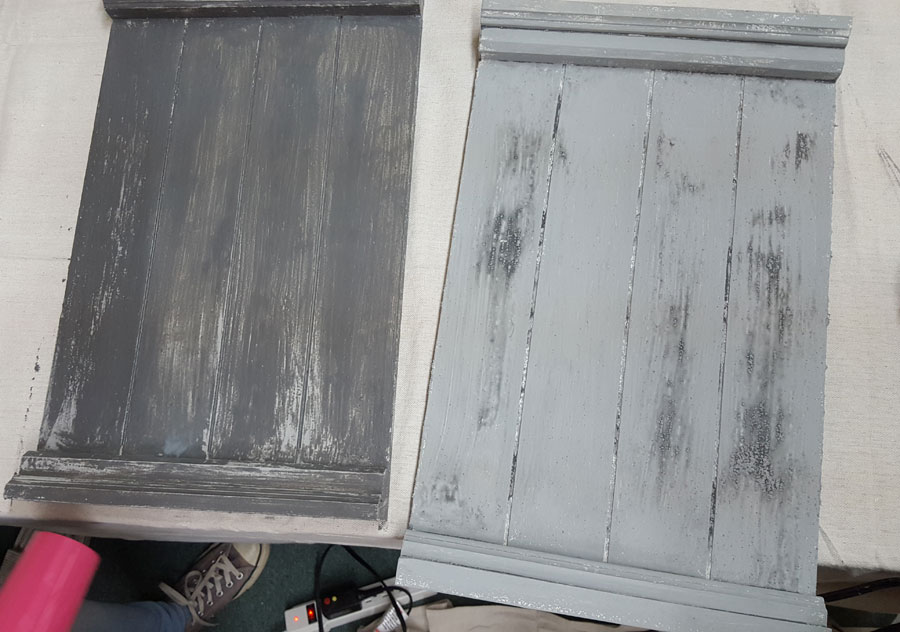
For the board, we are going to use the same paints but in a different ratio. Mix 1 part Noir paint with 2 parts Cote d’Azure. Stir the paint powder well, then add equal parts water. So if you used 3 tablespoons of paint total, you’ll add 3 tablespoons of water.
You can see how the paint looks very dark when first applied, but dries much lighter. The board on the left is wet, while the board on the right is almost dry.
STEP 6 APPLY ANTIQUING GLAZE
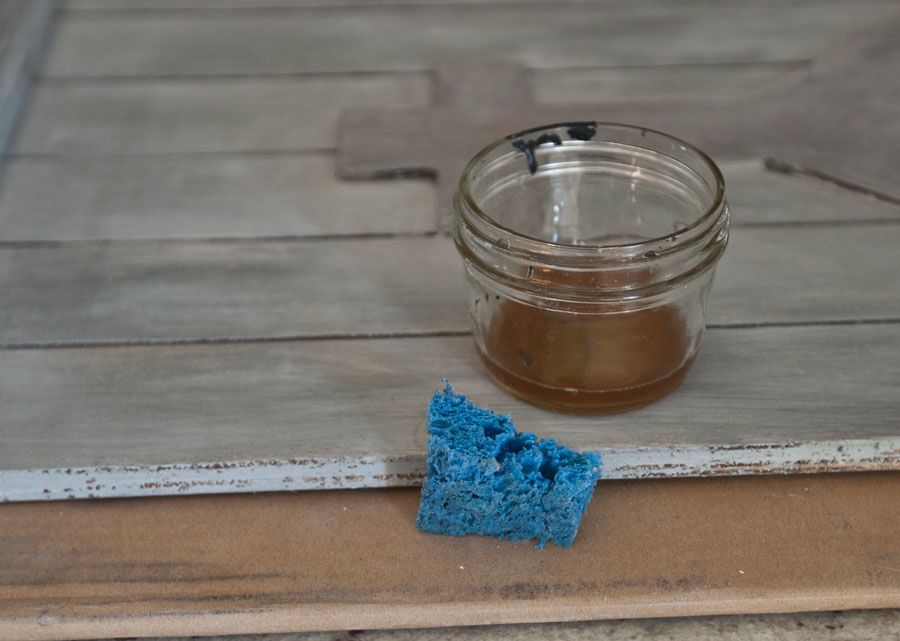
Pour up some of the antiquing glaze into a cup or small jar.
Cut sponge into a small piece. Wet sponge with water, then dip into antiquing glaze and dab board and cross with the sponge.
Keep dabbing until you have covered the entire piece. The sponge will be picking up some of the paint. Once the sponge has some paint on it, squeeze it out over the trash can to remove some of the paint, then dip in the antiquing glaze again.
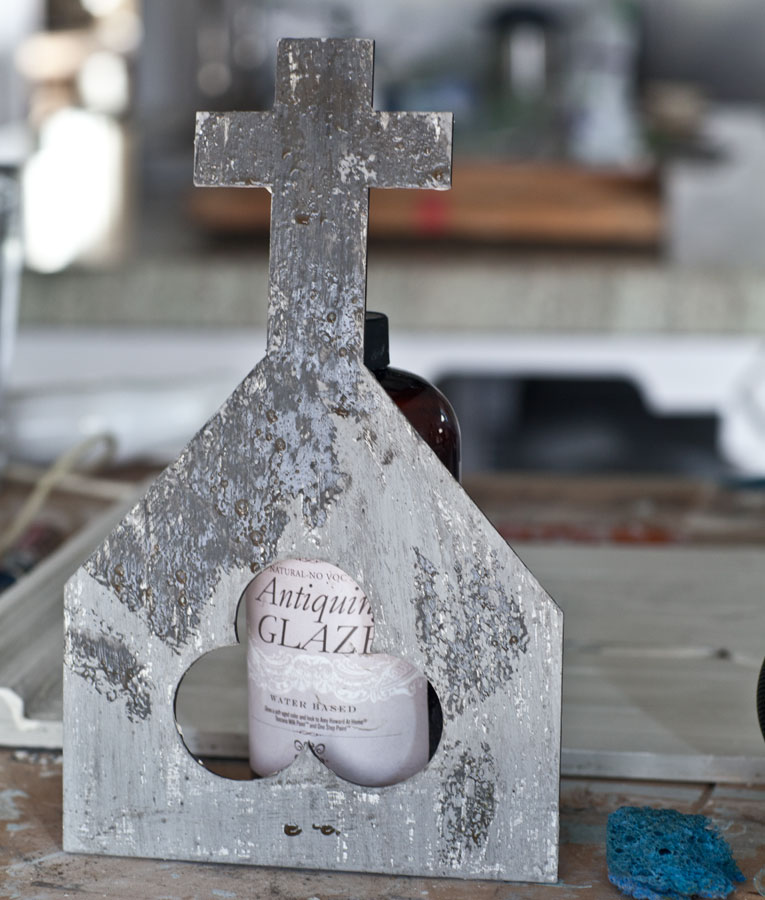
As you apply the glaze the paint will get wet again and look dark. Don’t worry about that. It’s just temporary. The antiquing glaze does two things.
A. It gives your piece a sepia or brown tint.
B. It removes some of the paint to give a worn look.
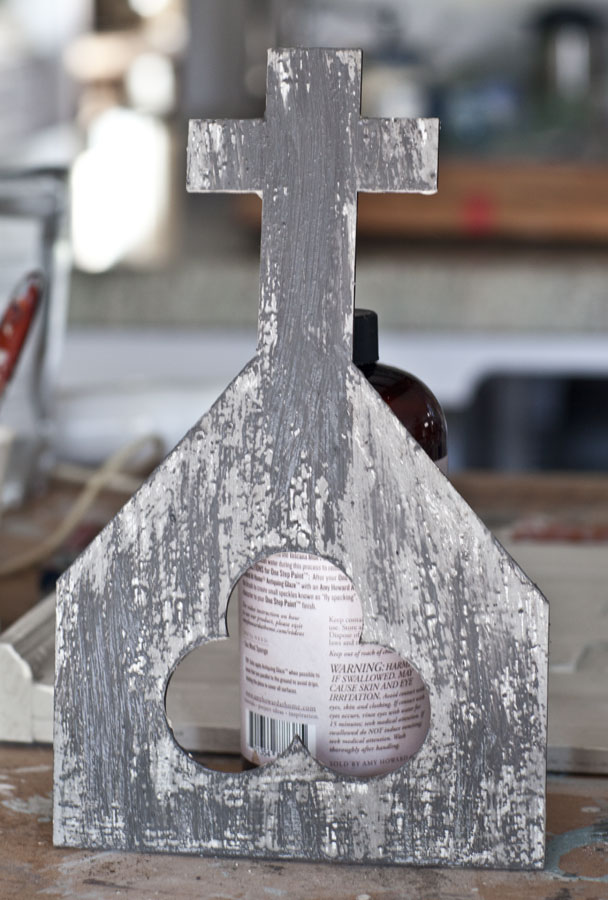
Notice how much browner the board looks with the antiquing glaze.
STEP 7 APPLY WAX
Dab your brush into the wax. Then apply it to the board and the cross. Be sure to add plenty of wax to protect the piece. The Toscana paint is a milk paint, and it will not hold up to water unless it is covered with wax or another sealer. After you apply the wax, buff to soft sheen.
When you are done it should look something like this.
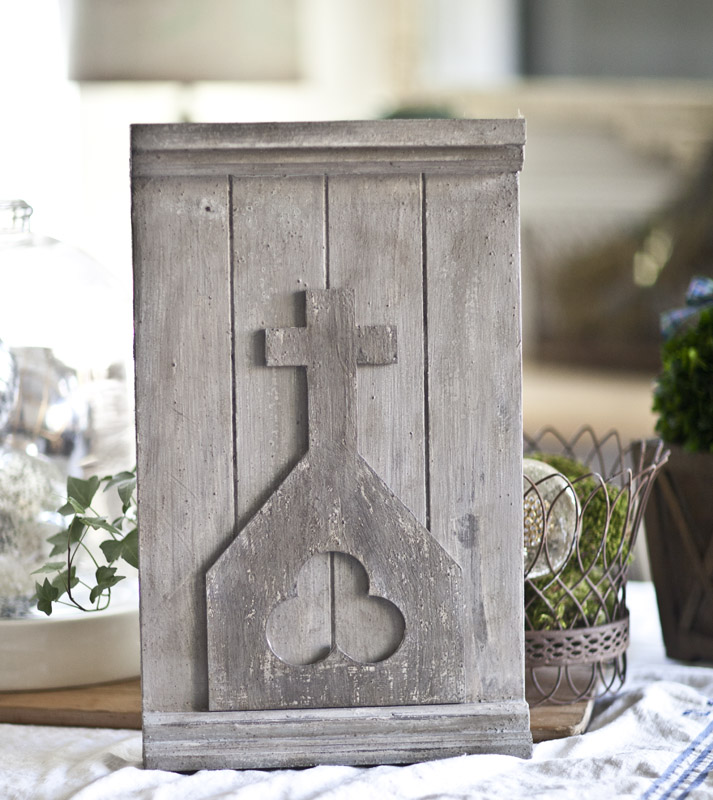
STEP 9 GLUE CROSS TO BOARD
I added glue sparingly to the back of the cross. Then I set something very heavy on top while it dried. I let it dry for at least 24 hours.
STEP 10 ADD HANGING HARDWARE
If you want to hang the piece on the wall I recommend using a D ring.
Of course you can use this technique on a piece of furniture or even metal. You don’t have to have this plaque to use the technique.
But if you want one of these unfinished plaques to paint, you can find them HERE.
If you want the entire kit, you can find it HERE.
This is part of our DIY Tips and Tricks Monthly series.


Excellent tutorial! I love that you designed the piece yourself and are offering it to your readers. Original, affordable art is hard to come by. Thanks for sharing!