I have a stack of these trays that we use at the farm to transfer food from the kitchen to the back porch. They all look a bit… well… like this.
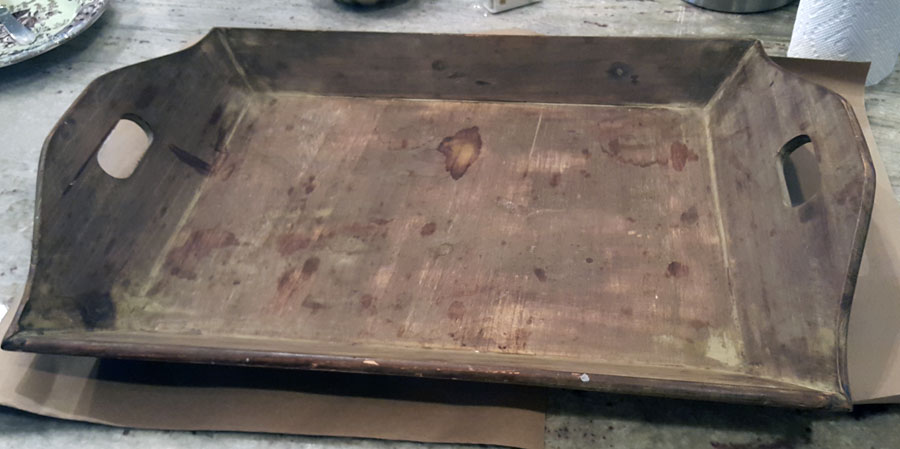
It’s funny how you get so used to seeing something that you don’t really ‘see’ it any more. I hadn’t noticed all of the stains on the tray until the other day when I looked at it and thought it could use a little update. I used a white paint to start with. I painted the tray twice to make sure it was fully covered since it will get used. I let the paint dry fully
Step 1: Apply 2 coats of white paint.
Step 2: Allow paint to dry
Step 3: Center stencil and tape it in place.
Then I taped on a stencil using masking tape.
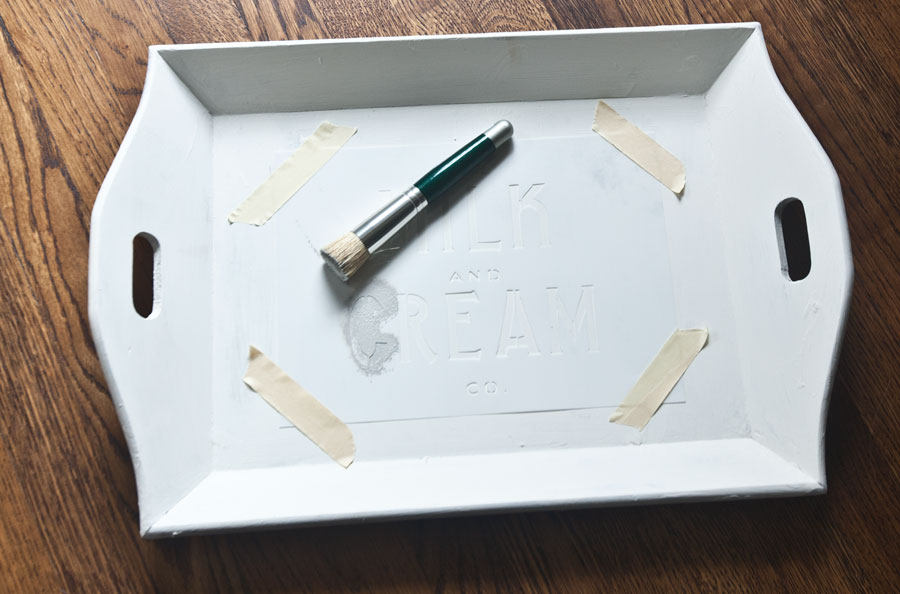
I used a flat stencil brush as shown to apply the paint.
Step 4: Allow a small amount of gray paint to thicken over night.
I think the trick really is to make sure you don’t get any paint seeping under the stencil. The best way I have found to keep that to a minimum is to use very thick paint. I had some old gray paint that was quite thick so I used that paint. If your paint is not very thick, then I would suggest pouring out a few tablespoons of paint and letting it sit out over night to thicken.
Step 5: Use stencil brush and apply paint by pouncing.
Next, I applied a little bit of paint to my brush and then pounced the brush on the tray. I tried to make sure I did not leave any white spots where the letters are.

Step 6: Allow paint to dry.
The paint will dry fairly quickly, but be sure it is completely dry before removing stencil.
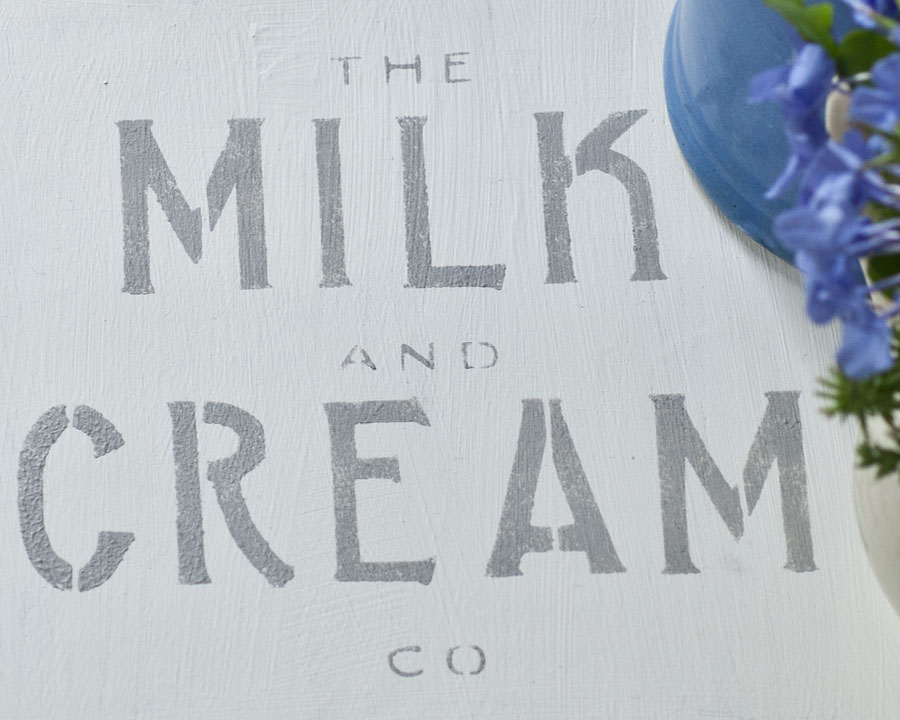
Step 7. Remove stencil
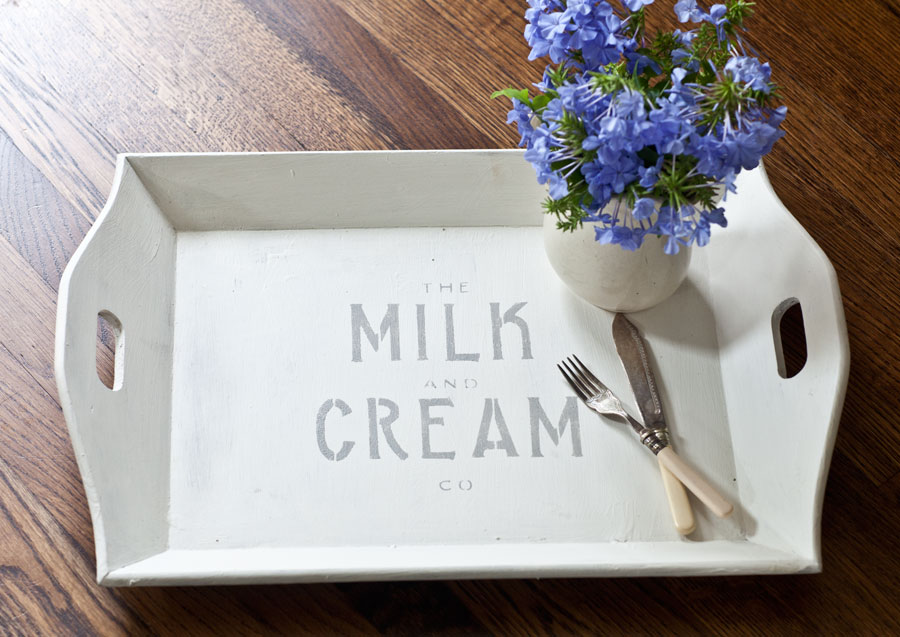
I carefully removed the stencil, making sure it did not pick up any paint as I removed it. As you can see when you look closely the paint looks uneven. I like that it doesn’t look too perfect. It looks hand-done and it doesn’t look too crisp. This means I don’t have to distress it to give it an aged look. If you prefer a cleaner, crisper look, you can always use spray paint, or use a second coat of paint when using the stencil. If you decide to use spray paint, of course you need to take some precautions to protect the tray from overspray.
Step 8: Apply clear wax
The wax will help protect the finish. After I applied the wax, I buffed the tray with a clean cloth.
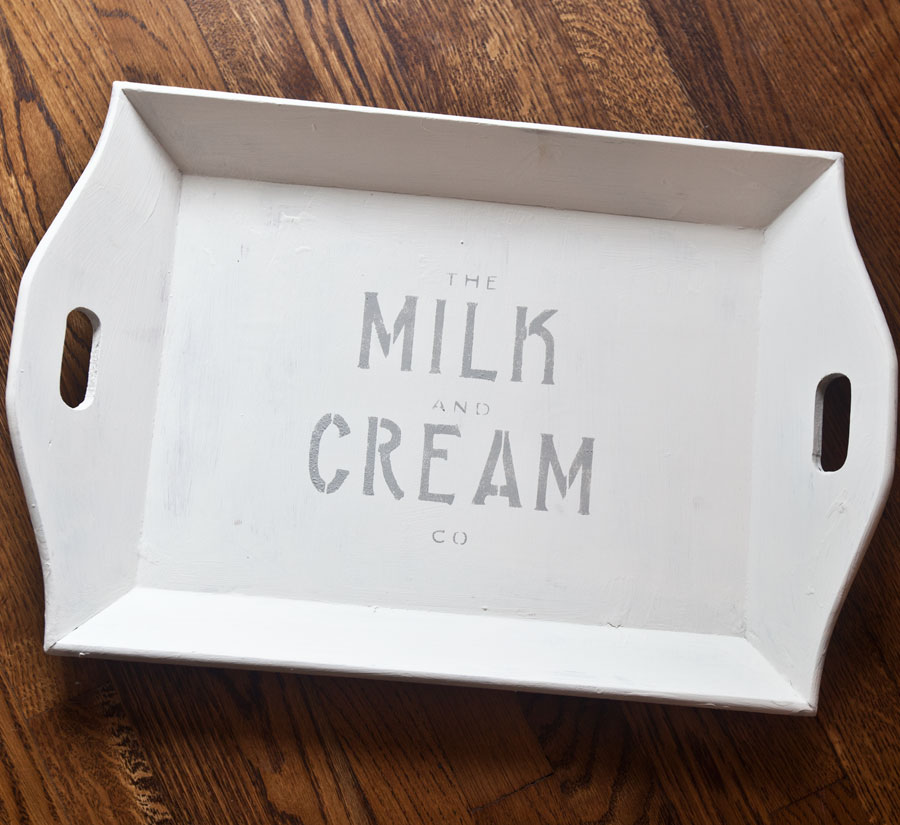
Sound simple? It was. I love the look of the tray. It’s functional and now it looks great too.
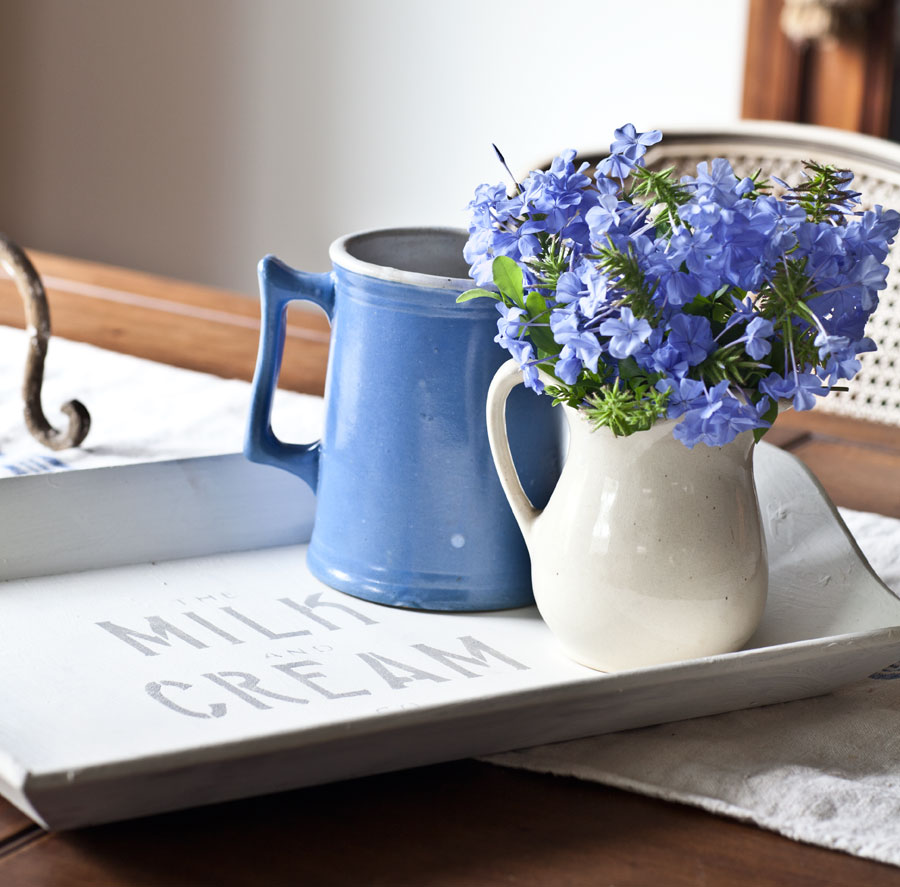
The stencil was provided to me by Angie at Knick of Time. You can get one here Knick of Time stencils The great part is that that stencil is reusable, so I can transform something else later on.
If you are a regular reader you know I’m not crafty, but this was super easy, and look how lovely it turned out.
This is part of my monthly DIY TIPS AND TRICKS SERIES.

I hope you’ll visit the other blogs that are joining me today.


So so pretty Anita! What a transformation! It certainly has that pretty spring farmhouse look to it. I could use a tray like that here at StoneGable! xo
And you say you’re not crafty! This is lovely and Angie’s stencil is very farmhouse-ish. Right up your alley. Thanks for doing this with me every month…it’s always a fun day. ~Ann
What a pretty transformation, Anita! So glad the Milk & Cream Co. stencil could help you rescue your old tray!
Also, if you wipe nearly all the paint off your brush on a paper towel, so it is nearly dry, you won’t need to use thicker paint! 🙂 Light layers is better than 1 heavy coat when it comes to stenciling.