Previously I talked about how to take photos without using your flash, here. Let’s talk about some more options you have so you don’t have to use your flash. (These photos were taken in the old house. I’m working on photos of the new house this week.)
To recap
Option 1: Take the item outdoors. for more see the first post, here.
Option 2: Move the item near a window, for more see the first post, here.
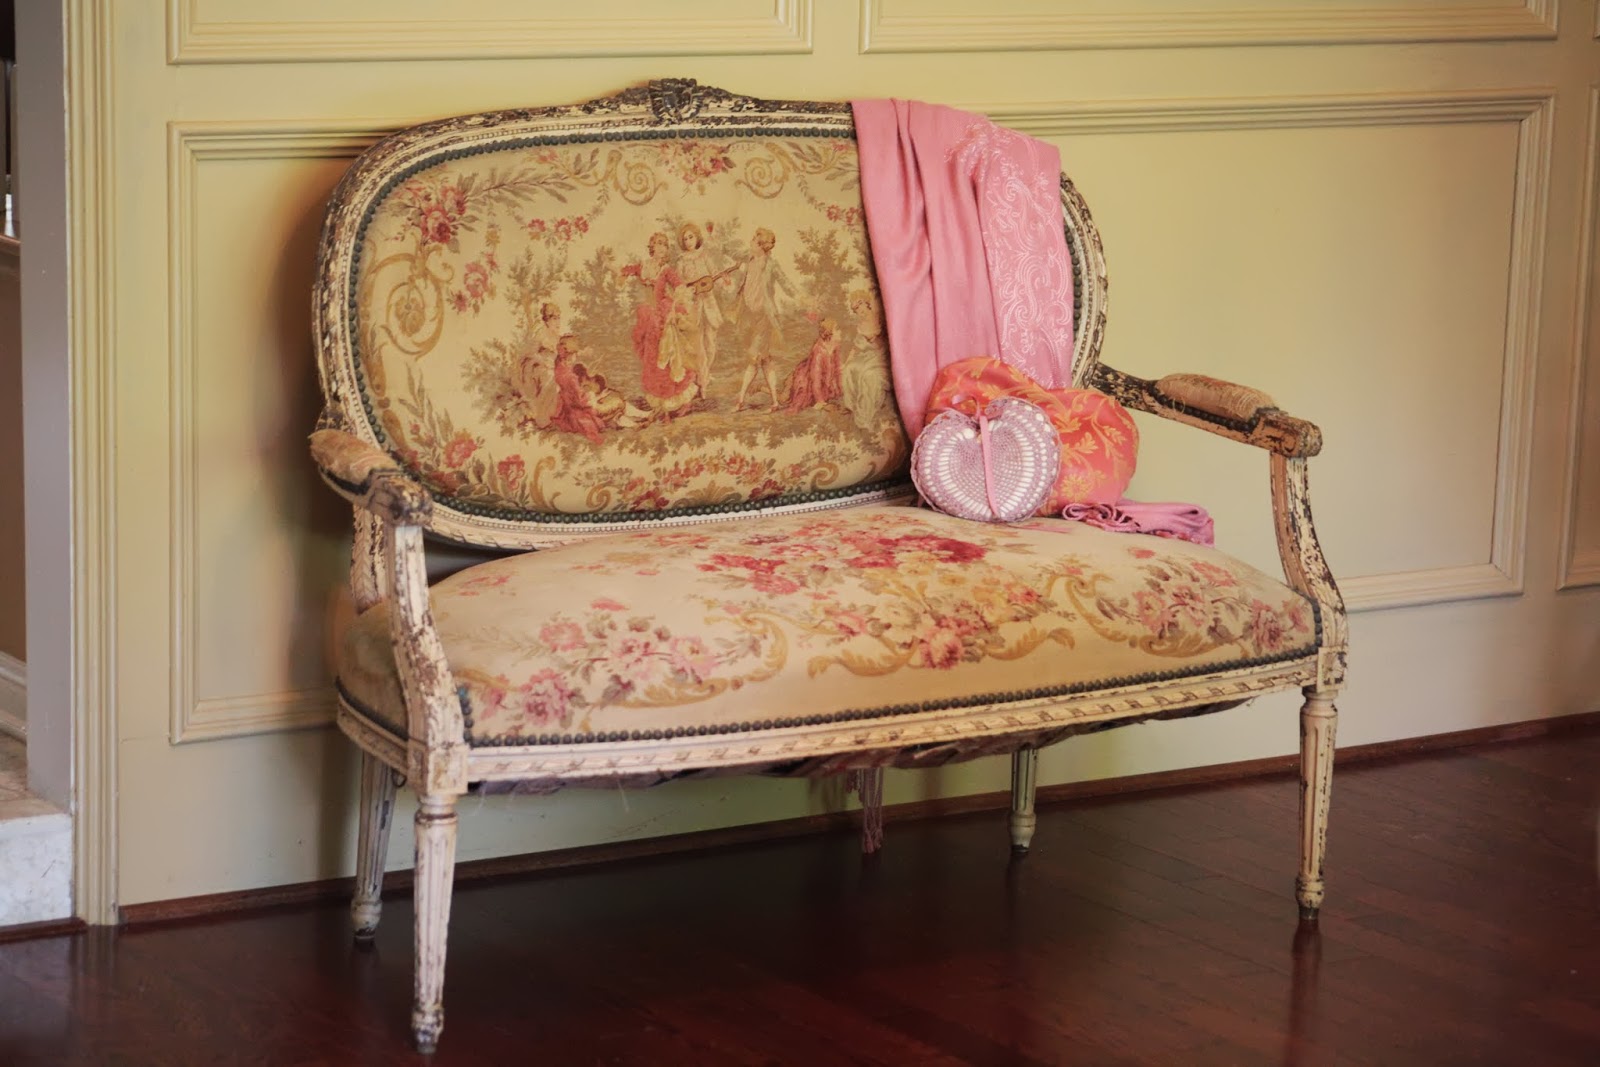
Option 3: Adjust the ISO on your camera to the highest number. The higher the number the less light needed for the photo. If you are using a DSLR, there is probably an adjustment on it. But as that ISO number goes up when using film, the photo is becomes grainy. Oddly enough, even when you are not using film, the same thing happens with a digital photo. With a high ISO, the photo is grainy, or has a lot of “digital noise”. I don’t recommend this option, because the image will be grainy.
 |
| Example of Grainy Photo |
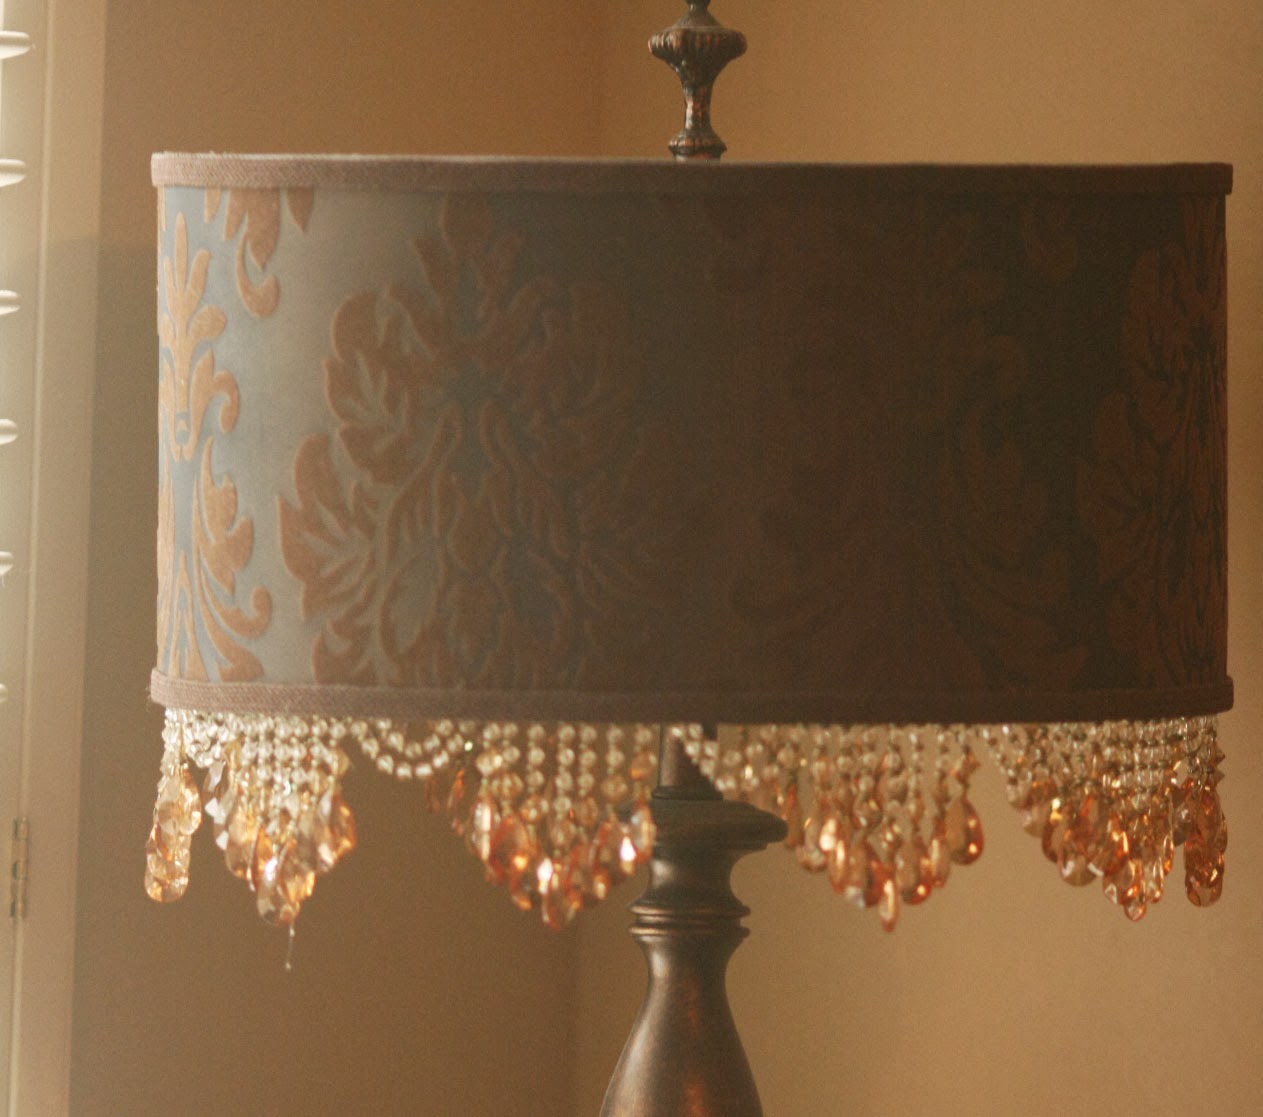
Option 4: Use a flash cover. You can buy one from any camera supply store. This will help but not fix the problem. The photo below was taken with the flash bounced off of a silver photographer’s “umbrella”. It was not taken with a flash cover but the effect is similar.
 |
| Photo taken with Flash bounced off reflective surface |
Option 5: Use a reflector. This requires an assistant so I rarely use this option although the reflector does help. You can use a silver car window shade or a piece of foam core or buy the expensive professional photographer reflector for a lot more money (your choice.)
Option 6: Okay this is what I ACTUALLY DO.
- Open the shades/shutters/curtains all of the way.
- Make sure it is not too dark. (I don’t shoot when it is a very dark, cloudy day or too late in the day.)
- Wait on shooting until the room is brightest.
- Use a tripod.
- Set the ISO on your camera to 400. Although a higher number will require less light, it will cause you to have a grainy image.
- Use a shutter release.
- Set your exposure compensation to 1 to 2 stops to OVEREXPOSE. When you are taking the photos check to see if they look too white. If so, back off on the exposure compensation until they do look right. I check this every time I set up my camera in a different room. This is imperative if you are shooting toward a very bright window. Your internal meter is adjusting the shutter speed and aperture based on all of that light when you want it to meter just on the room alone not the outdoors. You can use a hand held meter but it is just easier to set your camera to over expose by at least one f-stop.
- The aperture I use is dependent on how much area I need to be in focus, so I will address this later.
- Edit in Photoshop.


If you have any tips, feel free to share them in the comments, or ask any questions you have.


Enter your email address:
Delivered by FeedBurner
Great advice! I really appreciate the effort you have put into the posts on buying cameras. I also appreciate the tips on lightening, using a flash and not using a flash! Many thanks for these great tutorials and tips!
Anita, you have no idea how very helpful this post has been for me. I could never take a picture of an item on front of a window to save my life. LOL I just set the ISO on my camera to 400 like you said, checked the exposure compensation and, for the first time ever, I was able to take a picture of the decor on my bay window without a problem. Thank you, thank you for taking the time to write this post!
Really great tips! I am a new blogger and I’m always looking for ways to make my photos look better… thank you so much 🙂
I am definitely pinning this page! Thanks for the great tips.
great tip and you really tale stunning photos.
as for a tip= I also take pics alone and use a reflector the wind sheild kind.
I took a piece of elastic and made it tight enough to go around my waist:) then I just Step into it//sheild is horizonal..then no one has to hold it, I just bend or twist a little till I get the piece reflected.. sounds odd but no contortionist skills required really.
Sonny
What great tips and what great photos you take! What kind of camera do you use? Any recommendations on a SLR to start out with? I am looking to buy one and move away from always taking photos with my IPhone!
Thank you so very much for all the generosity of posting your skills for us, I just LOVE it. Is there an easy way to access all of your photography tips, a tab, or should I just search “photography” in order to find them. THANKS for all your fabulous posts!
I wish I had found this post a year ago! Keep putting the photography info out there – it really helps those of us who are still learning.
Nancy
I’m pinning this so I can refer to your great post!!!! Thanks so much for sharing the secrets to your great photos!
I have been a fan of your photos since the first time I visited your blog. I have a 50 mm lens I use for food photos and a 18 – 55 mm lens that came with my camera. Canon Rebel T3. I would like to add another lens. Any suggestions? I want to be able to take crisp shots. Sometimes mine aren’t so crisp. :o)
Ann, I think you would love a good telephoto lens like the one I use. It’s pricey, but soooo good, a Canon 135 mm f/2.0 L lens.
These are all great ideas and I need all the help I can get. Thanks so much- xo Diana
Thank you for sharing your expertise. I need help in this area! (And I need to upgrade to a DSLR)
Thanks for such an informative post! I am also pinning it like many others.
Very helpful tips. Thanks, Anita!
Thanks for giving actual numbers. I know it all depends a lot on everything, but real numbers are hard to find when people give tips!
-Revi
Great tips, Anita! YOur photo tips are my favorite… and so are you photos!
I am still getting to grips with my first DSLR and mostly shooting on manual which is a shame although I got some great shots of my little dog using my new 32mm lense on manual. I am struggling to get the light right and will take on board some of your tips.
Thank you
Lee
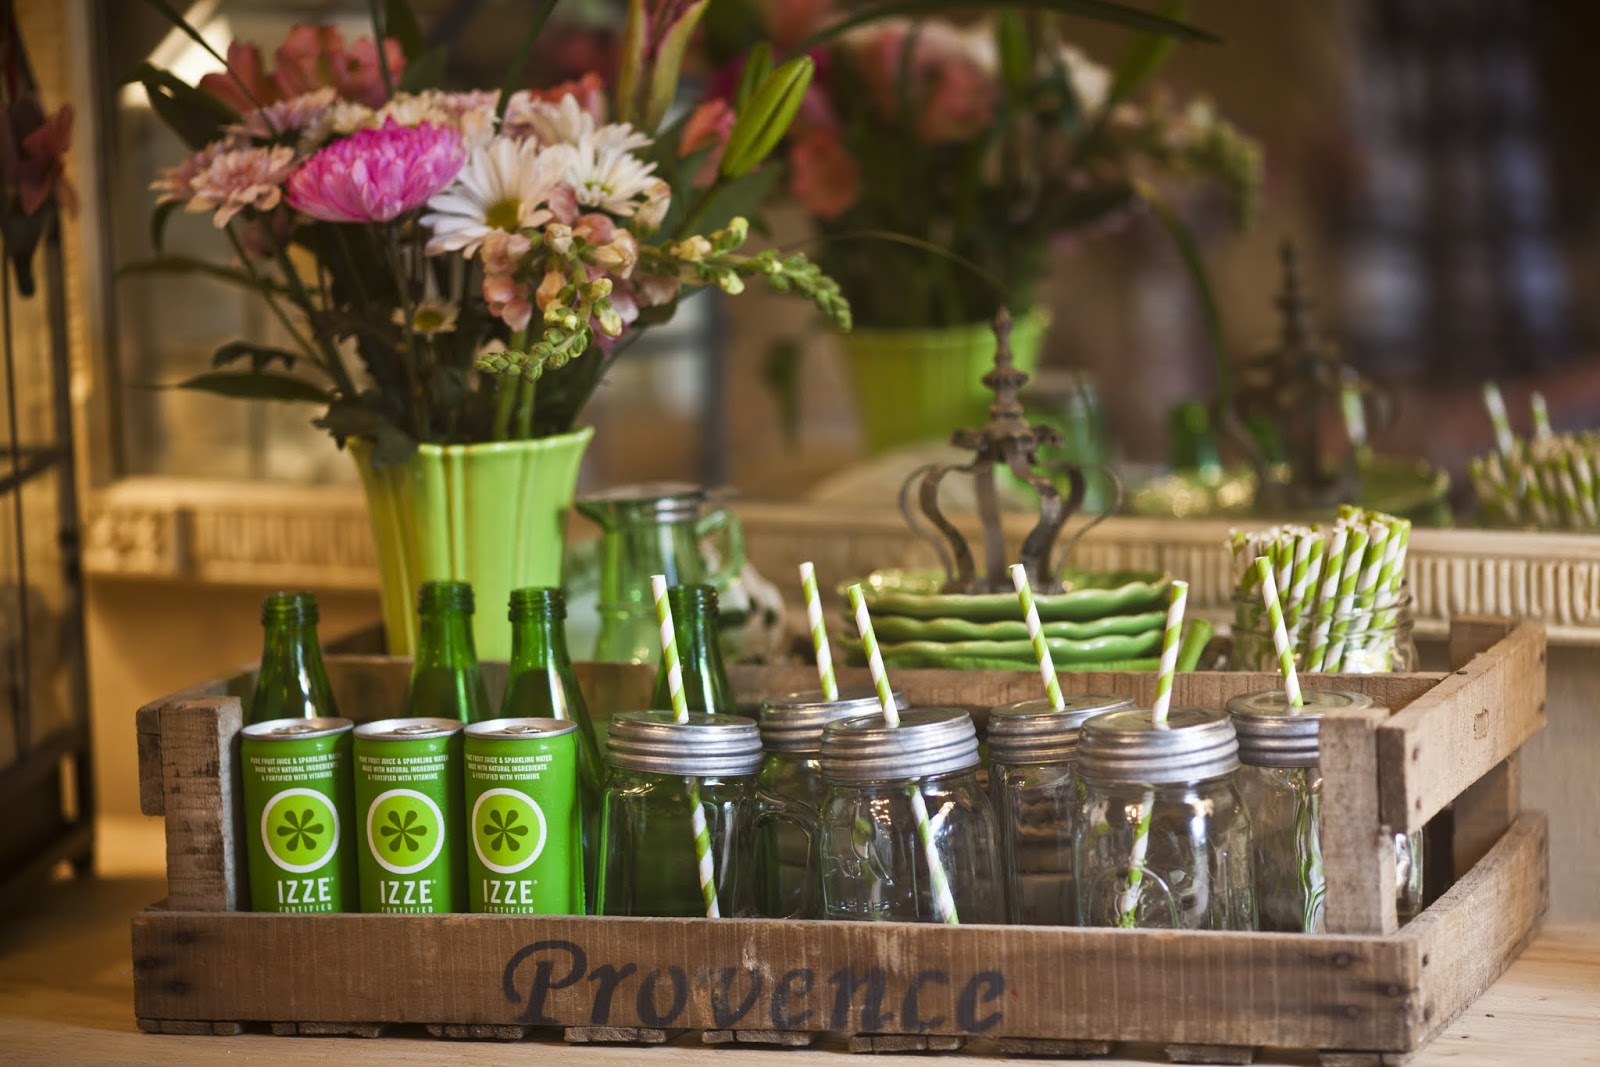
Thanks a lot for doing this tip blog. I will keep them in mind and learn to use the tripod more often for my photos. I will love if you give the information about the photos you show use (I.e. I love the photo with the jars and the green vase, the composition is beautiful and the colour of the photo is so natural, love it but I would be very grateful if you add what was the aperture number, sutter speed ans ISO used)
Thanks a lot for reading me and pardon my messy English 🙂
Paula, I will have to go back and check to see which photo you are talking about, and see if I can still see what I used.