This was a fun project. It is a bench I found at a thrift store that I redid for my Round Top booth. This bench/ottoman sold quickly too! Any way, since I had so much going on, I did not get before photos.. Things were pretty crazy. The good news is that I did get some photos of the process this time. See? I’m really trying to provide more detail of the steps for you.
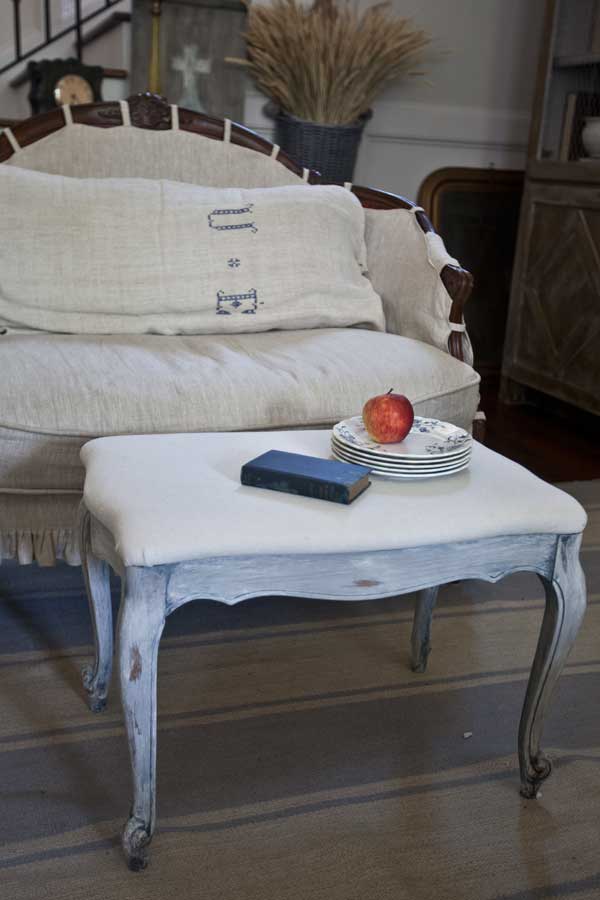
Okay picture an ottoman with ugly, dated fabric. The legs were stained a color you would expect to see in the 70’s. In fact, I think the ottoman was from the 70’s if I had to guess. Here is the process I used.
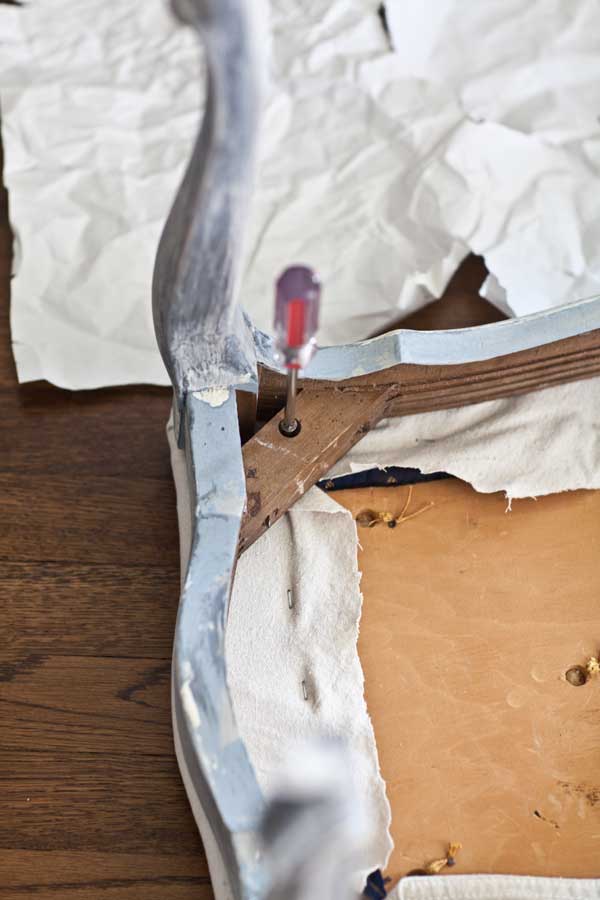
- Remove the cushion so you would not get paint on it. I simply turned it upside down and unscrewed the screws.
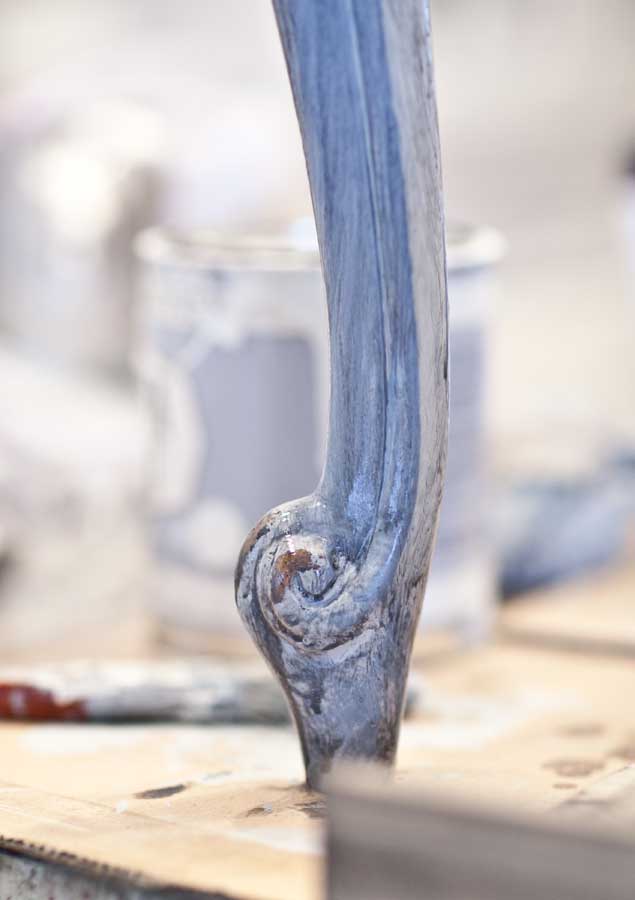
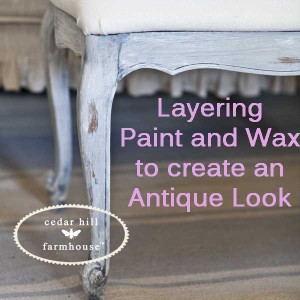
- Add a layer of chawked finish paint in the color Stanley. You can find it here. I let it dry completely.
3. Add a layer of safe paint in color slate from the Old Fashioned Milk Paint co. I don’t have a link for it, since I bought it from the store where I have a booth. HEIGHTS ANTIQUES ON YALE.
4. Let it dry, then take a paper towel, dampen it with water, and go over the piece removing a lot of the milk paint.
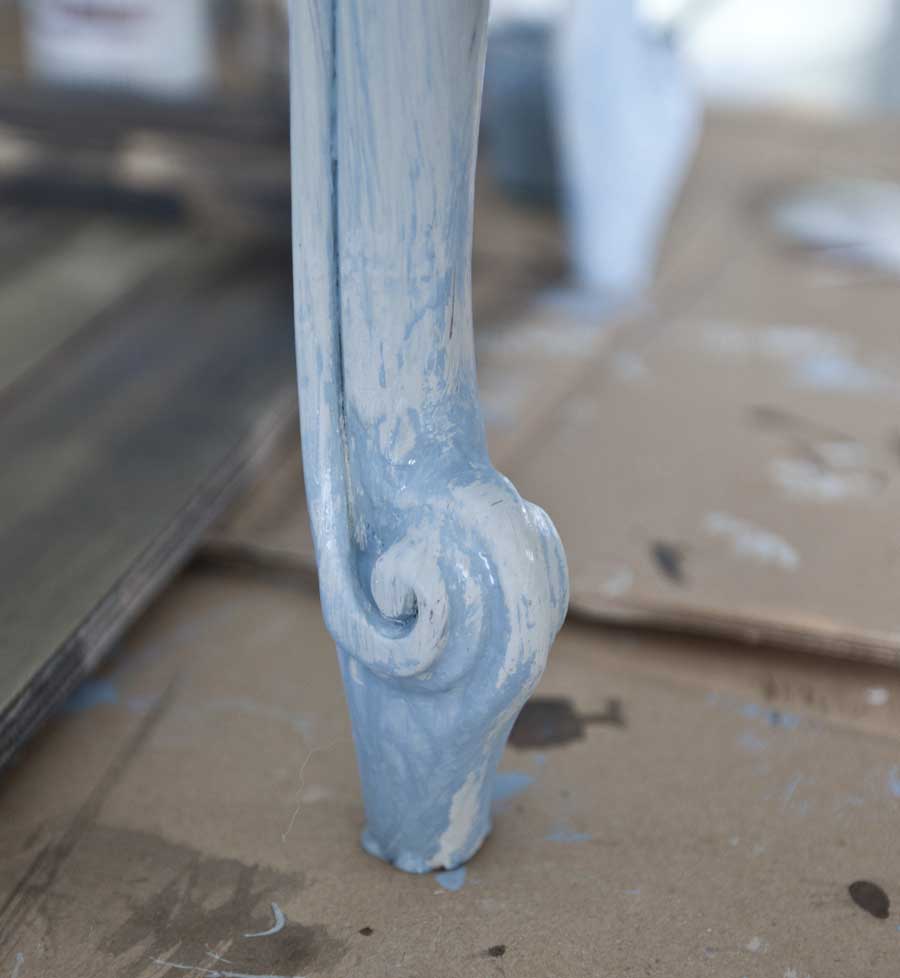
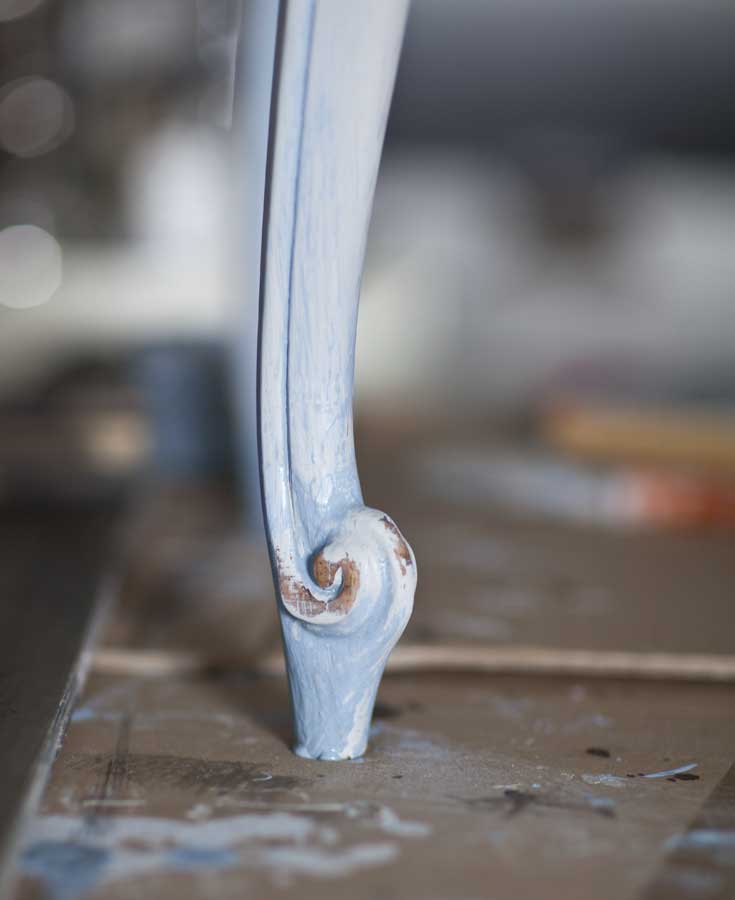
5. Then I sanded the paint off in areas that were raised. I tried to replicate wear in areas where the paint would wear off over time.
6. Apply a layer of clear wax.
7. After it dries, buff it.
8. Mix a small amount of wax (about a tablespoon) with about a teaspoon of off white paint. I used Mini Pearl. You can also use liming wax, but I wanted to try mixing wax and paint. Brush on sparingly.
9. Make sure you allow the wax to dry completely, then buff with a cloth.
10. Change out the fabric on the seat. I used drop cloth for this one. Although I do not show how I did it here, I did a similar bench in this post. CLICK HERE.
11. Add the cushion back by screwing it back on.
And you are done.
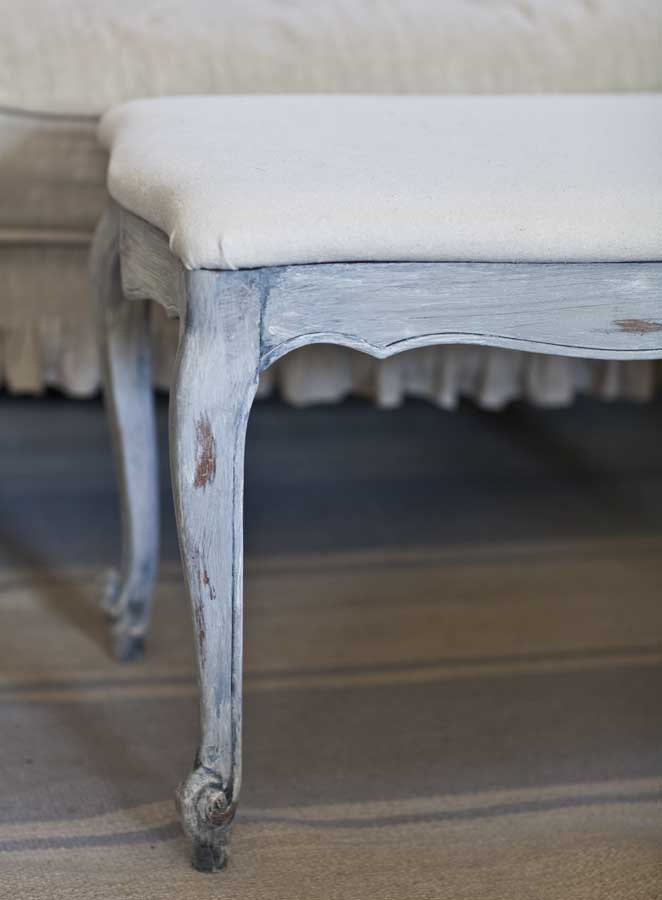
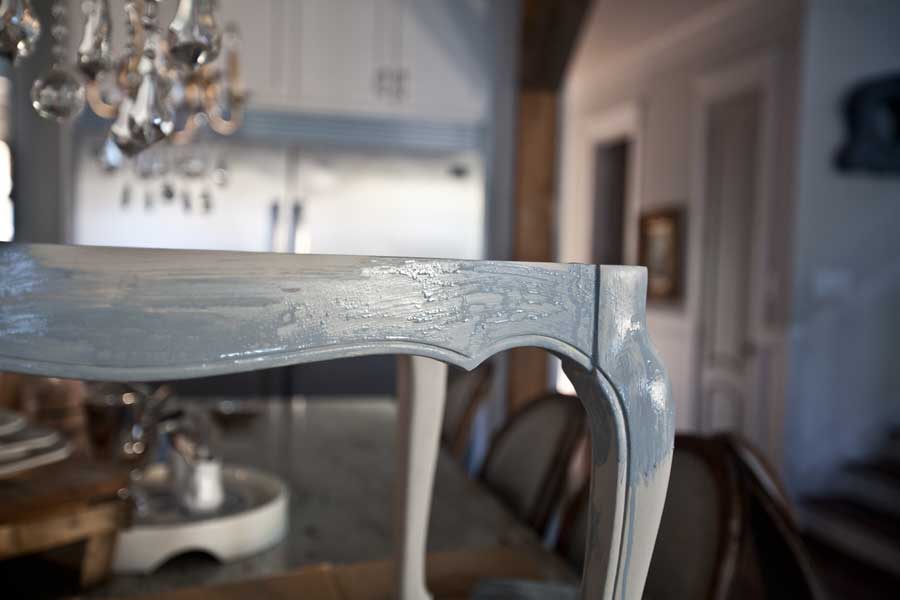
I really loved how it turned out and once again… I almost kept it. But I was strong, I sold it. If you want this old look, it’s about layering. See the layers? There is a brown color of the original wood, then gray, then blue, then white. You get the impression of a piece that was painting many times over the years.
I painted a ton of things that night, so I have more to show you later. I hope this helps you see how to give an antique finish to something that might not be that old.
This is a part of my monthly DIY TIPS AND TRICKS


Come join me at the Bali Blinds Blog where I’m talking about the difference between farmhouse style and Farmhouse French style. I’m a contributor there.
What a beautiful bench Anita! LOVE the color and the layers of paint. It does look old! I can’t wait to try this technique! You are one talented girl!
I’m not much of a painter but I think even I could do this! Thank you for putting this together…it’s one of my favorite days of the month. ~Ann
Anita,
Amazing transformation!!!
I’m wanting to make a change to my Dining Room Buffet and hutch,
but I haven’t made a decision, yet!!! Afraid, I’m still on the fence!!!
Thank you for sharing the products and the process with us!!!
Fondly,
Pat
This turned out beautiful, Anita! I never would’ve thought to use chalk paint and milk paint together! I just landed myself a solid maple french buffet, and I’m seriously thinking about doing this coloring!!! I REALLY LIKE IT!
Thank you for your info and tips on painted bench absolutely amazing