When gathering things to bring to the mountains, I looked around to see what I had that wasn’t being used. I had this chair on the right at the farm. Actually it has been on the porch for a long time.
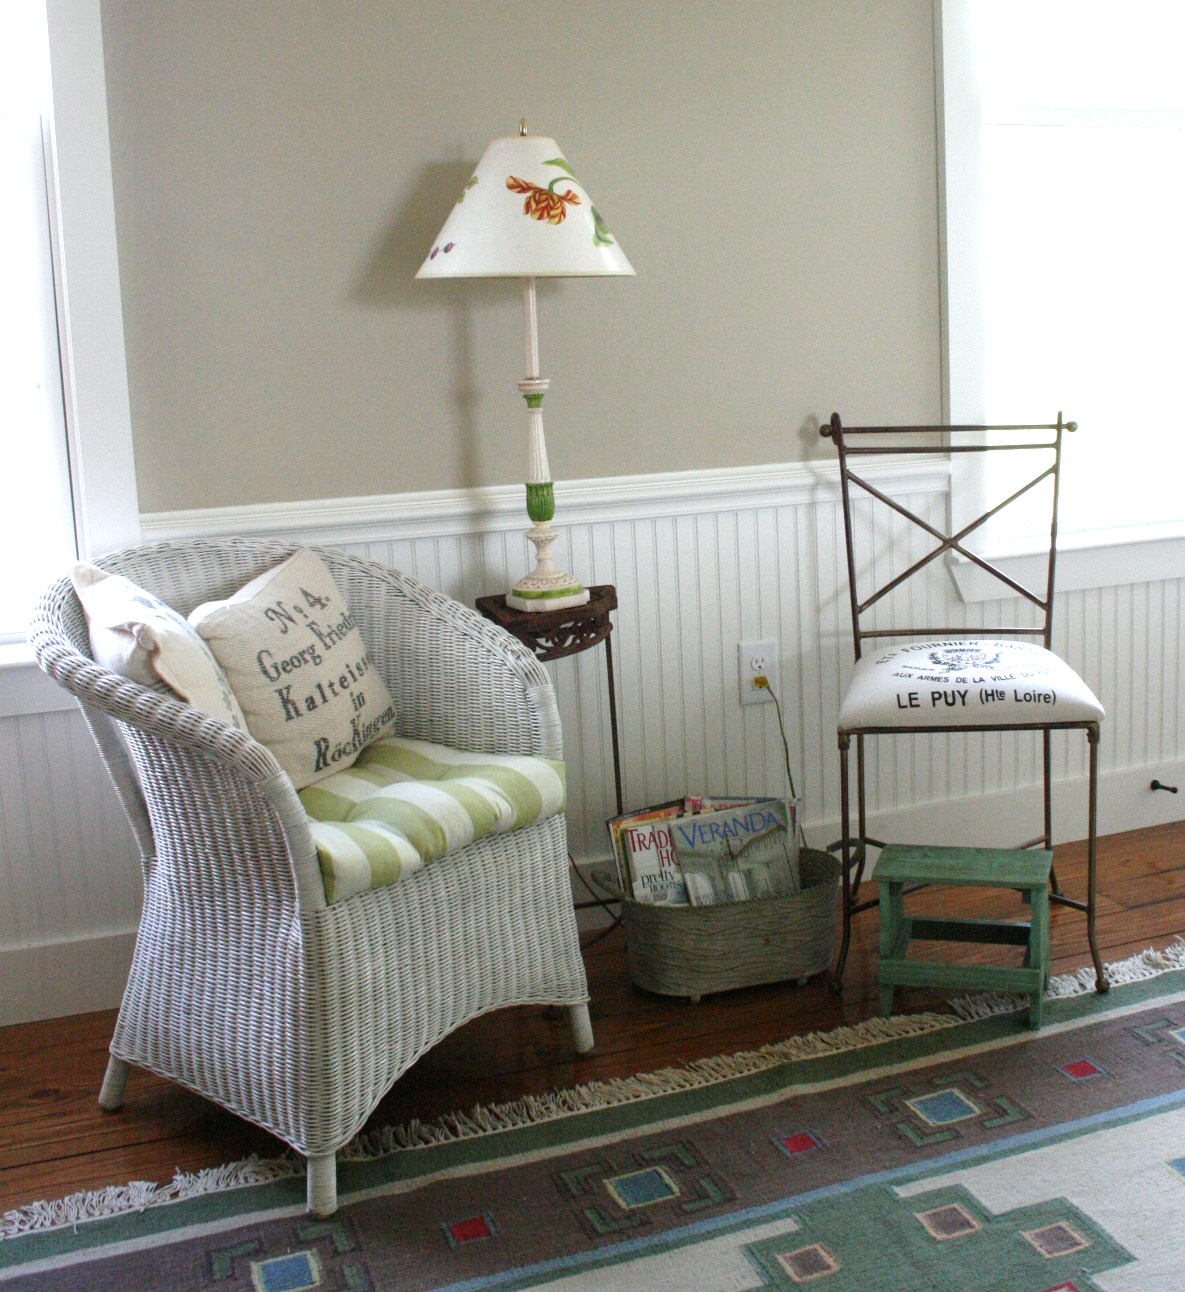
Quite awhile ago, I replaced these chairs with these chairs.
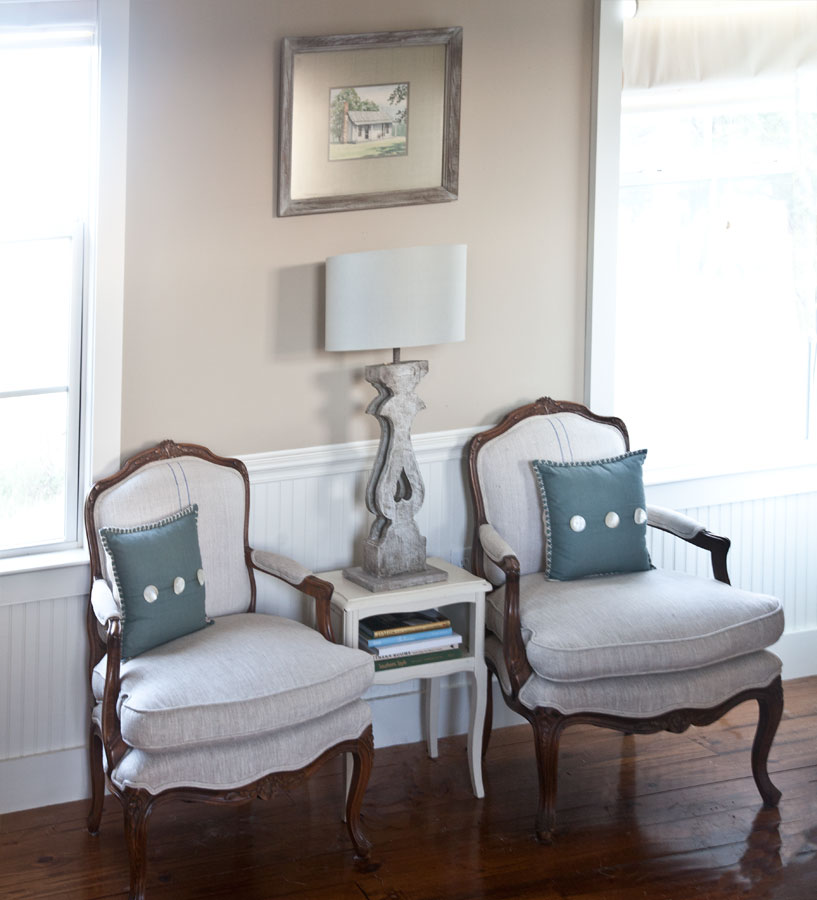
The photo looks a little wonky. The chairs are the same size but they look like they are a different size in the photo. Oh well, I digress.
So I decided to bring the chair to the mountains. Now remember I need durable, family friendly fabrics that will hold up to a lot of abuse. We are going to rent out the house as a vacation rental. That means I purposely did not choose a white or light color fabric for this chair.
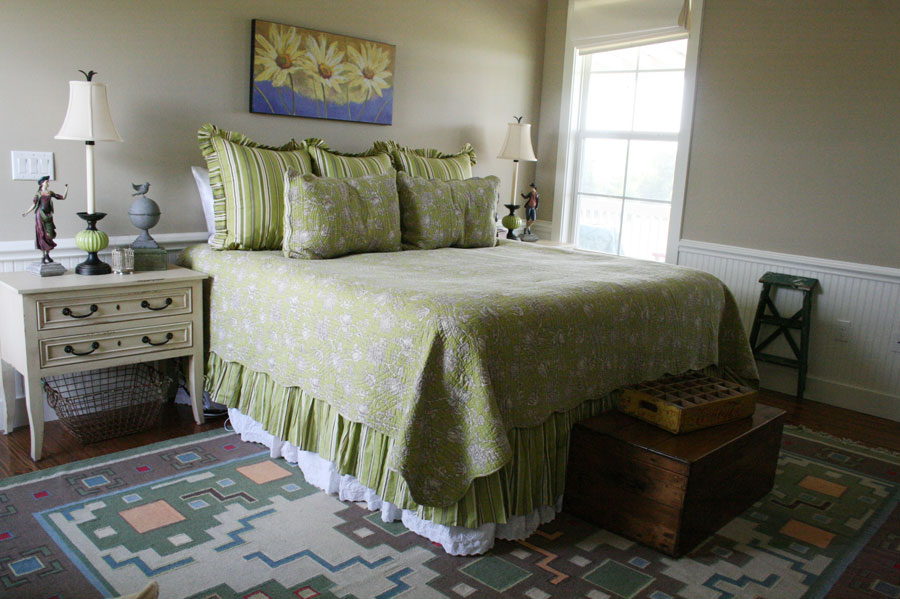
We are using this quilt below because I already have it. (This is what was on our bed a long time ago.)
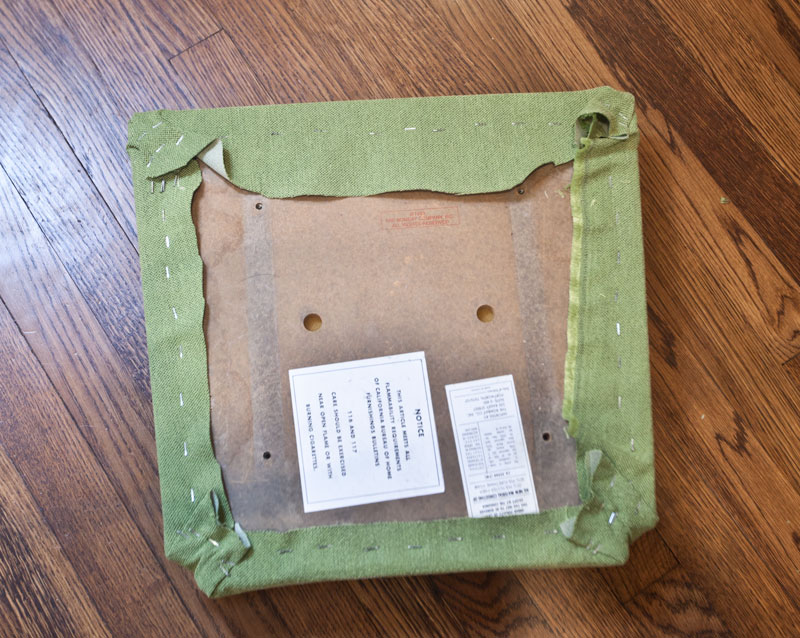
So I chose a green fabric for the chair. First I removed the seat from the chair. Then I removed the seat cover using pliers and a regular screw driver.
Once the old cover was removed, I used it as a pattern to cut my new fabric.
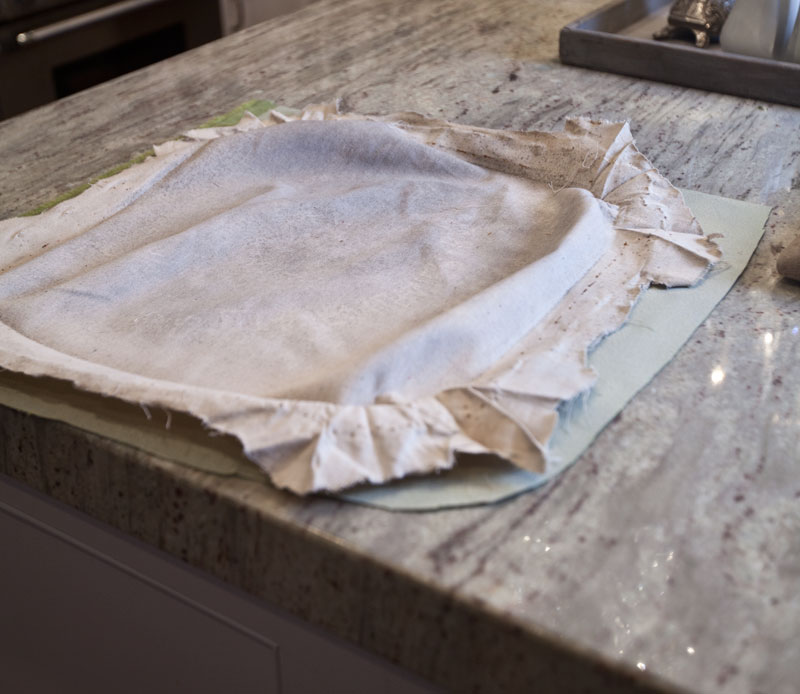
Oh I forgot to mention, the chair has been on the porch for a few years now, so the fabric was not so clean. Ewww.
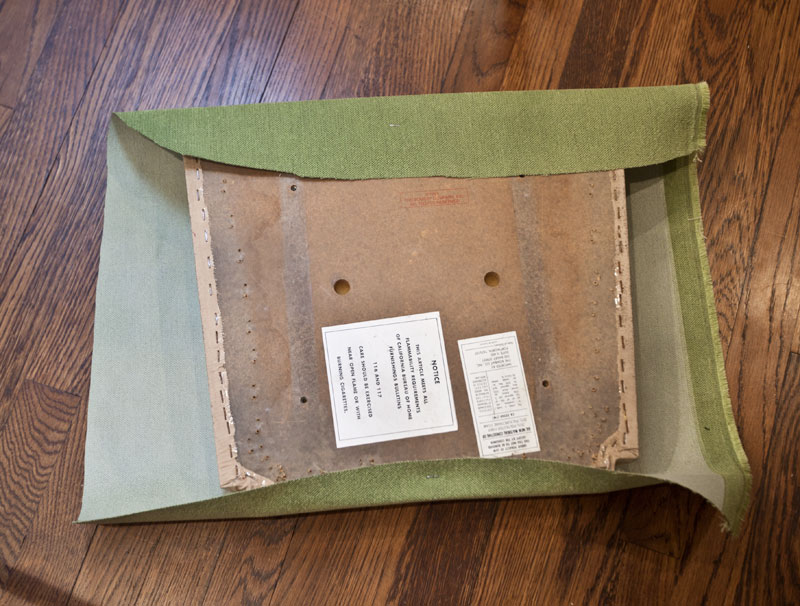
I placed the seat on top of the new fabric cover. Here I stapled the back in place, then stretched the fabric and stapled the front.
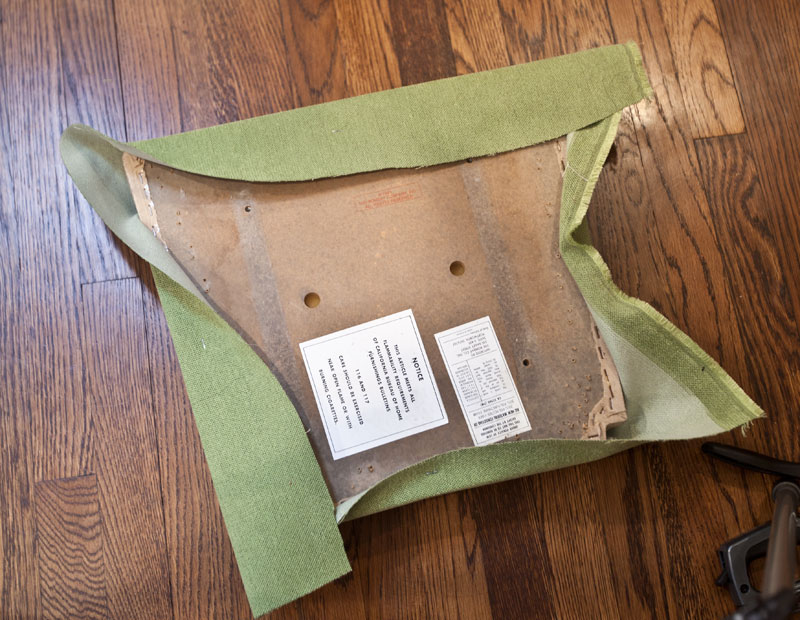
Next I stapled the left side, tightened the fabric and stapled the right side. I start with the staples in the center and work my way out toward the corners.
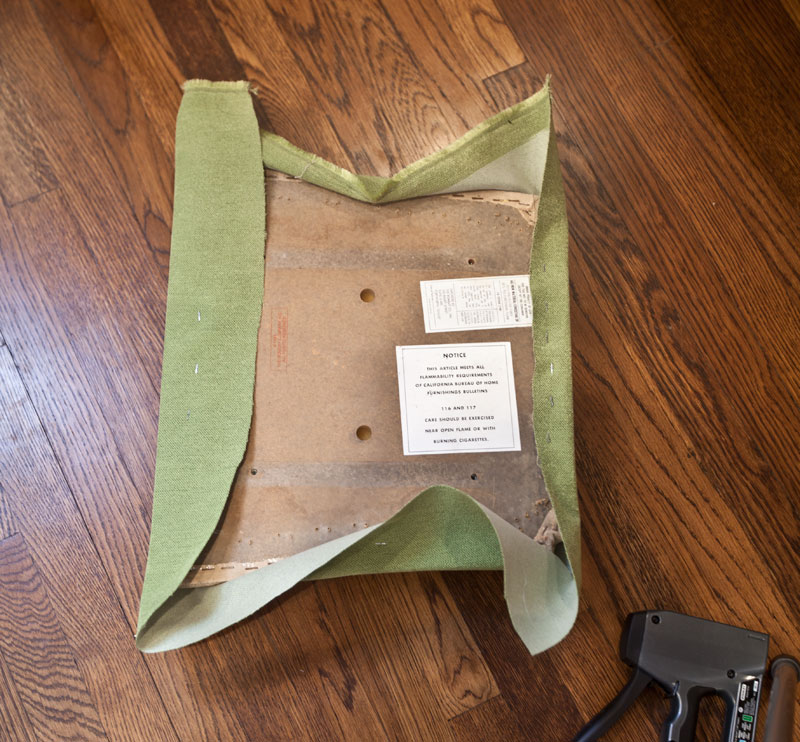
Tighten and smooth the fabric as you staple.
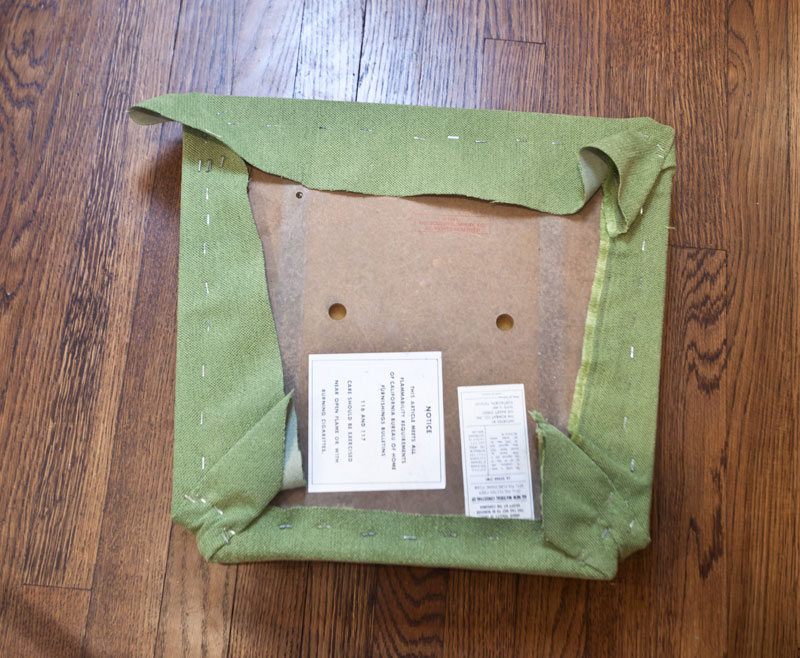
Keep going until you get to the corners. I fold the fabric in a way that looks best from the front, trying to avoid wrinkles. Next, I trim the fabric on the corners.
The last step is to attach the seat to the chair. I used the same screws to re-attach it.
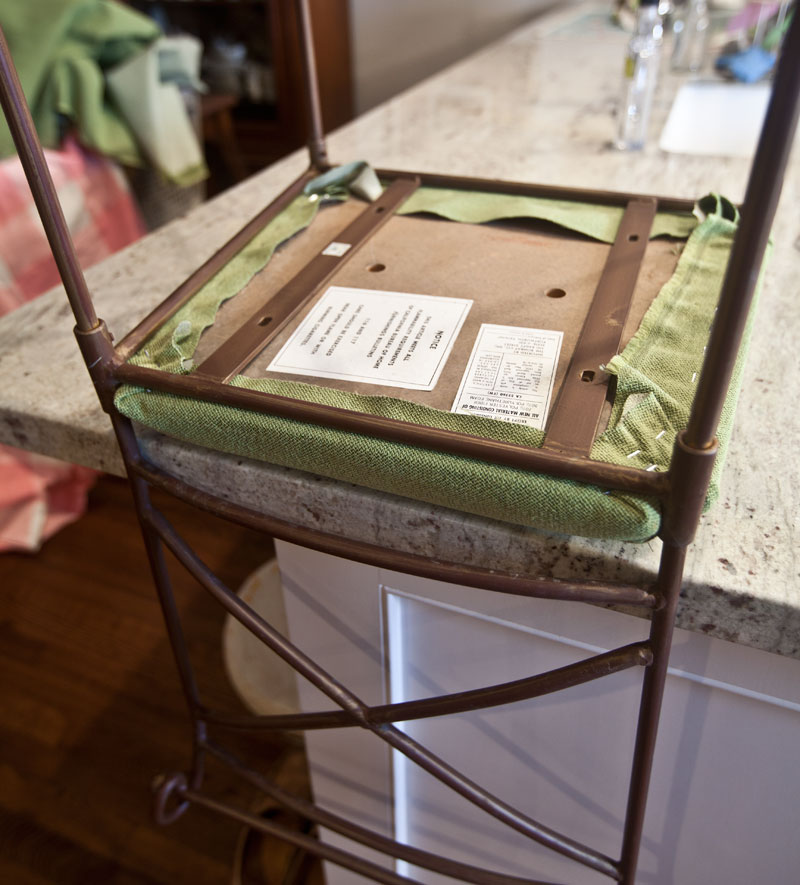
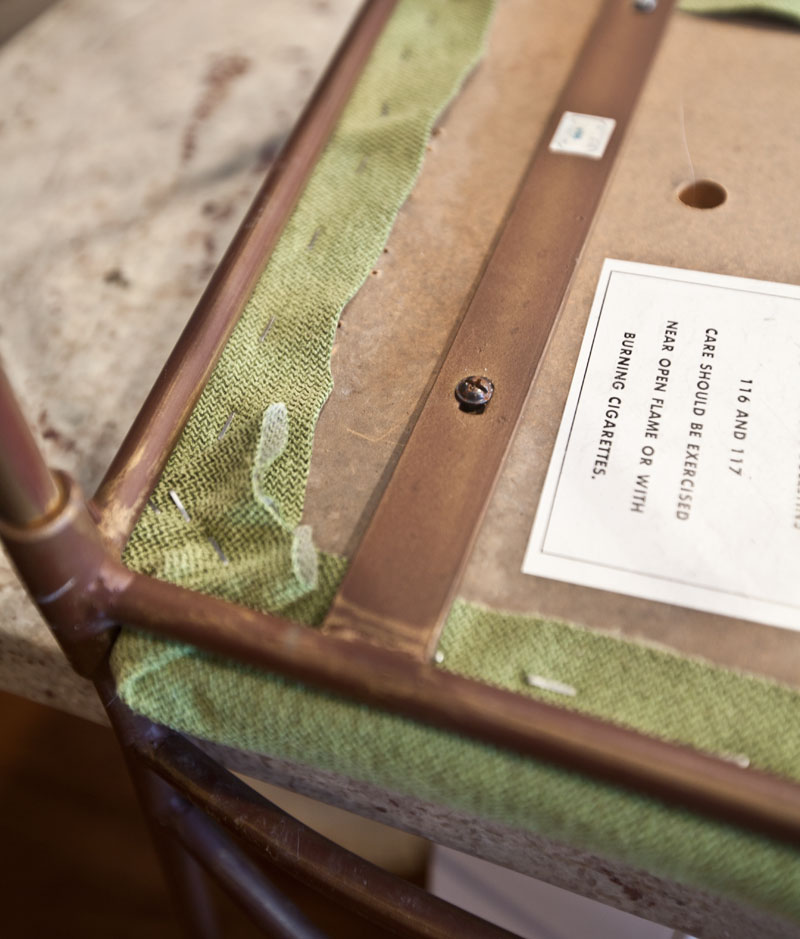
Here’s a close up, so you can see how easy it was.
And that’s it. The most difficult part was selecting the fabric. I think it will go well with the quilt. And later if I want to switch out the fabric to something else, it will be easy enough to do.
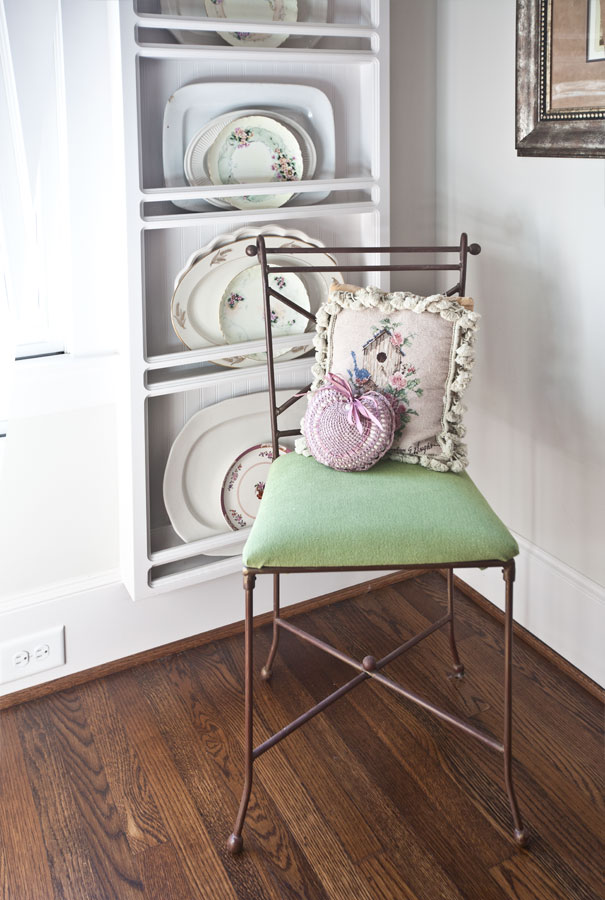
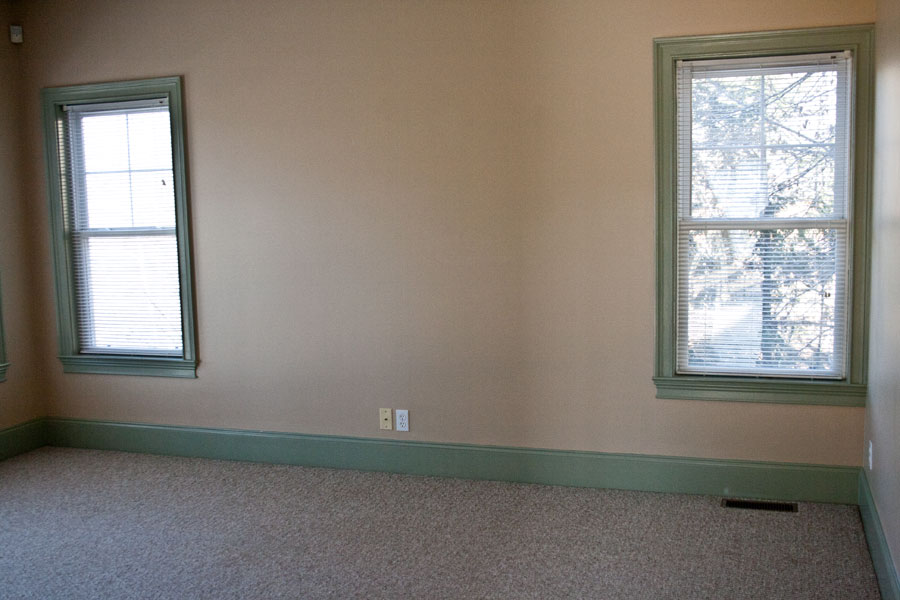
It’s going in this room. I hope I get the walls painted soon. I’m not crazy about the paint in here.
UPDATE:
We moved everything into the mountain house, and I have a picture for you.
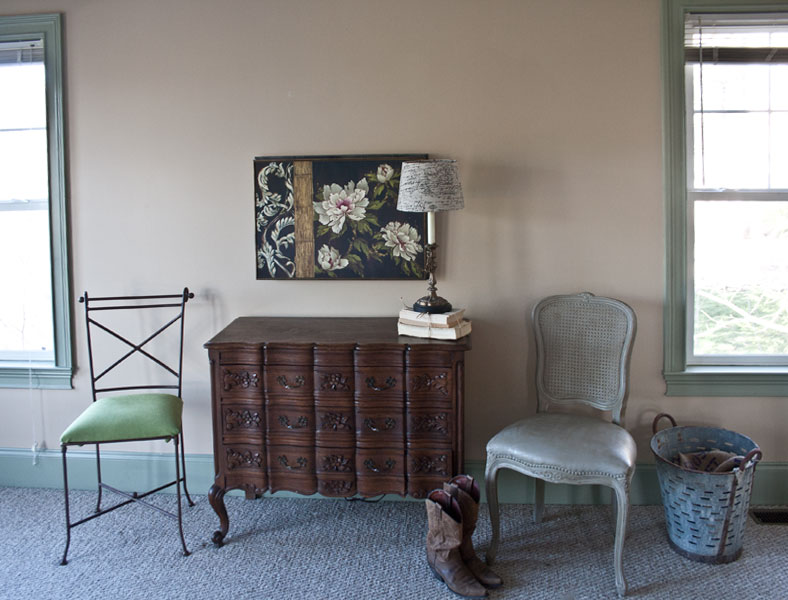
This room is going to be painted. I want a very soft white or gray in here. Everything in this photo (except the dresser) is stuff I had leftover. More updates on the mountain house coming.
You can see more about the mountain house HERE.
Thanks for the tutorial, Anita! I have just such a chair that needs a new cover! Did you choose an indoor-outdoor fabric? Hope all is well with you with all the rain you’ve had in Houston!
I used indoor fabric Linda.
The redo looks easy- I need a redo on an old rocker I picked up in a Virginia estate sale for $10. You make chair seats look easy to recover!
I just love easy projects like this chair. You make it look so simple. I can’t wait to try it on an old chair in my basement. You are always so inspirational!
Maryann N.
Anita…I’ve intended to write you a note for such a long while but life always seems to take up so much time. I read your bio and the part that spoke to me the loudest was how you came alive when you began blogging and met fellow bloggers…they get you. I’m not an interior decorator by profession but I’ve done some work for family and friends…and absolutely nothing excites me or gives me more delight than seeing a room come together…and I can feel it in everything that you write…you feel it too…you get it!
One last thing…I have been in search of a Mora clock similar to yours…and reasonably priced. Well finally I’ve found one and ordered it…I know you get the excitement I feel in anticipation of it’s arrival…will let you know when it arrives and send you a pic.
This is terning into a rather long note…lol…enjoy your day…I look forward to your next blog.
Cari
Love this post. Especially love your new chairs and also love the shade of green on your little chair that you recovered the seat. Just lovely!
Enjoy the “magic” when a room comes together – a happy time!
Just one little added tip for the chair if I’m aloud to give my 2 cents? I always cut a thin piece of muslin just about a half inch bigger then the chair bottom on all 4 sides. fold it under to fit just the bottom iron flat. With a hot glue gun, I ad this piece of muslin to give a nice finished look. It really makes it look professional. I reupholstered a small footstool, check bettyjanescraftroom