I’ve got a gorgeous project for you today! The post is sponsored by Calico. The fabric can be found HERE. It’s a luscious soft lavender velvet.
![]()
We’ll be making the throw shown above. The first step was to pull the threads out on the end to create a fringe. Velvet is so thick I didn’t want to fold it over twice like I typically do on a ruffle. so I made a fringed end by pulling the threads out all the way across the fabric.
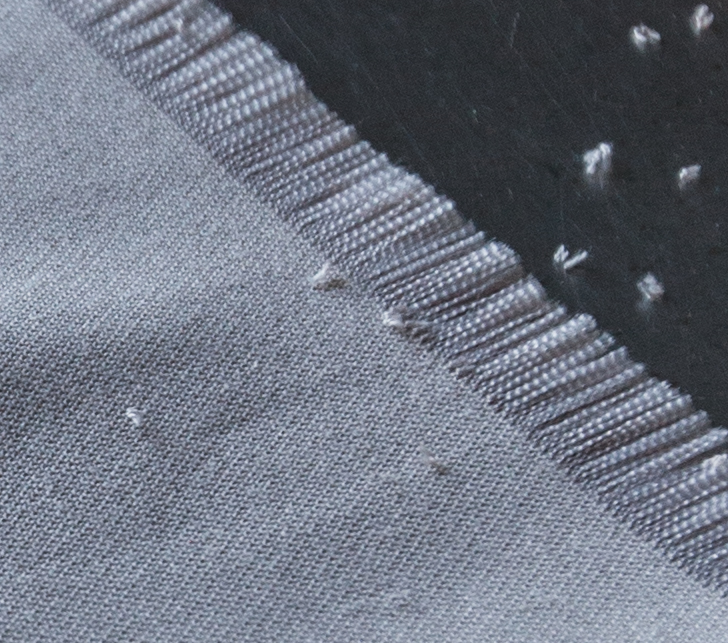
It made a big mess! See all of those little bits? That’s because it’s velvet. Most fabrics don’t shed like that. I trimmed the fringed end so it was as even as possible. Then I cut two lengths of the fringe for the end and sewed the two together.
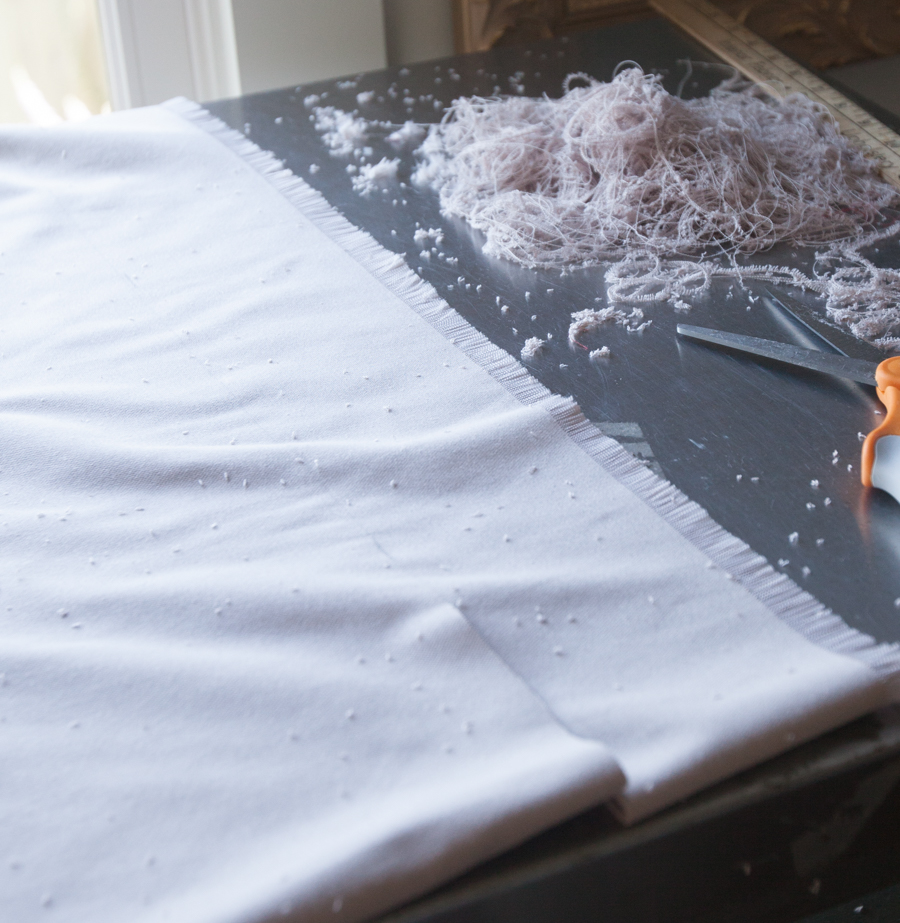
So now I have 1 long piece of fabric 3 1/2 inches by 108 inches.
There’s a new podcast episode today on the HOT SUMMER TRENDS! You can listen below

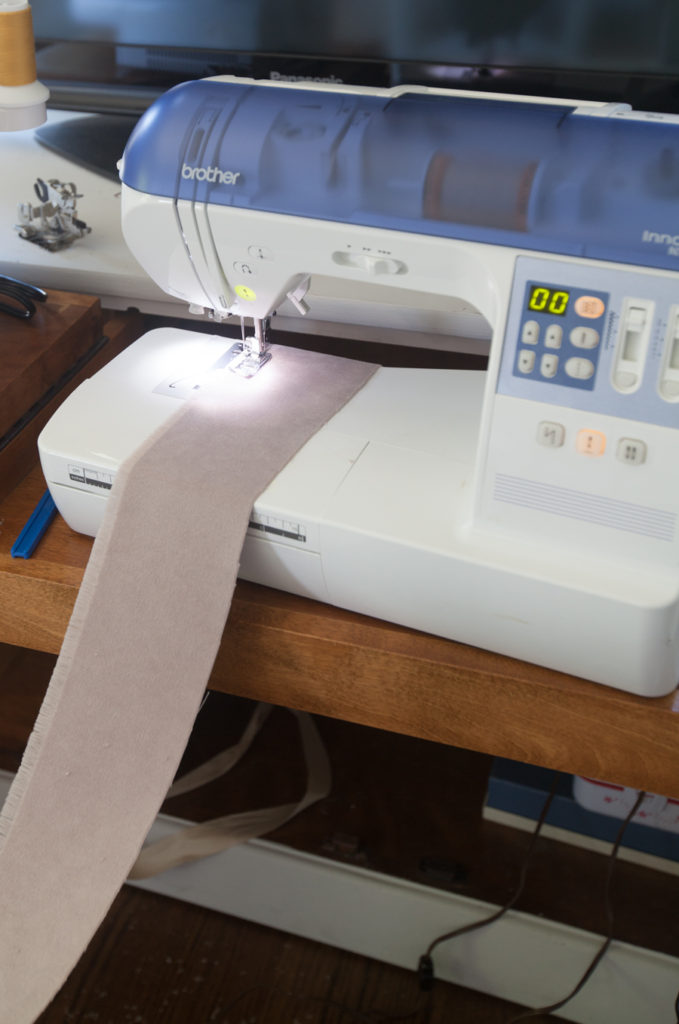
I did a straight stitch on the fringed end so it wouldn’t unravel any more.
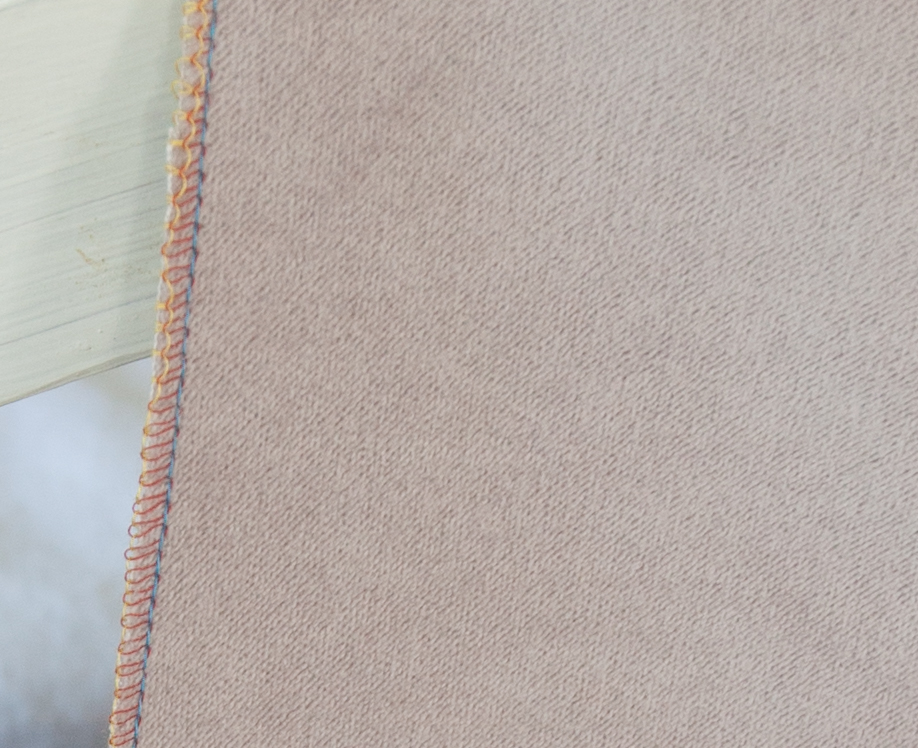
On the other end, I used my serger to finish off the end so it wouldn’t unravel either. This end isn’t as pretty, but that’s okay.
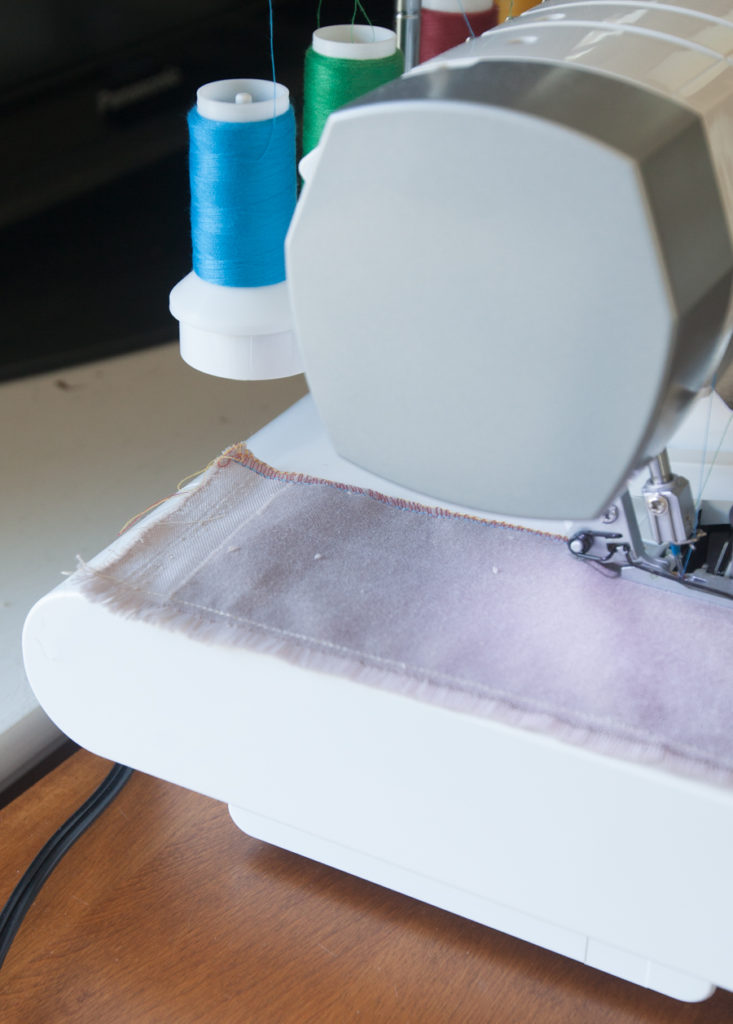
This is what my serger looks like. It sews super fast. I haven’t used it much so I’m still learning how to use it. It takes me an hour to thread it!
![]()
See how this end looks? This end is protected from unraveling when the item is washed.
Then I used my ruffle attachment to make the ruffle. If you don’t have a ruffle attachment, you can buy one. Just make sure it works with your make and model sewing machine.
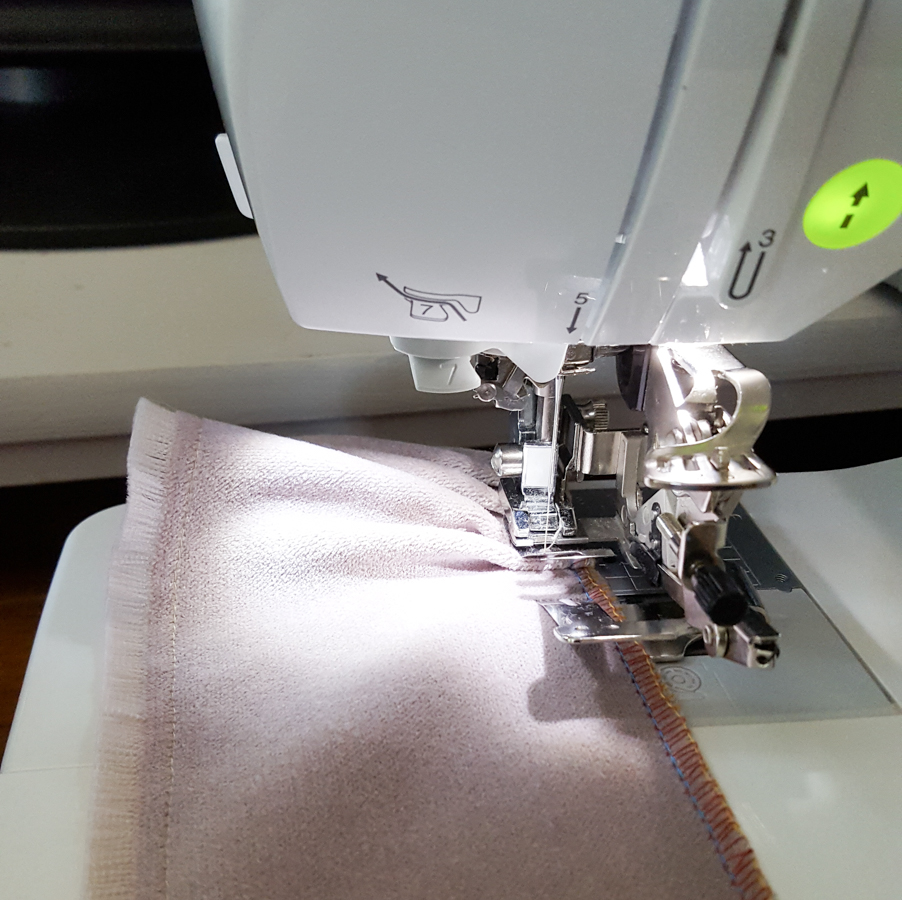
Here’s a video of the ruffler in action.
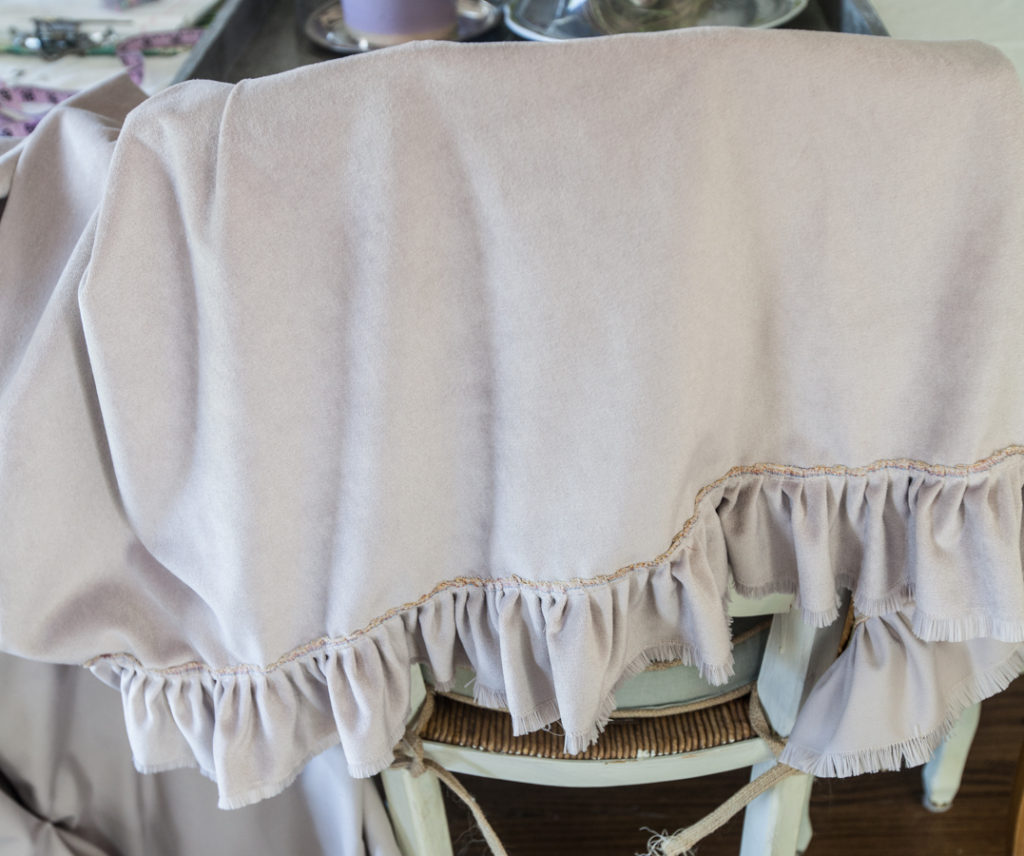
This is how the ruffle looks when it is finished.

Next I cut a piece of the fabric to make my throw. It is 72 inches long by 54 inches wide (the width of the fabric) I also finished the ends of the throw so they wouldn’t unravel. After that, I attached the ruffle to the throw. Normally I sew the two right sides together, but this time I sewed the top side of the throw to the back side of the ruffle. So it looks like I made a mistake, right?
No worries, I sewed a large piece of lace on top of the seam so you can’t see that ugly edge. I repeated this entire process to add a ruffle to the other end.
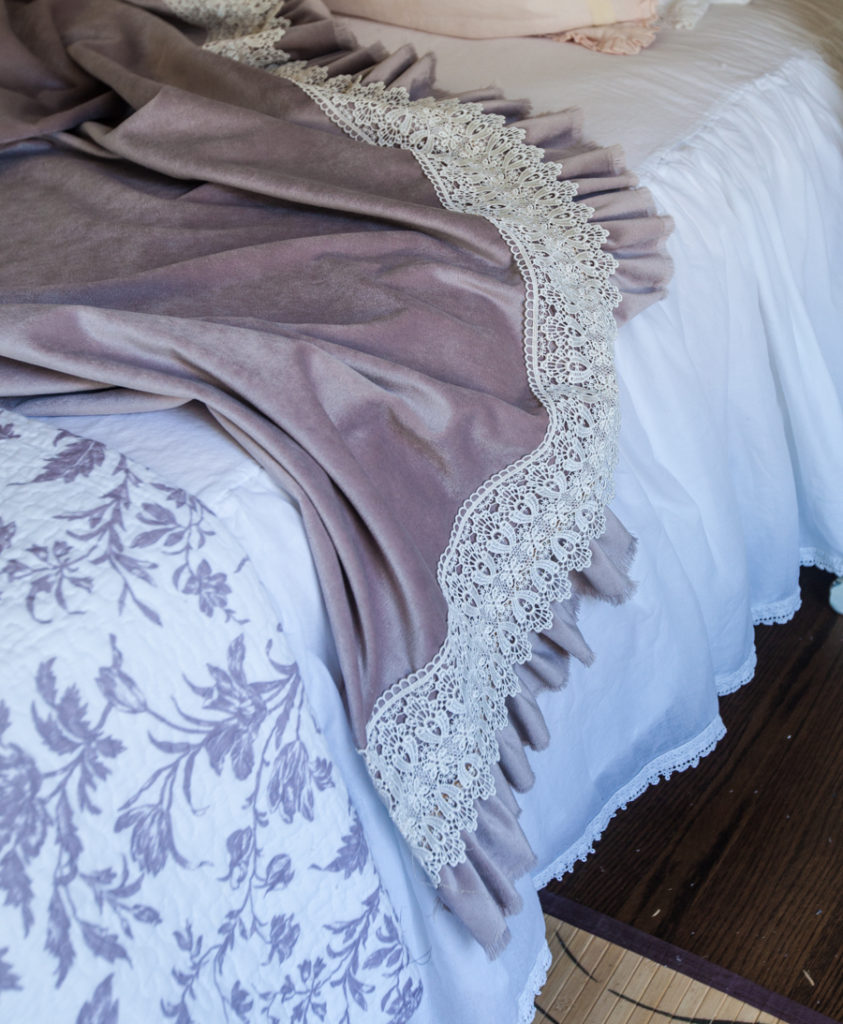
I think it turned out rather well! And I’m going to be using it when it gets cold in December, which is a long way off.
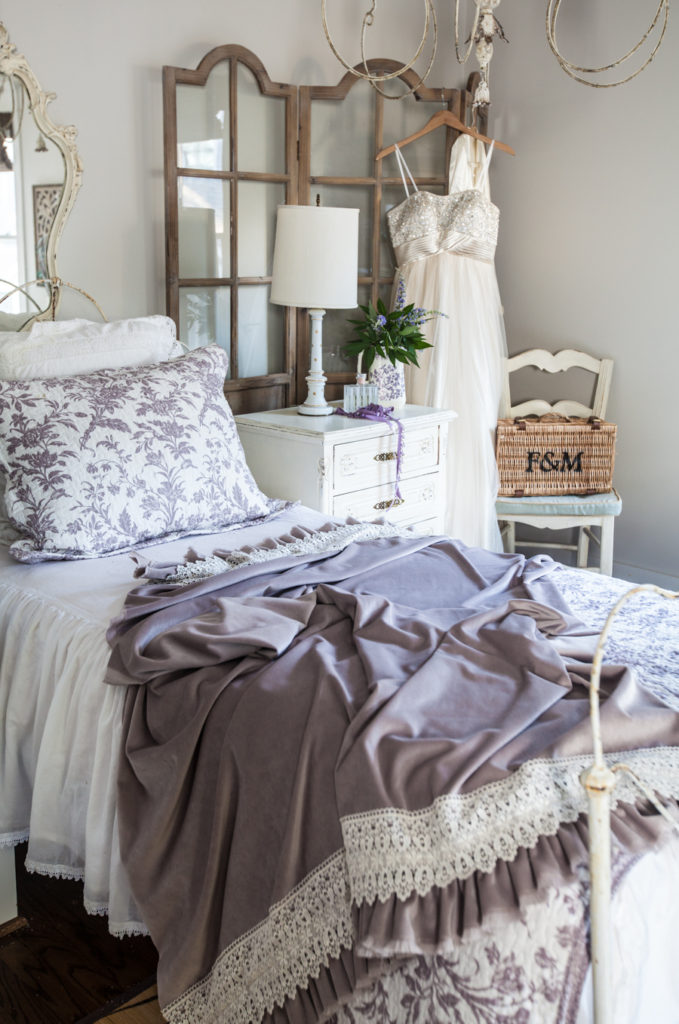
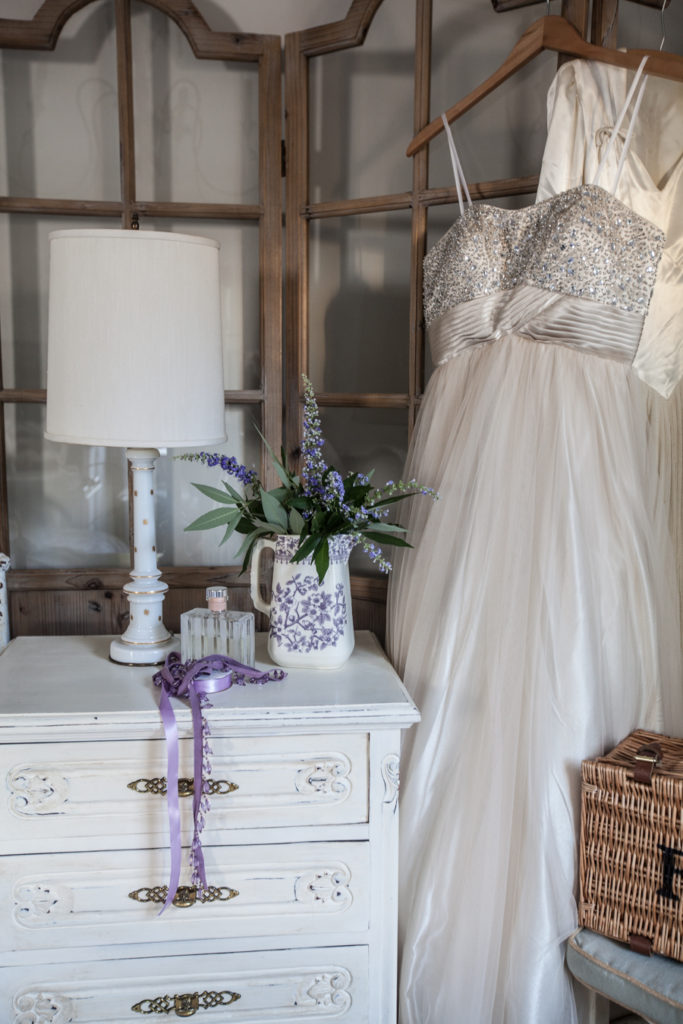
Thank you Peggy for my lovely night stand. We did a trade and this is what I got. Don’t worry, Peggy got several goodies!
If you missed the link for the fabric, you can find it HERE.
Please don’t forget about the free 4 piece Method kit you get when you sign up for the Grove and order $20 or more. CLICK HERE FOR MORE INFO.
I love your beautiful throw. Thank you for sharing with us!
it is a stunning throw…i don’t have the tools needed to make it but you surely did a fantastic job…
The throw turned out very cool. Thanks for how twos,
Great Job and a beautiful throw !
That is just lovely! I look forward to trying it out. I am thinking a periwinkle blue! ❤️
Beautiful throw Anita. I certainly can’t make it but I truly could put a bid on it. 😉 Hint ,Hint. Love your night stand.
If that throw goes missing, it’s in San Antonio!
How many yards of fabric did you use?
I used about 2 yards for this project.
Fabulous throw. Beauty details. Thanks!
Oh my goodness, I thought it said ELEPHANT throw and I was trying to figure out why you would call it an ELEPHANT throw!!!! It is beautiful!! LOL!!!
Toni you are hilarious!! That’s funny.
I love the throw. Thanks for the tutorial. Tomorrow sounds like a good day to buy fabric.
Just lovely! Thank you!
Now I know why I don’t sew! I don’t have that kind of patience. You should see the poor very small curtain I put across the open part of the built in desk in Ella’s room. Got the idea from you from your old house – breakfast room. Since I don’t have a sewing machine, I used stitch witchery (or something like that) for edges. Obviously, you should be able to cut a straight line when you sew or glue or whatever! The night stand looks great in there. All of my goodies look great too. My entire house is blessed with goodies from you – as am I!
This is so pretty and something that is also fairly easy to do if you have a slight knowledge of a sewing machine (like me).
Oh Kate, that is fabulous. It’s amazing what you can make if you can sew.
This is beautiful! I love your sewing projects.