I’d like to say I always have a plan and it always go smoothly, but if I did you would know I was lying, right?
I don’t always have a plan, and when I do something usually goes wrong. I don’t have any magical powers. And considering how many mistakes I make, it’s a wonder any of my rooms turn out as well as they do.
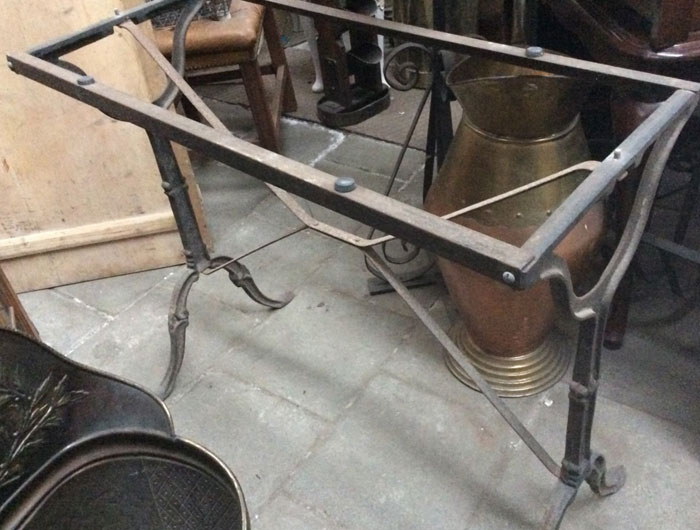
I bought this table frame for the mountain house. I’m in my ‘I love marble’ phase. I planned to have a marble top made and I was going to use this as night stand at the mountain house. Well… I never got a top made for it, so I didn’t send it to the mountain house. I put it on my back porch. (This is the dumping ground.)
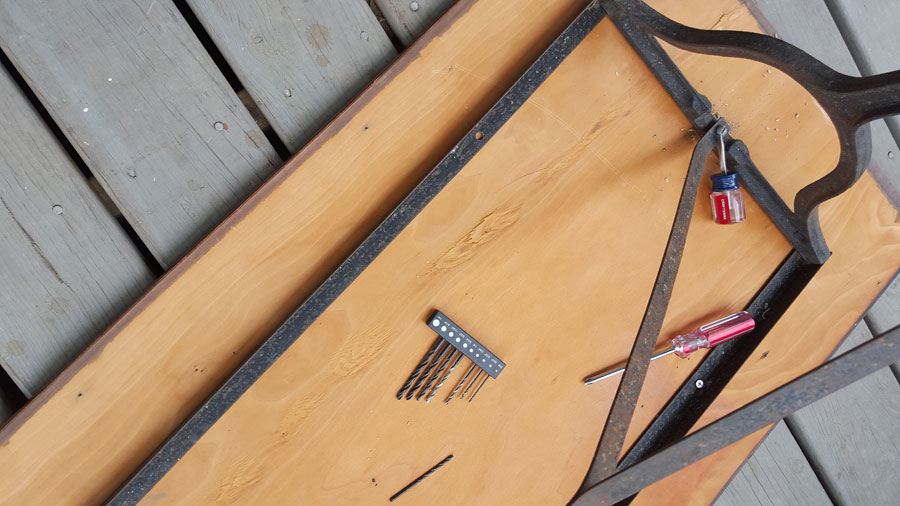
Then I remembered that piece of wood in my garage that I got from my in-law’s house, that I thought was a leaf for one of their tables, but it wasn’t. It was a top with beveled edges. And so I decided to screw it on the base for now.
I used Amy Howard at Home products for this project because I love the products. I carry some of the products in my online store. Some of these products were provided by Amy Howard at Home.
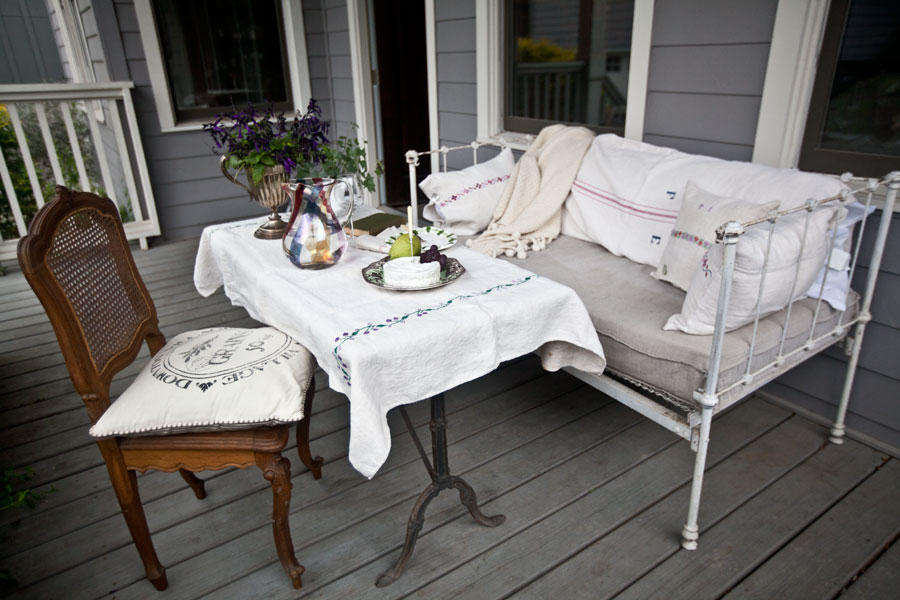
I needed a photo of the table before I had time to redo the top, so I just threw a table cloth on top of it.
Since then, I’ve worked on the top. Here is the process I’ve used.
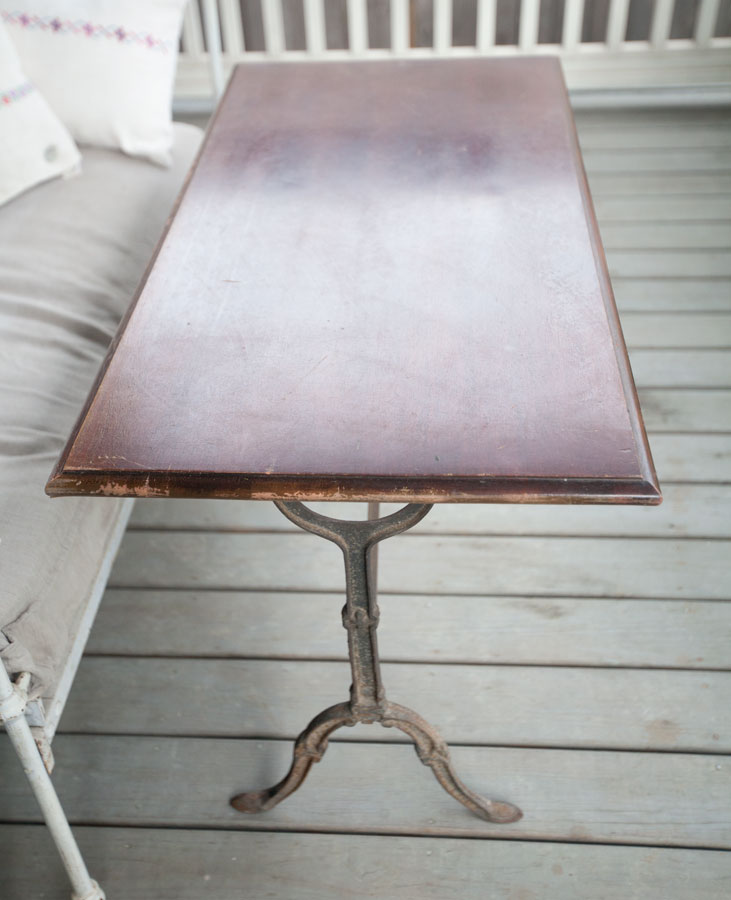
The first thing I did was to pay it with Amy Howard at Home Atelier One Step Paint. I decided to NOT use milk paint since this might get some rain on it. It is on a covered porch, but sometimes the rain can be angled. So for the paint, I used only the One Step paint.
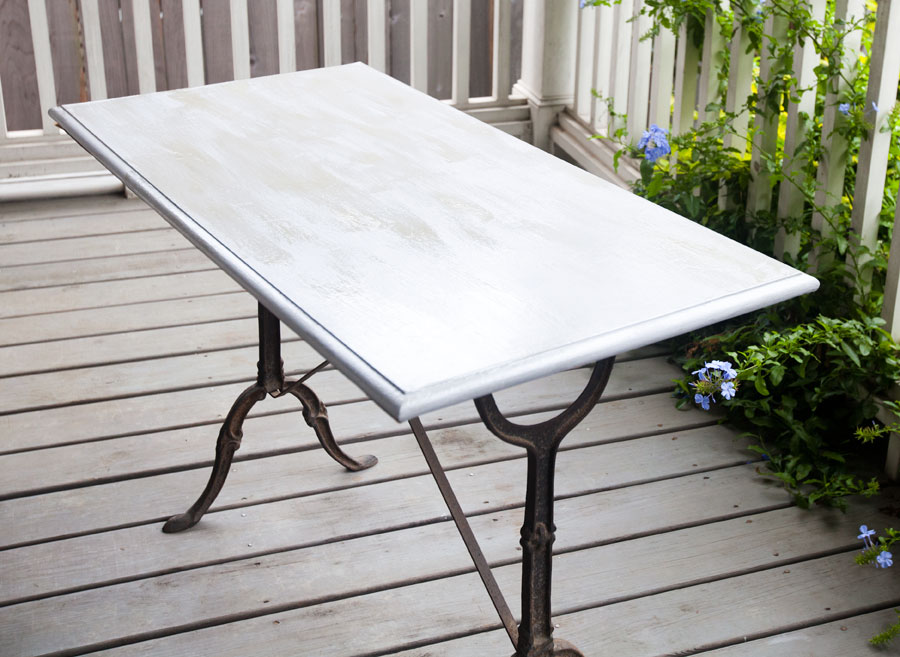
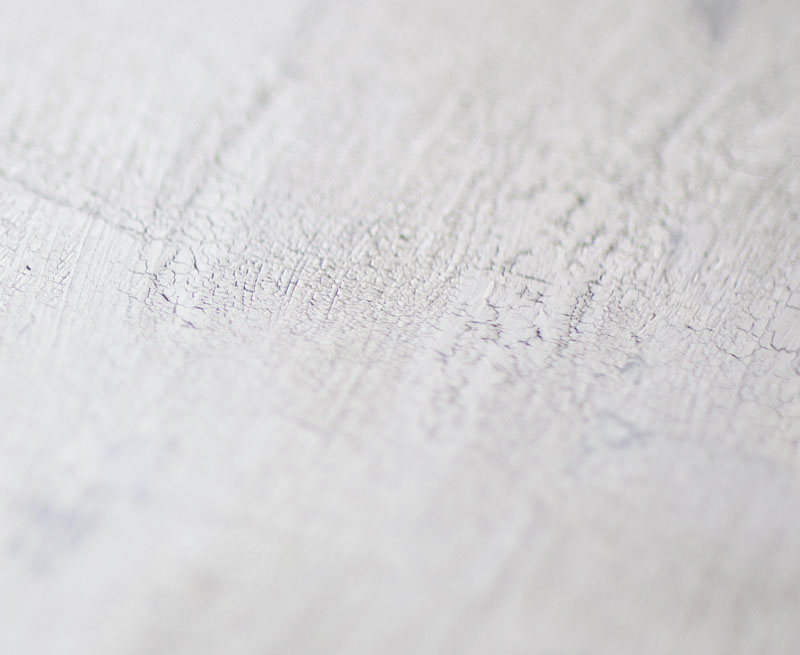
After the paint dried, I added the the Amy Howard at Home Cracked Patina.
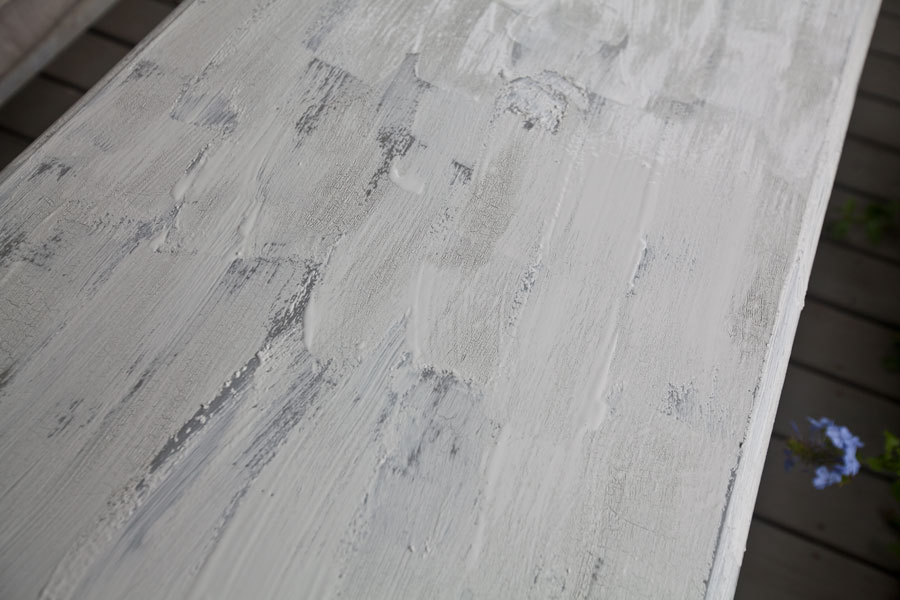
I ended up putting it on pretty thick so it took awhile to dry. Then I went over the paint with Amy Howard at Home Luxe Gray One Step paint. You want long strokes. I wasn’t able to go the length of the table for each stroke because of it’s size. So make sure you have plenty of paint on your brush for this step.
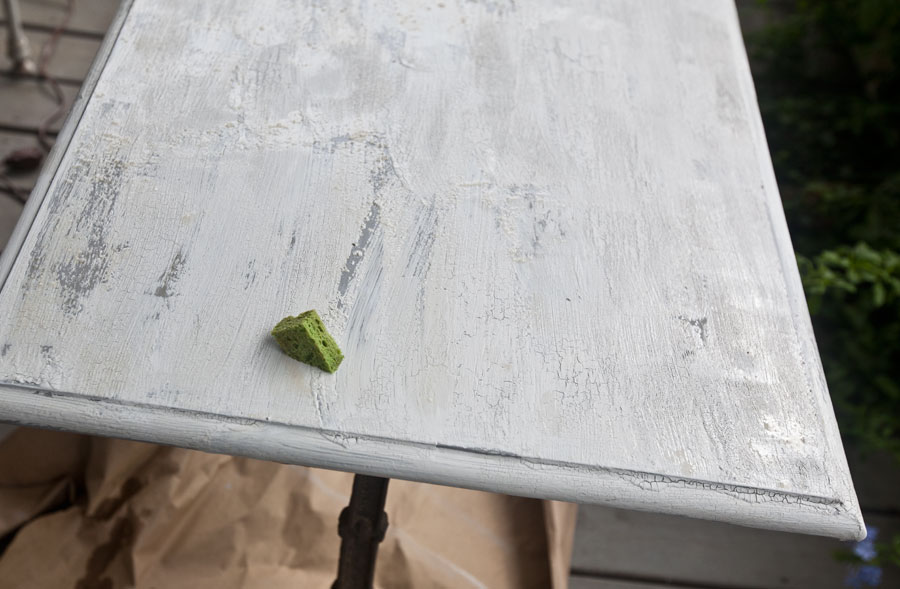
After the paint dried, I went over the surface with Amy Howard at Home Antiquing Glaze. I dabbed it on with a sponge.
After the glaze dried, I finished it off with the Amy Howard at Home Light Antiquing Wax. The wax antiqued the top some more, and also provides some protection for the finish.
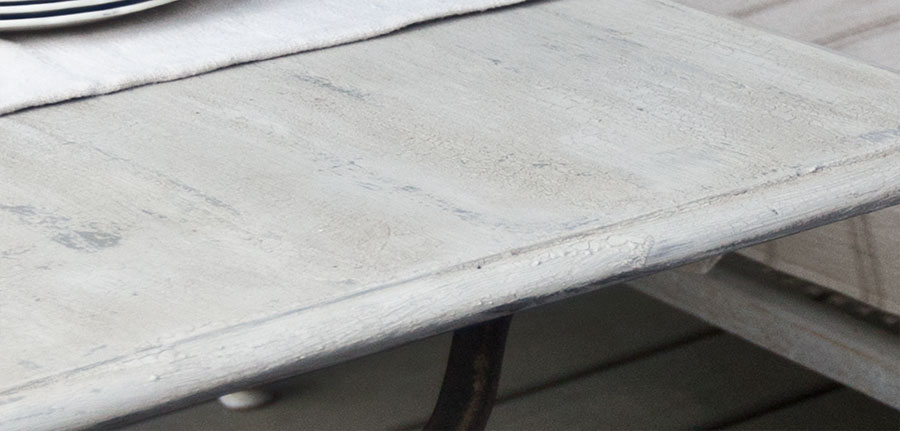
It’s a pretty rustic finish with tons of antiquing. It’s perfect for my back porch. To make it even more cozy, I draped the table with an antique grain sack. Then I added an antique bottle filled with olive branches from my yard, Plumbago (also from my yard) in the vintage ironstone pitcher, and a stack of vintage dishes.
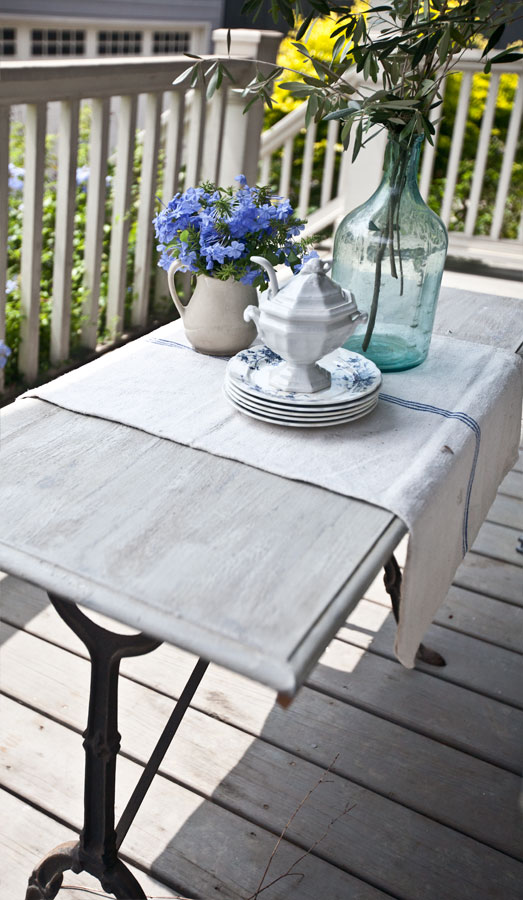
The table actually looks much better in person. And I got a great table for the cost of the base and the paint.
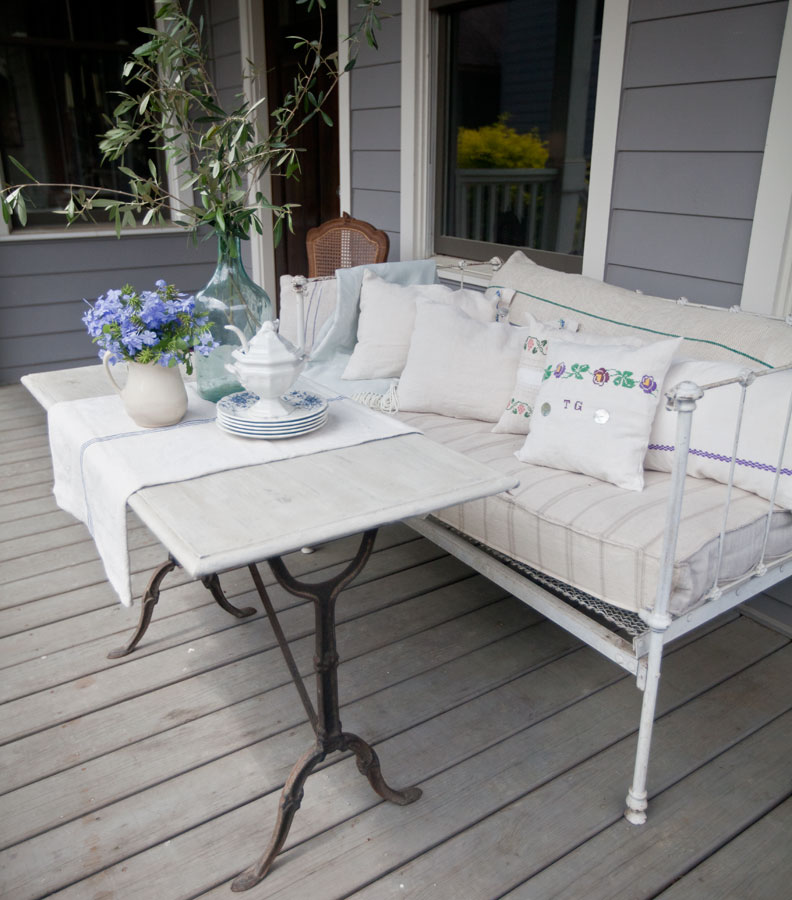
So the lesson is that you don’t have to limit yourself to furniture that is ready to go. This base needed a top, but all I did was screw this one on and do the paint finish. I didn’t even break out the saw. It gives the porch a feeling that it’s been here for 100 years.
It turned out beautifully. Plus I was glad to see the steps you took with the Amy Howard paint. I have gone to the store two times to buy it but haven’t decided on a color yet.
Love, love this table!!
Anita it turned out beautifully! I have had a Faux Painting buisness for about 25 years! This was done so well!!!!! I love it!!!!! ♡ Fits so perfectly with your decor! 🙂
Anita, I think the table is great. I also appreciated your comment about making long strokes when using the Amy Howard One Step Paint. I, too have found that to be best. I have done a couple of projects so am still learning.